Enhance Your Tile Projects with Stylish Tile Trims
By Clay Imports
When it comes to tile installations, attention to detail can make all the difference in achieving a polished and professional look. One element that often goes unnoticed but plays a crucial role in the overall aesthetic appeal of tiled surfaces is the trim; that’s why in this article we’ll discuss what’s a trim and how you can use it in your favor for your next project.
What is a trim?
Trim tiles are a finishing touch that gives tiled areas a clean and polished look, while also protecting against any chipping or cracking. In this article, we'll chat about why tile trims are so important and share some popular styles that can really enhance your tiling projects.
Why should I use a trim?
Trims serve both functional and decorative purposes, making them an essential component of any tile installation. Primarily, tile trims protect the vulnerable edges of tiles, preventing them from getting damaged due to impacts or other external factors. By protecting the edges, tile trims enhance the durability and longevity of the tiled surface. Additionally, trims can provide a new layer of design to your projects: you can use it to enhance the installation or maybe to contrast the decorative elements of your room.
Types of trims
There is a wide array of popular styles available to cater to various design preferences and installation requirements. For simplicity, we’ll explore them in this article in 3 categories: Tile Trim, Metal Edging, and No trim.
Tile trims
Tile trims are, as the name suggests, specialized tiles that are used to protect the edges or corners of your tiles and installations. One of the most popular tile trims is the bullnose: a tile trim that features a rounded edge on one side, providing a smooth and gentle finish. This style is commonly used when only one edge of the tile is exposed, such as along a wall or an edge of a countertop, and if your tile work doesn’t extend to the ceiling. It offers protection to the exposed edge and complements the tile design seamlessly.
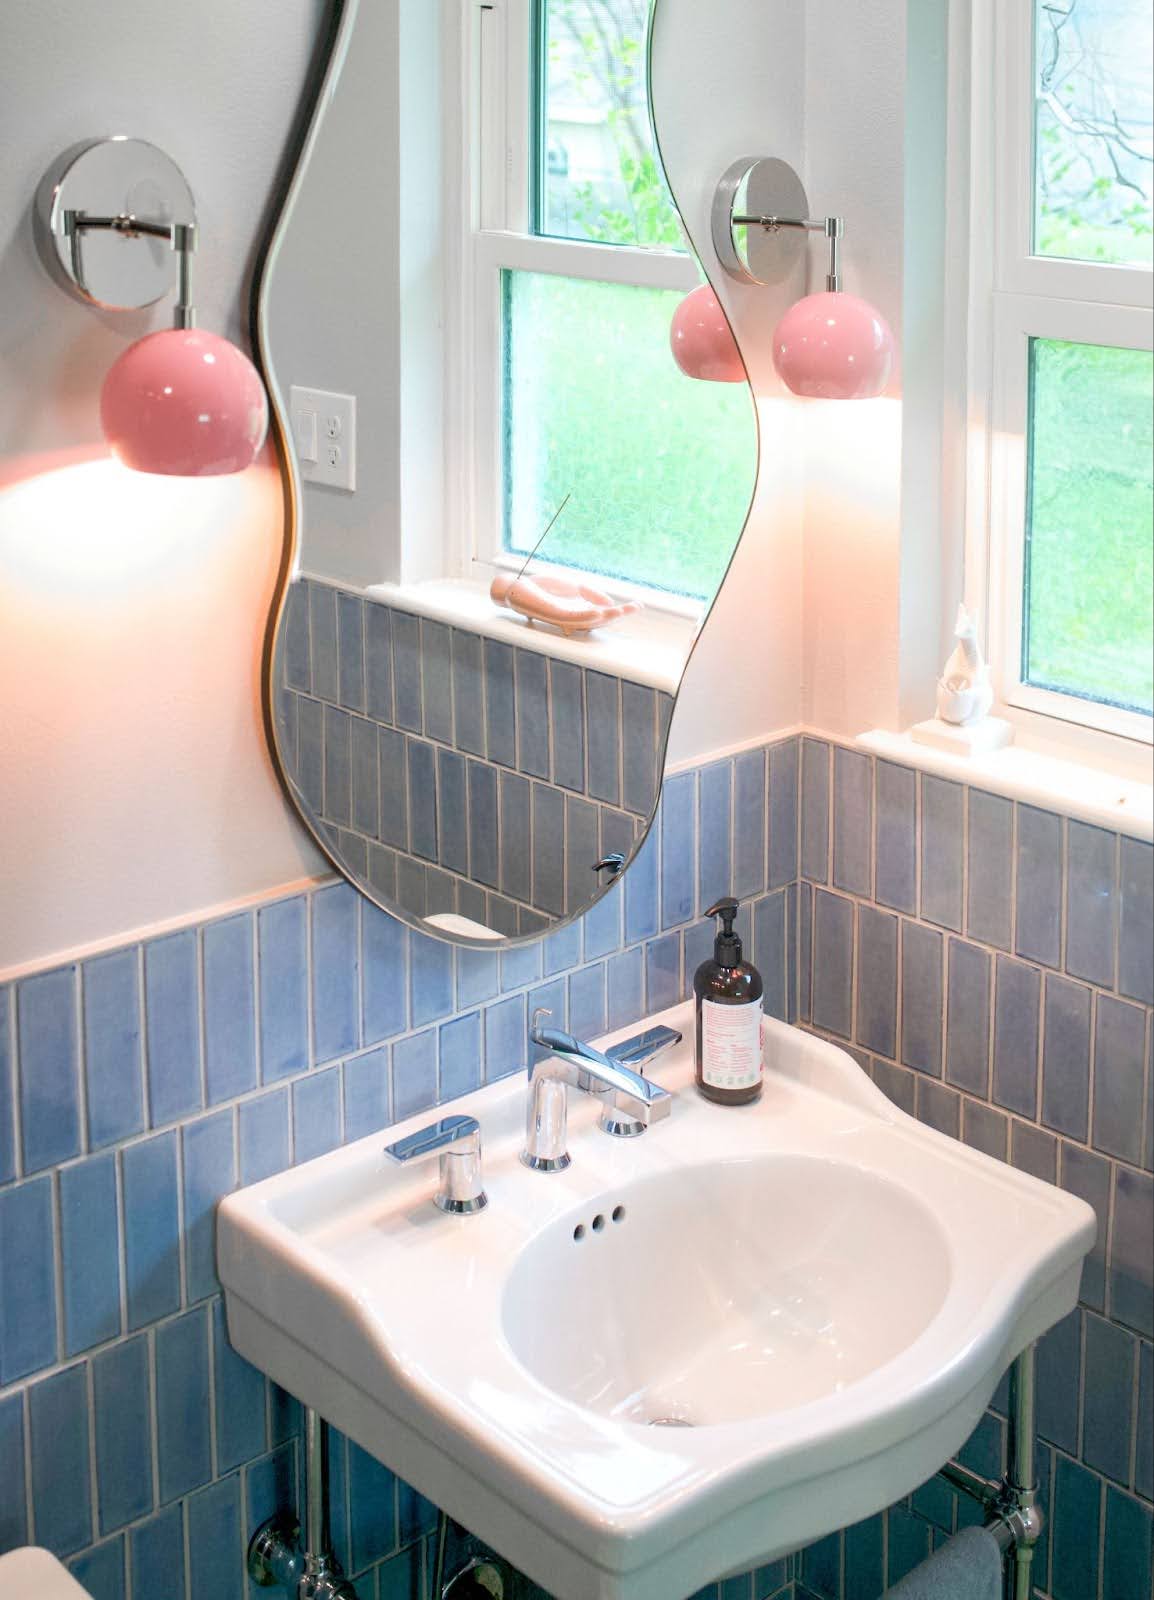
Another popular tile trim choice is the glazed edge. The glazed edge tile trim describes a type of tile trim that matches the size of the main tiles and has the same color applied to its edges/sides. This ensures a cohesive look when installed alongside the field tile and will enhance the tile work of your installation.
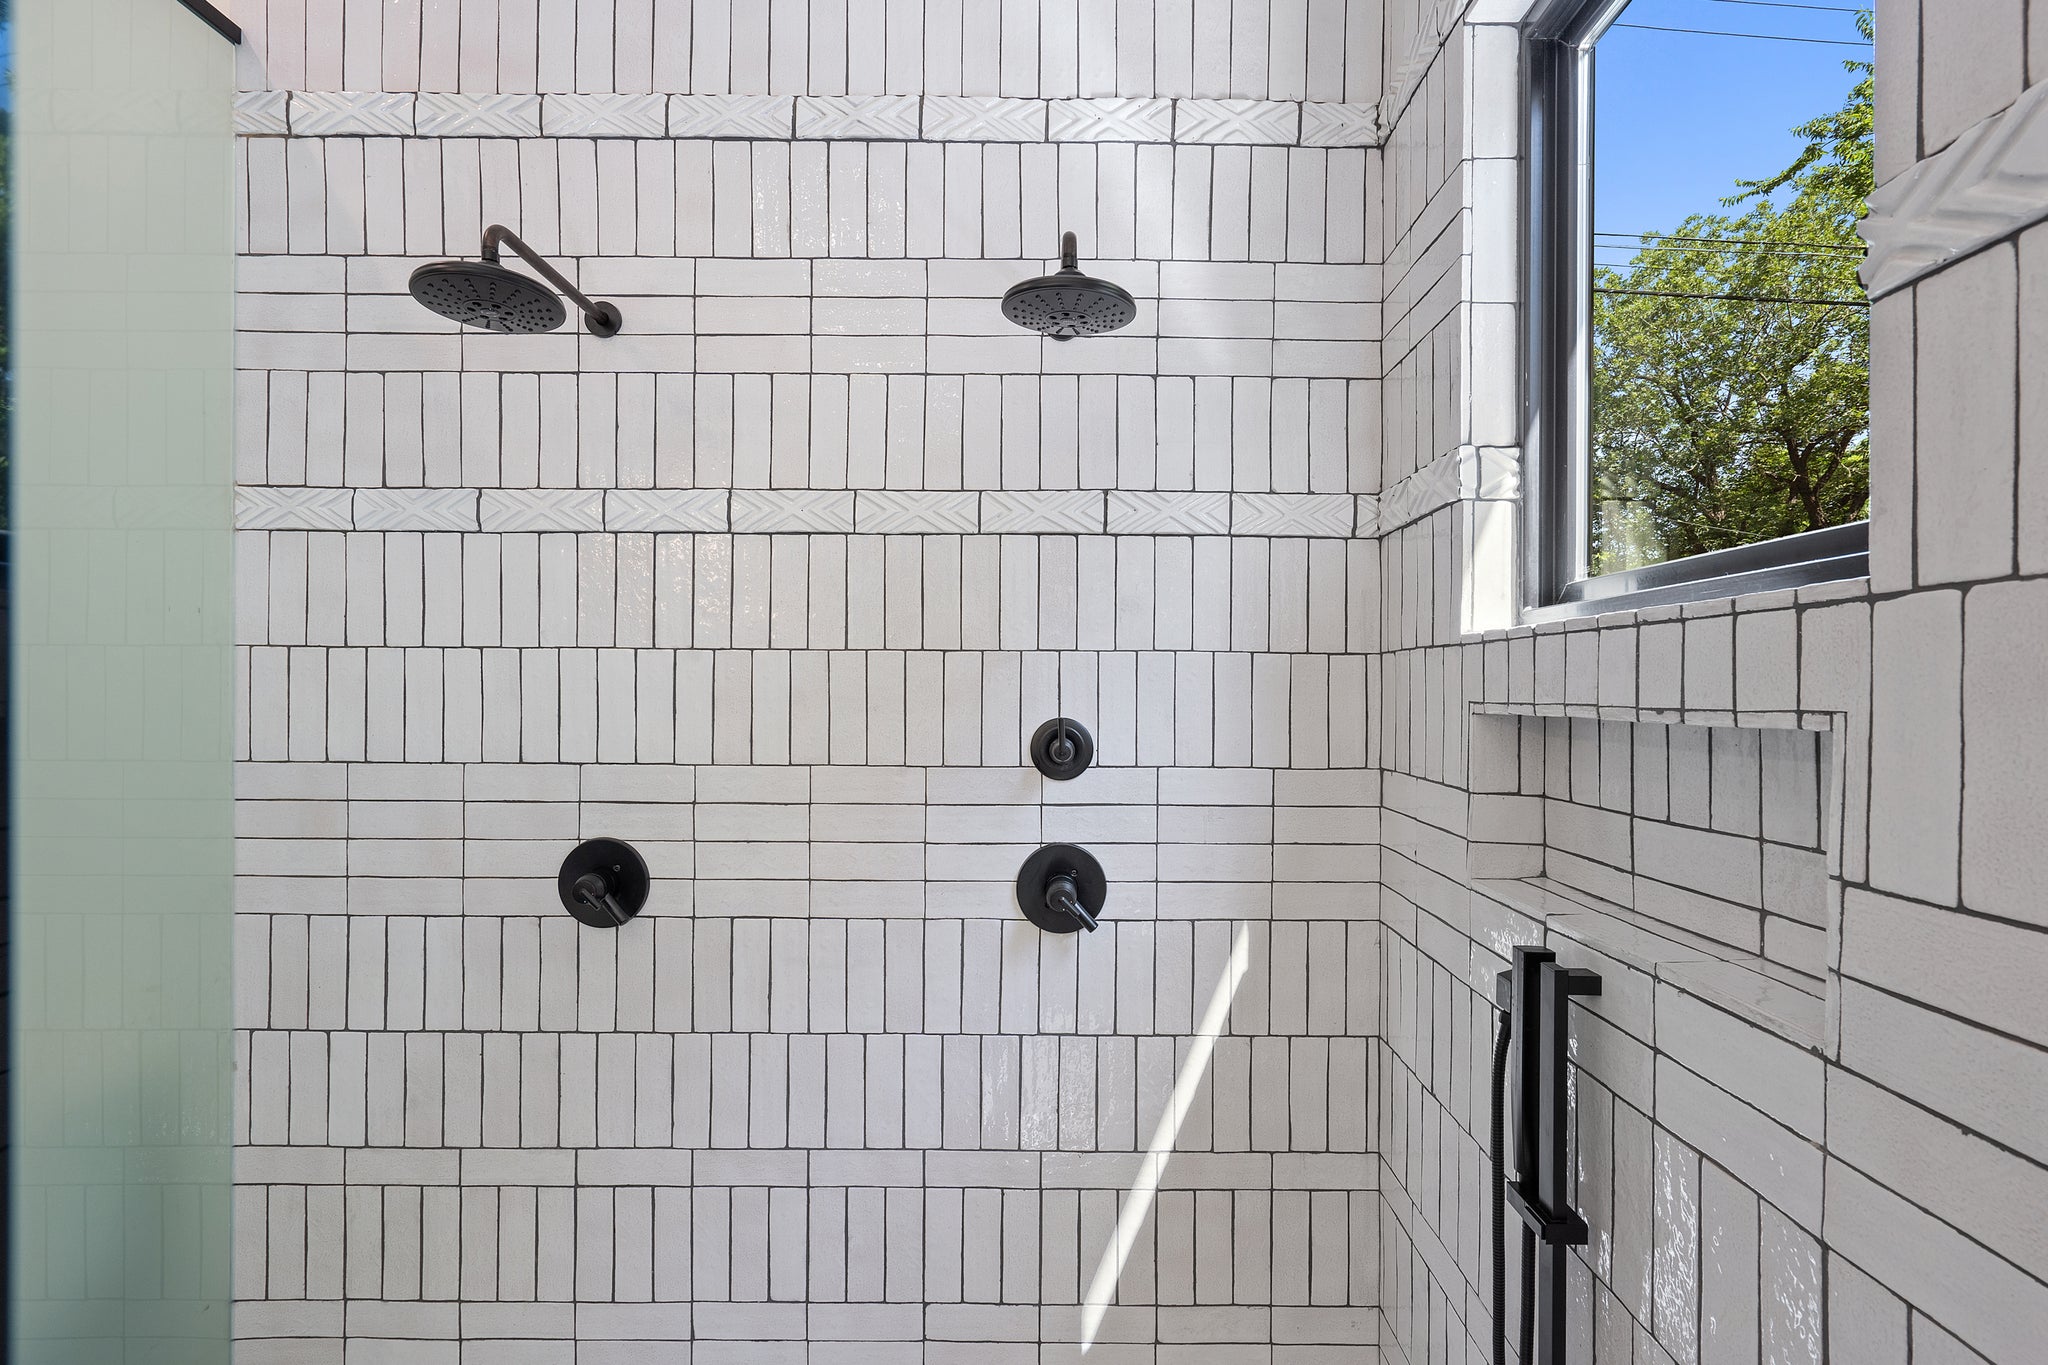 The glaze trim is featured here in the edges of the shower niche and around the window | Build by AR Lucas Construction
Finally, pencil tile trim is a more dimensional tile trim that is frequently used as a transition trim; they are used where tiles meet another surface, such as walls, countertops, or other tile works within the same installation. They can also be used as decorative accents within the tile design, and are named "pencil" due to their thin, elongated shape, resembling a pencil.

Because tile trim is inherently a finishing touch, it should be installed as the second to last step of any tile installation project. We recommend adding tile trim in your installation process; the only instances where tile trim may not be necessary are when the tile meets flush against other surfaces, such as wall corners or floor edges.
Bullnose, glazed, and pencil are the most popular trims, but that doesn’t mean they are your only choices; you should always consider where the trim will be installed. For example, cove base trims feature a concave shape that seamlessly connects the tiled surface to the wall, creating a smooth curve between the tiled wall and floor. Meanwhile, chair and rope tile trims can have a high decorative design, such as grooves, beveled edges, or intricate patterns, in case you want to further enhance the aesthetic appeal of your installation.
Consider the overall design of your installation and the space where the tile will meet different surfaces to find the best tile trim for you. We also recommend consulting with your experienced tile installer to find the best trim option for your project.
 Chair rail trim is used here to separate and enhance the tilework from the wall
Metal edging
The metal edging is more often known as "Schluter" trim. The term Schluter is derived from the company that manufactures these profiles, Schluter Systems. It consists of a range of profiles and accessories made of durable materials like aluminum, stainless steel, or PVC. The precise design and high-quality materials of Schluter trim ensure durability and longevity.
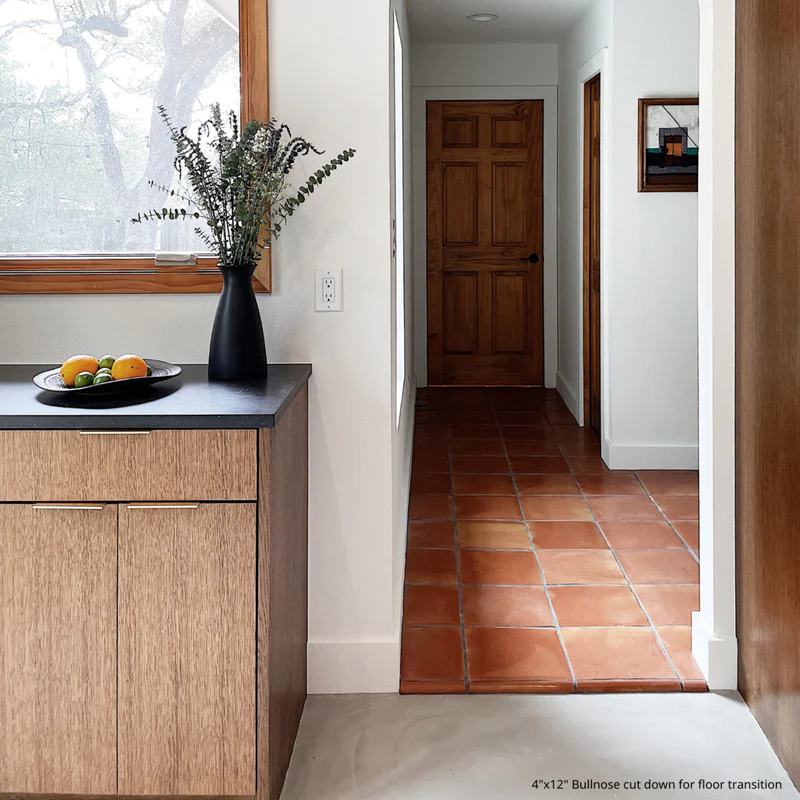
Schluter profiles are available in various shapes and sizes and they are typically used to protect tile edges in heavy traffic areas, ensuring the durability and aesthetic appeal of tiled surfaces. They are used mostly as a flooring transition and to avoid damaging the flooring; they can serve as a visual signal of a change in surface and they provide a smooth, safe and visually appealing shift between the different styles of flooring.
Schluter trim is also used to protect the edges of niches inside walls, especially in showers and bathrooms. They are often used in these rooms in particular to avoid moisture and water entering underneath the tile, while also the overall appearance. Schluter trim is versatile and can be used on flooring to smoothly transition around edges and navigate corners.
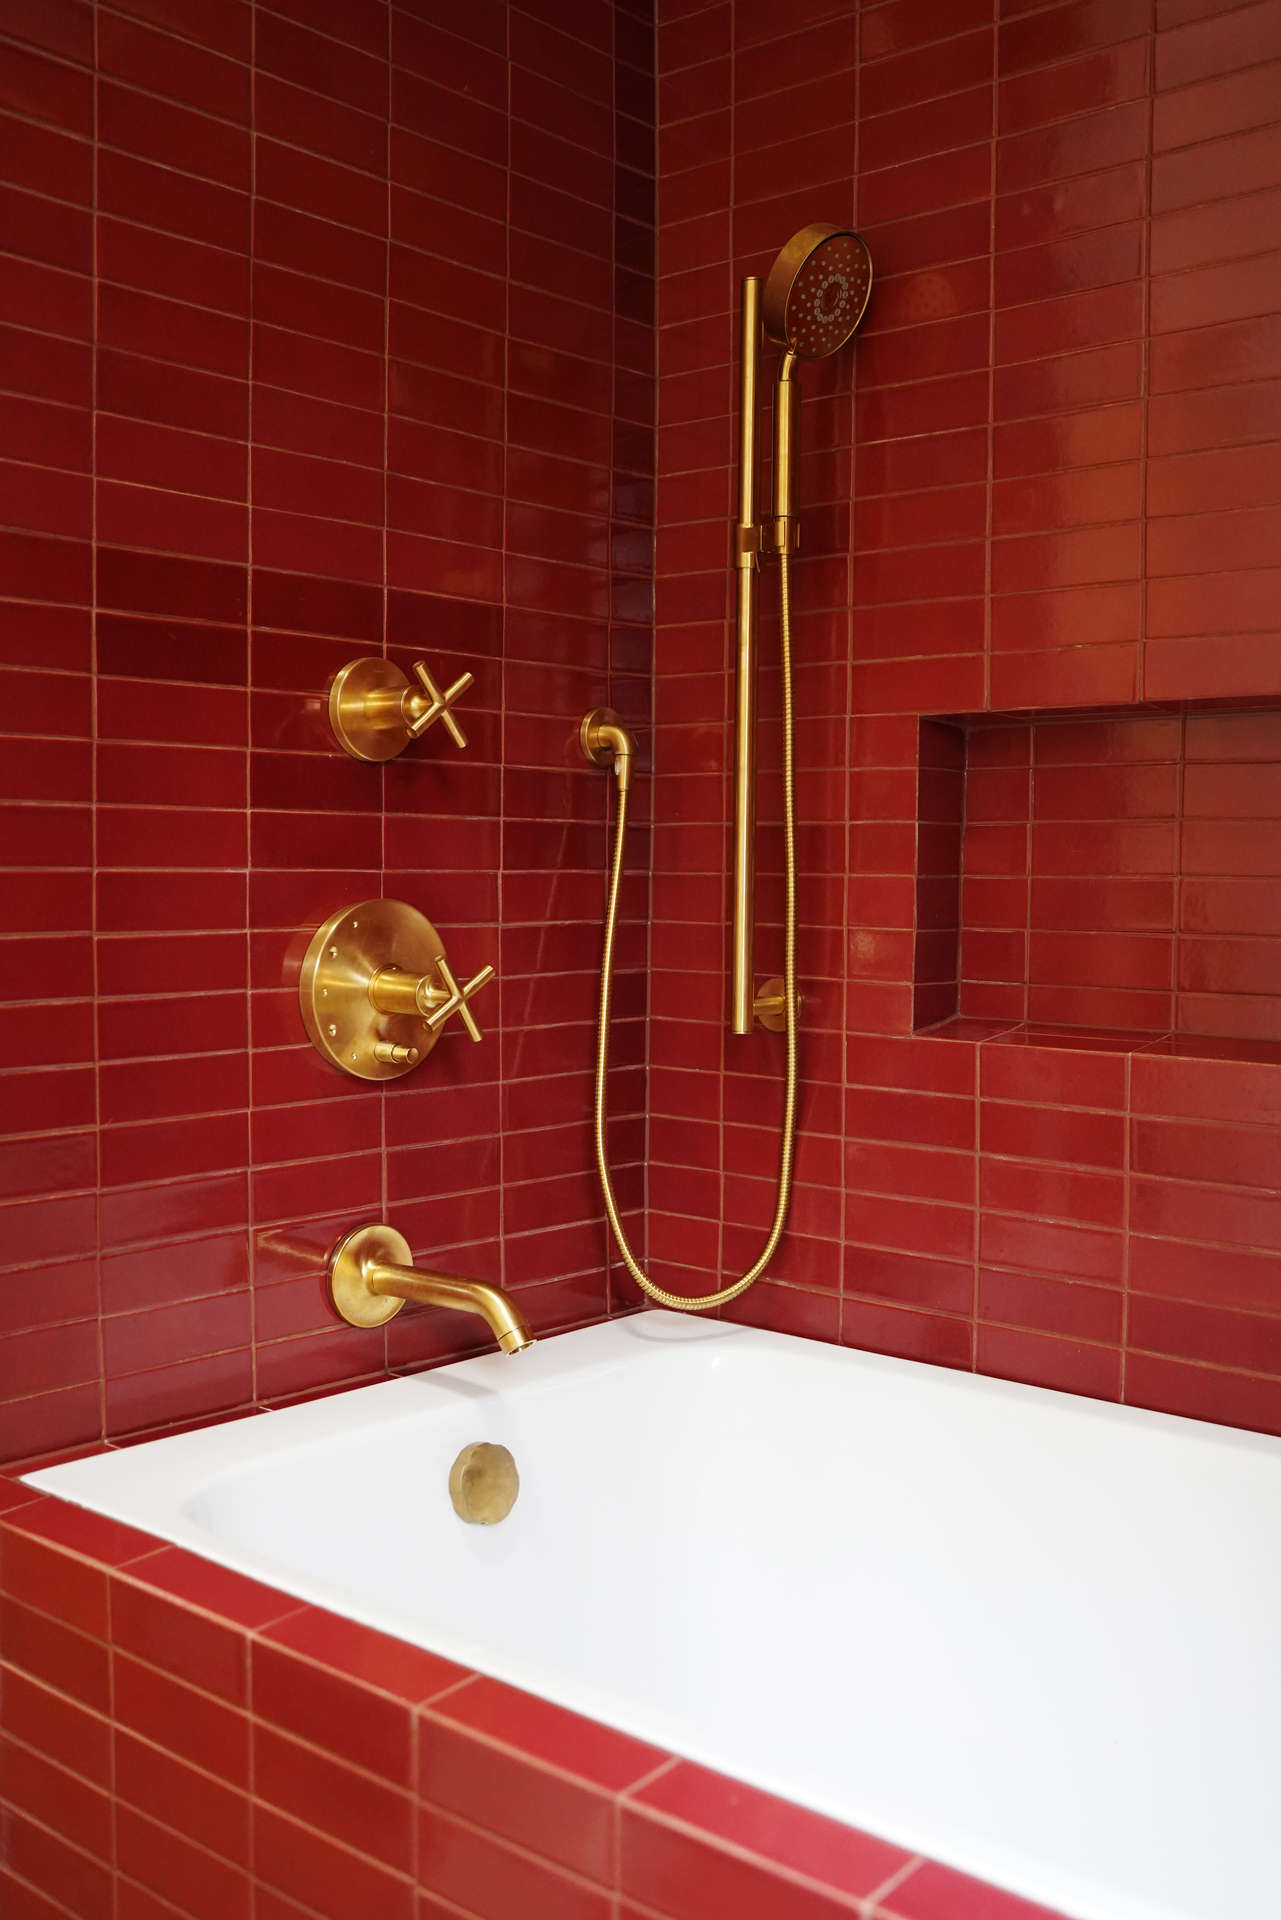
 Both the shower niche and the space where the tile meets the exterior wall feature a metal edging | Design by Olivia Radke
Miter Cut
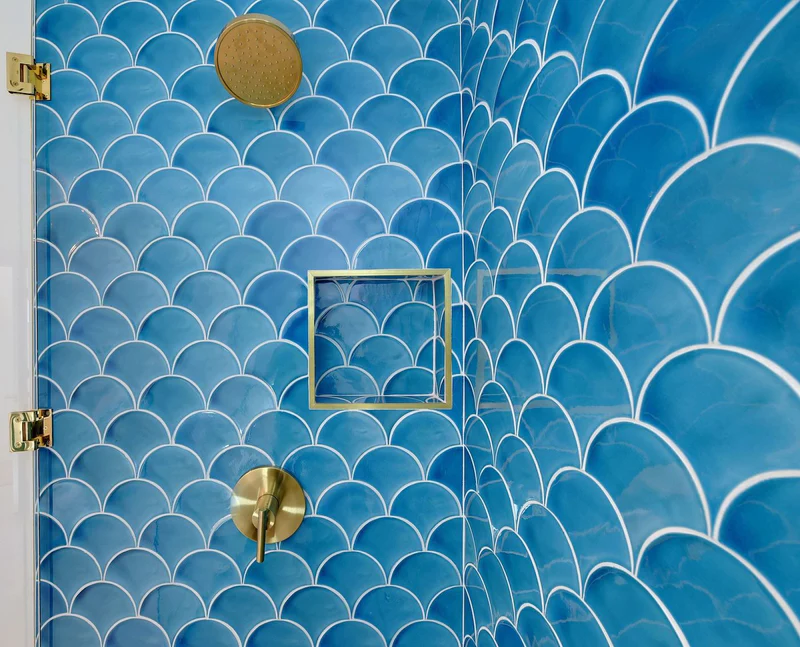
This no trim option is commonly used to create precise corner transitions in tile installations. This technique is commonly used when installing trim profiles that require precise corner fitting. By cutting the tiles at a 45-degree angle, the resulting joints create a professional and polished look, with no visible gaps or uneven edges.
 Miter cut is a popular choice for shower and bathroom niches | Design by Claire Zinnecker
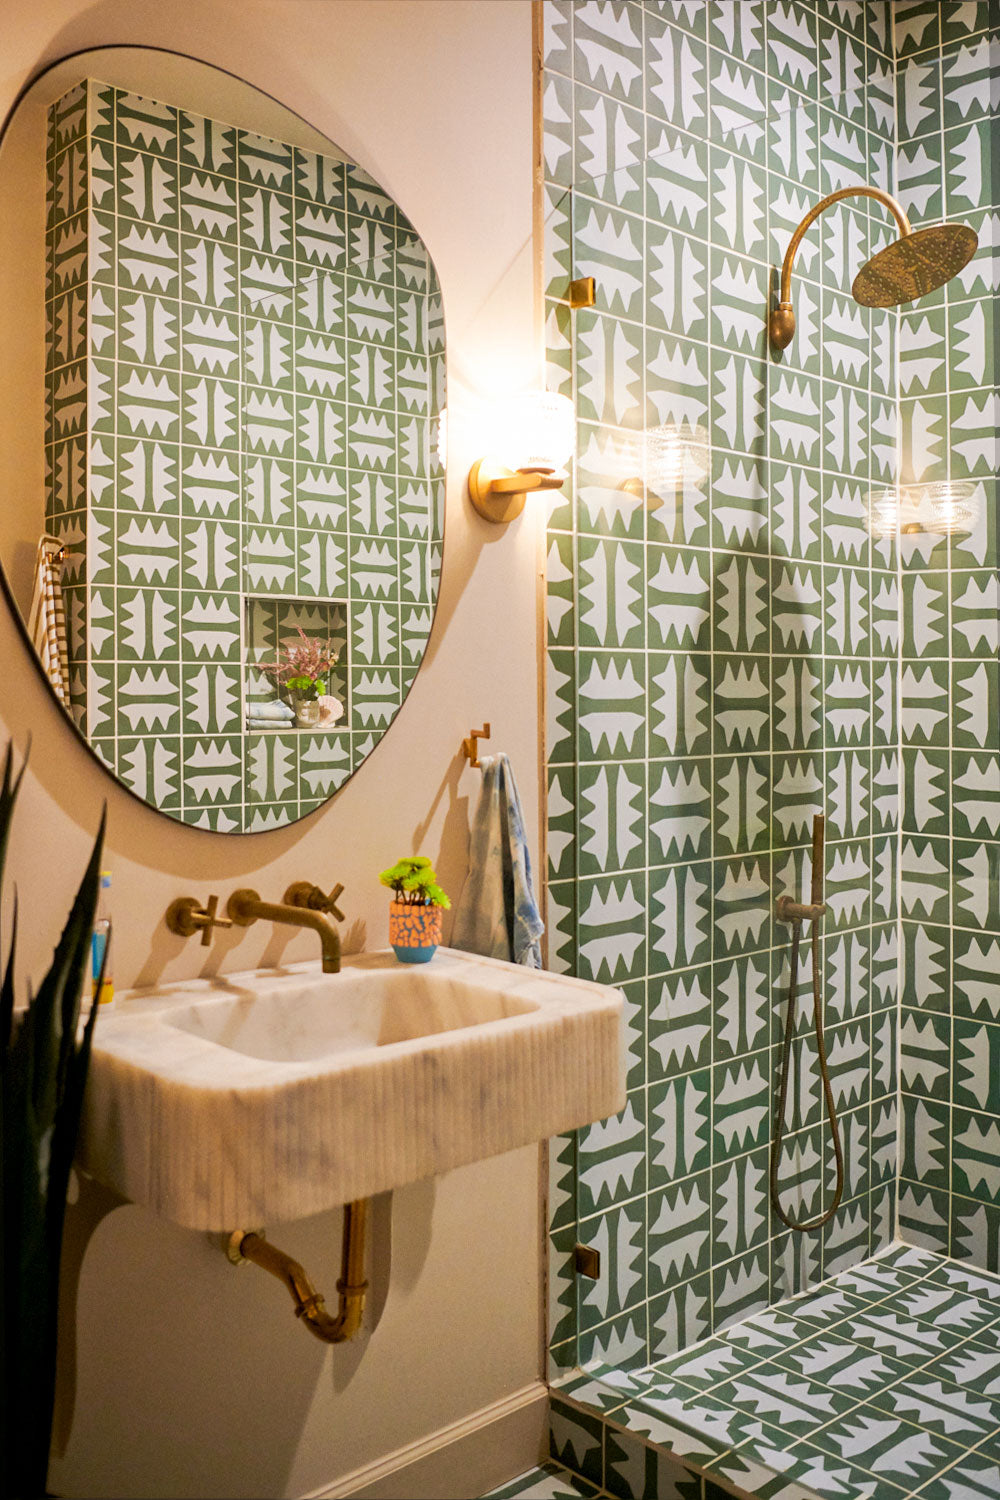
 Design and photo by @casey__casey__casey
Conclusion
Tile trims are indispensable elements that contribute to the overall aesthetics, functionality, and longevity of tile installations. Selecting the appropriate tile trim style is key to enhance the appearance of your tiled surfaces, create smooth transitions, and protect vulnerable edges. Whether you prefer a classic, contemporary, or decorative look, the wide range of tile trims available ensures that you can find the perfect finishing touch for your next tiling project.
Which trim will you be using? Let us know your ideas, or if you have any questions or require more information, don't hesitate to reach out to us at contact@clayimports.com



 Share
Share
 Pin it
