By Clay Imports
Handmade Saltillo tiles are a beautiful and natural flooring option. If you are working with unsealed Saltillo, it is critical to seal the tile properly before grouting or exposure to moisture. This prevents permanent staining, protects the terracotta, and creates a long lasting finish.
While we recommend working with a professional tile installer, if you are going the DIY route, this guide is here to help you understand best practices, materials, and expectations.
- Why do I need to seal Saltillo tile?
- When do I need to seal Saltillo tile?
- What materials do I need to seal Saltillo tile?
- How long does it take Saltillo tile sealer to dry?
Why Does Saltillo Tile Need to Be Sealed?
Saltillo tile is made from natural clay and fired at low temperatures. That means:
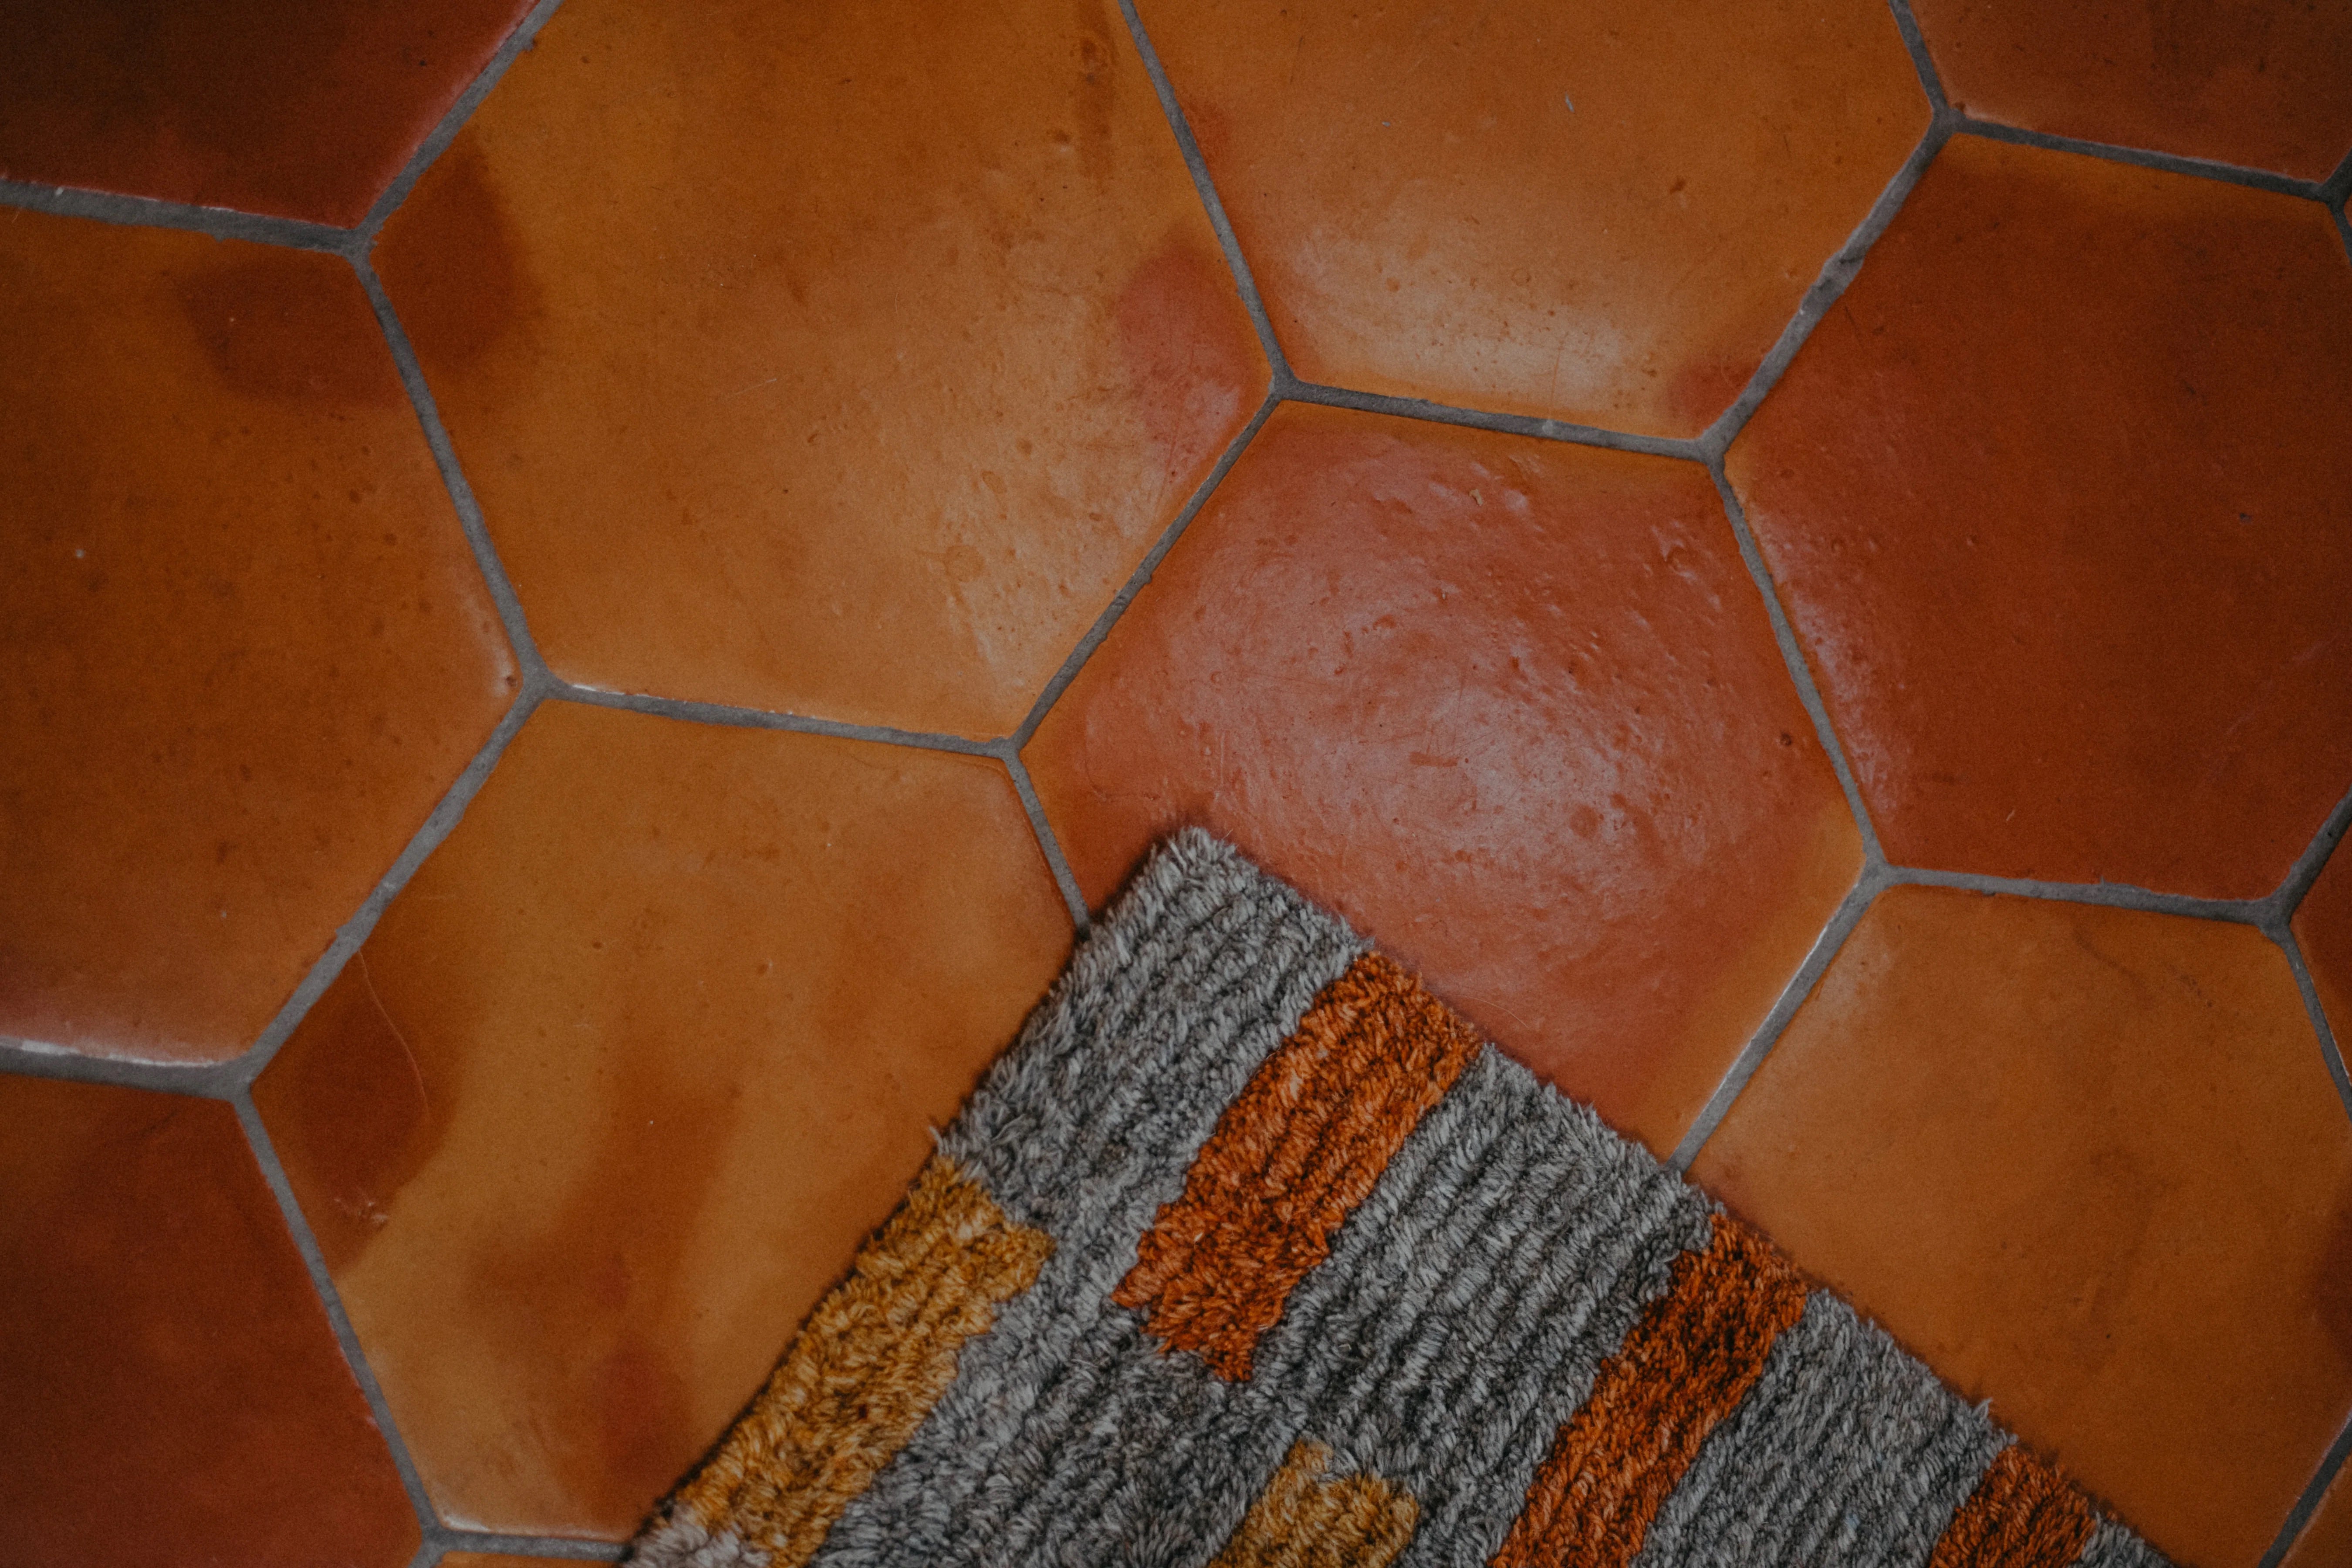
- Extremely porous. It absorbs liquids, dust, and oils rapidly.
- No surface glaze. Unlike porcelain or glazed ceramic tile, there is nothing to repel moisture or stains.
- Handmade variation. Each tile has unique texture and tone that sealing helps enhance and protect.
Unsealed Saltillo tile will permanently stain if exposed to grout, water, or debris before sealing. This is why we typically offer Saltillo pre sealed. If you opted for unsealed tile, sealing before grouting is non negotiable.
Understanding Sealer Types
There are two main categories of sealers used on Saltillo tile:
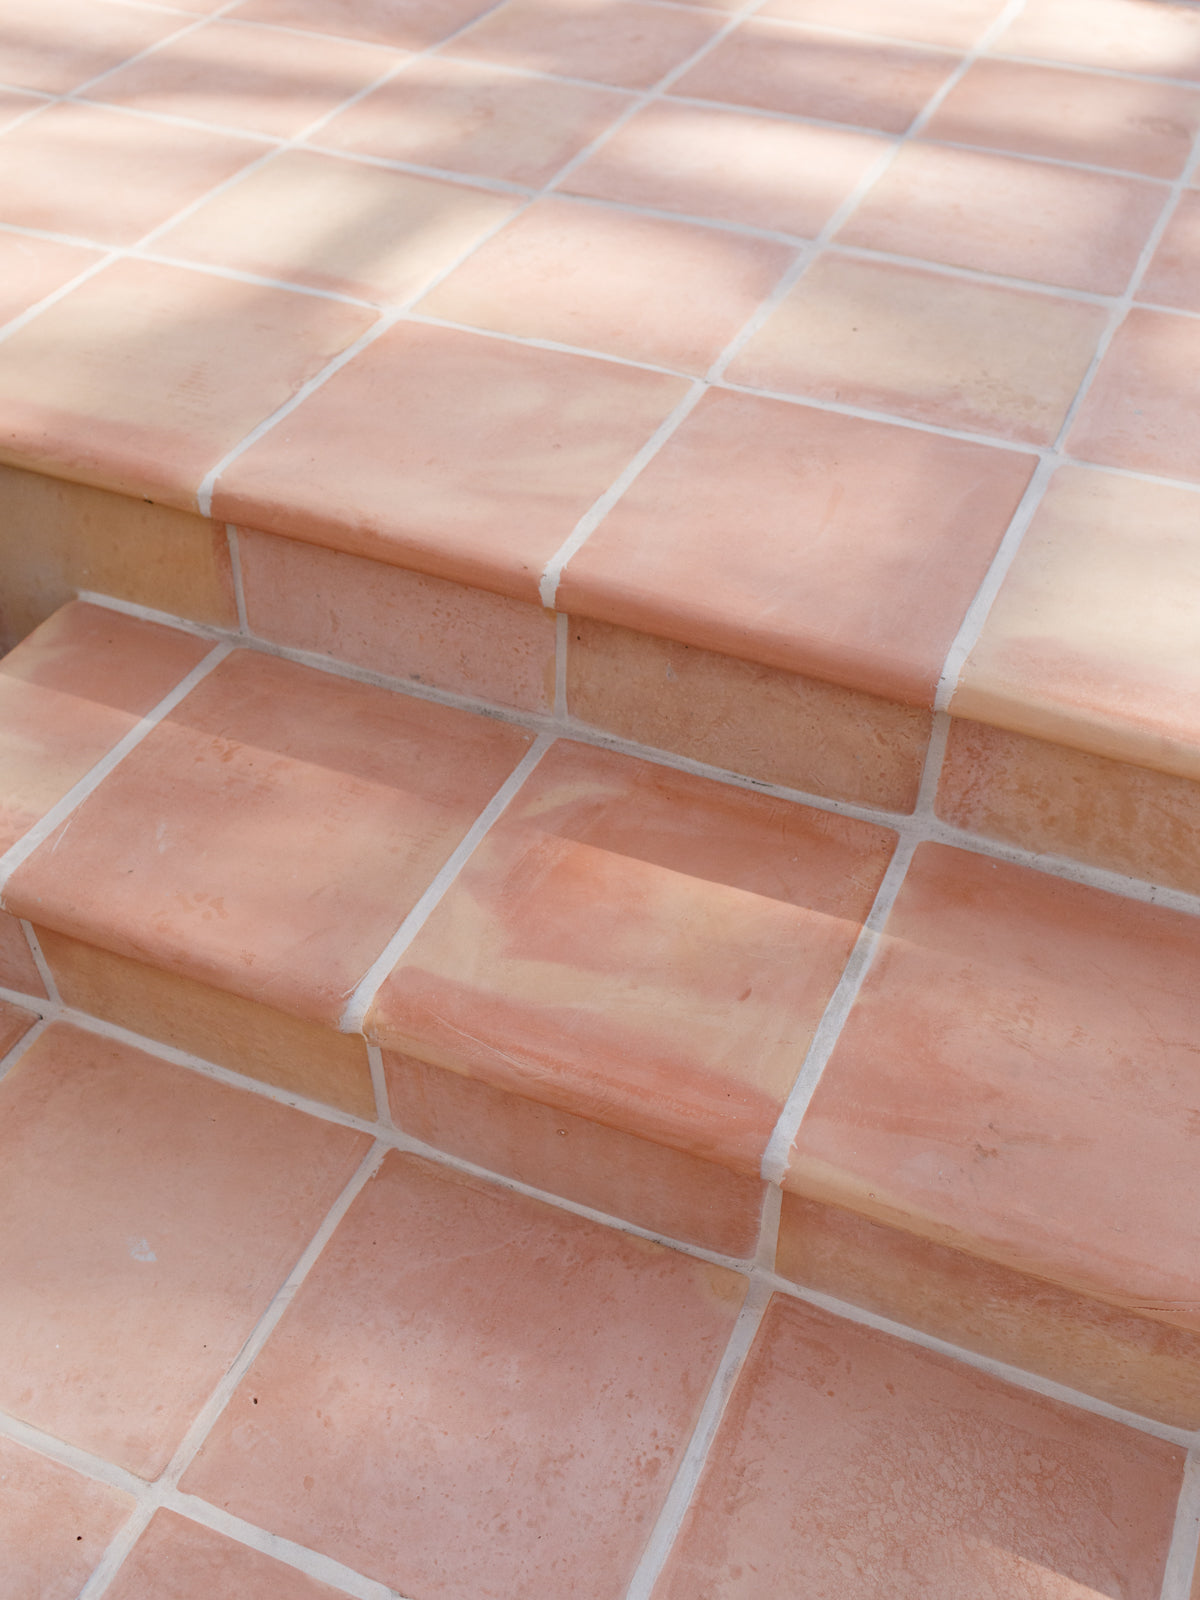
- Penetrating or impregnating sealers soak into the clay and help protect from staining while maintaining a more natural appearance. These do not create surface shine.
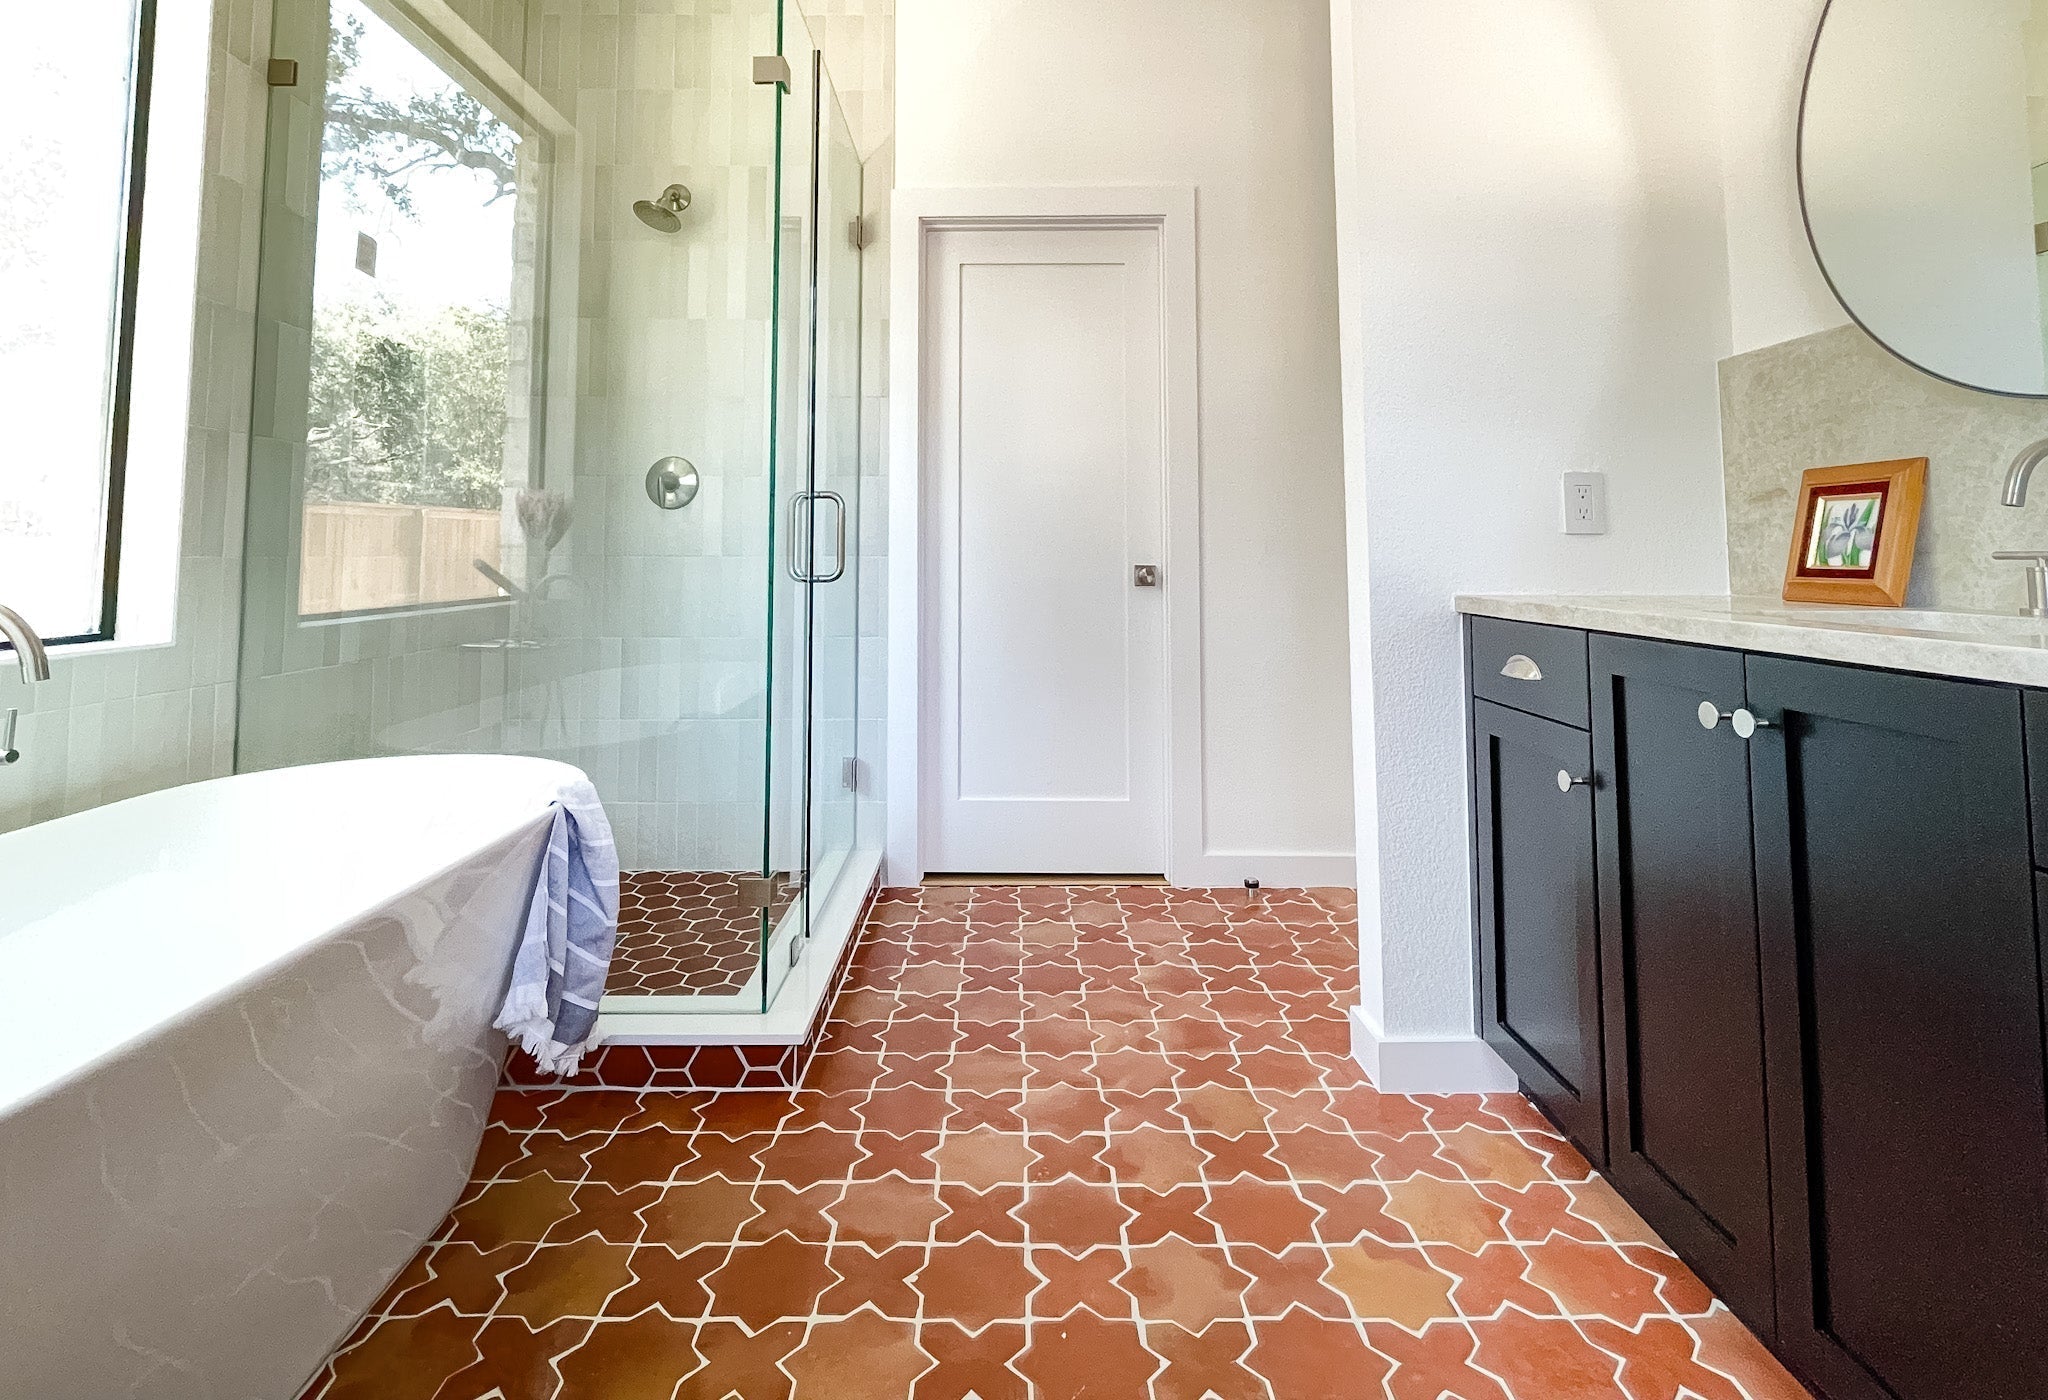
- Film forming or topical sealers build a protective layer on the surface of the tile. These are used when a satin or high gloss finish is desired and are common for traditional Saltillo installations.
This guide focuses on a film forming sealer system for achieving a classic glossy Saltillo finish.
When Should I Seal Saltillo Tile?
Your sealing strategy depends on project size:
Small spaces (under 100 sq. ft.) - Pre seal all tiles before installation.
Larger spaces (over 100 sq. ft.) - It is common to set the tile first, then seal it before grouting. During this time, tiles must be protected from spills, dust, and foot traffic.
Never grout unsealed Saltillo tile. Grout will seep into the pores and permanently stain the surface.
What Materials Do I Need to Seal Saltillo Tile?
To achieve a traditional glossy finish, gather the following:
Sealant System
You may see references to “Rexcel” when researching Saltillo sealing. Rexcel was a specific oil based product that is no longer widely manufactured or available. Today, installers typically use modern equivalents to achieve the same look and performance.
- Glaze N Seal Olé Mexican Tile Sealer (Gloss) - Oil based, film forming sealer designed for Saltillo and other Mexican clay tiles. Produces a deep, classic gloss.
Always follow manufacturer instructions. Do not thin unless the product label specifically allows it.
Application Tools
- Clean 5 gallon plastic buckets
- Clean wooden mixing stick
- Large yellow grout sponges (buy extras)
- Rubber gloves
- Safety goggles
- Respirator or face mask recommended
- Clean rags
Oil based sealers produce strong fumes. Proper ventilation is essential.
Step by Step: Sealing Unsealed Saltillo Tile
Always test your sealer on a spare tile or small area before applying it to the full installation.
Prepare Your Space
- Ensure tiles are completely clean and bone dry.
- Remove dust, debris, or construction residue.
- Lay tiles out on a clean surface if pre sealing.
Apply the First Coat
- Lightly dampen a yellow grout sponge with sealer.
- Let excess drip off. Do not squeeze.
- Apply one tile at a time using straight, even strokes.
- Avoid puddling or heavy buildup.
- Watch for footprints or debris, which will be sealed in permanently.
Dry Time Between Coats
- Allow at least 1 hour between coats.
- The first coat may look uneven or matte. This is normal.
Apply Additional Coats
- Most installations require 3 to 5 thin coats.
- Allow proper dry time between each coat.
- Stop once the finish is glossy and uniform.
Dry Time
- Touch dry: a few hours
- Light foot traffic: 12 to 24 hours
- Full cure: up to 72 hours
- Avoid moisture or cleaning during cure time
After Sealing: What Is Next?
- Install tile using a thin set mortar appropriate for Saltillo.
- Grout the joints.
- Apply a compatible topcoat sealer after grouting to protect tile and grout.
We recommend our Clay Care topcoat products, formulated specifically for Saltillo tile, especially for kitchens, bathrooms, and high traffic areas.
Maintenance and Resealing
- Clean with a pH neutral cleaner only.
- Avoid acidic or abrasive products.
- Test periodically by placing a few drops of water on the surface. If water darkens the tile quickly, resealing may be needed.
- Film forming sealers may require maintenance or reapplication over time depending on traffic and use.
Final Tips
- Multiple thin coats always perform better than thick applications.
- Change sponges frequently as they break down.
- Dry times may be shorter in hot or dry climates.
- Always test before committing to the full installation.
Frequently Asked Questions About Rexcel and Saltillo Sealers
Is Rexcel sealer still available?
Rexcel was a specific oil based sealer that was commonly used on Saltillo tile in the past. It is no longer widely manufactured or readily available, which is why it is difficult to find online today.
What is a good alternative to Rexcel sealer?
The closest modern alternative to Rexcel is Glaze N Seal Olé Mexican Tile Sealer (Gloss). It is an oil based, film forming sealer designed specifically for Saltillo and other Mexican clay tiles and produces a similar deep color enhancement and glossy finish.
Is Rexcel a type of sealer or a brand name?
Rexcel was a brand name, not a category of sealer. When people refer to “Rexcel” today, they are usually describing the look and performance of a traditional oil based, high gloss Saltillo sealer rather than an actively sold product.
Can I still get the classic glossy Saltillo look without Rexcel?
Yes. While Rexcel itself is no longer commonly available, modern oil based Mexican tile sealers like Olé can achieve the same classic glossy Saltillo appearance when applied in multiple thin coats.
Is an oil based sealer required for a glossy Saltillo finish?
For a traditional high gloss Saltillo finish, a film forming sealer is typically required. Penetrating sealers protect the tile but do not create surface shine.
Should I test a Rexcel alternative before sealing my entire floor?
Always test any sealer on a spare tile or small area before full application. This ensures compatibility, confirms the finish, and helps you adjust application technique if needed.
Questions or Need Help?
Reach out anytime at contact@clayimports.com. Our team is happy to help with product recommendations or general guidance.
Because installation techniques significantly impact performance and appearance, Clay Imports does not warranty tile not purchased from us or tile once installed. This guide is intended as a general reference. Always consult a professional installer for project specific recommendations.
 Share
Share
 Pin it