The Timeless Appeal of Handmade Zellige Tile
Handmade Zellige tile is making waves in the design world, and for good reason! Its organic imperfections, glossy finish, and artisanal charm create a truly unique look that stands apart from mass-produced tiles. The term "Zellige" comes from the Arabic word "زايج," meaning "ornamental tile," and its rich history traces back centuries.
- Where and How is Clay Imports Zellige Tile Made?
- The Move to Lead-Free Zellige
- What Makes Zellige Different from Other Clay Tiles?
- Why Choose Clay Imports Zellige?
- Installation & Maintenance Tips
- Can You Use Zellige Tile in a Pool?
- How to Install Zellige Tile
Where and How is Clay Imports Zellige Tile Made?
At Clay Imports, our product development team has explored the craftsmanship behind Zellige firsthand. We visited workshops in Fez, Morocco (a UNESCO World Heritage Site where artisans have passed down their techniques for generations. Interestingly, we found striking similarities between Moroccan Zellige and Mexican Saltillo tile-making.
Both tiles begin as a mixture of clay and water, then are hand-shaped, sun-dried, and kiln-fired. Moroccan artisans stack tiles in simple kilns for firing, much like the process used in Mexico. However, the key difference lies in glazing. While Saltillo tiles remain unglazed, Zellige tiles are coated with a glossy ceramic glaze—traditionally lead-based.
The Move to Lead-Free Zellige
While traditional Moroccan Zellige uses lead-based glazes to achieve its signature shine, this comes with health risks for tile makers. At Clay Imports, we are committed to safety and sustainability, so our Zellige tiles use only lead-free glazes. This ensures a safe working environment for artisans and meets modern safety standards while still delivering the stunning look Zellige is known for.

What Makes Zellige Different from Other Clay Tiles?
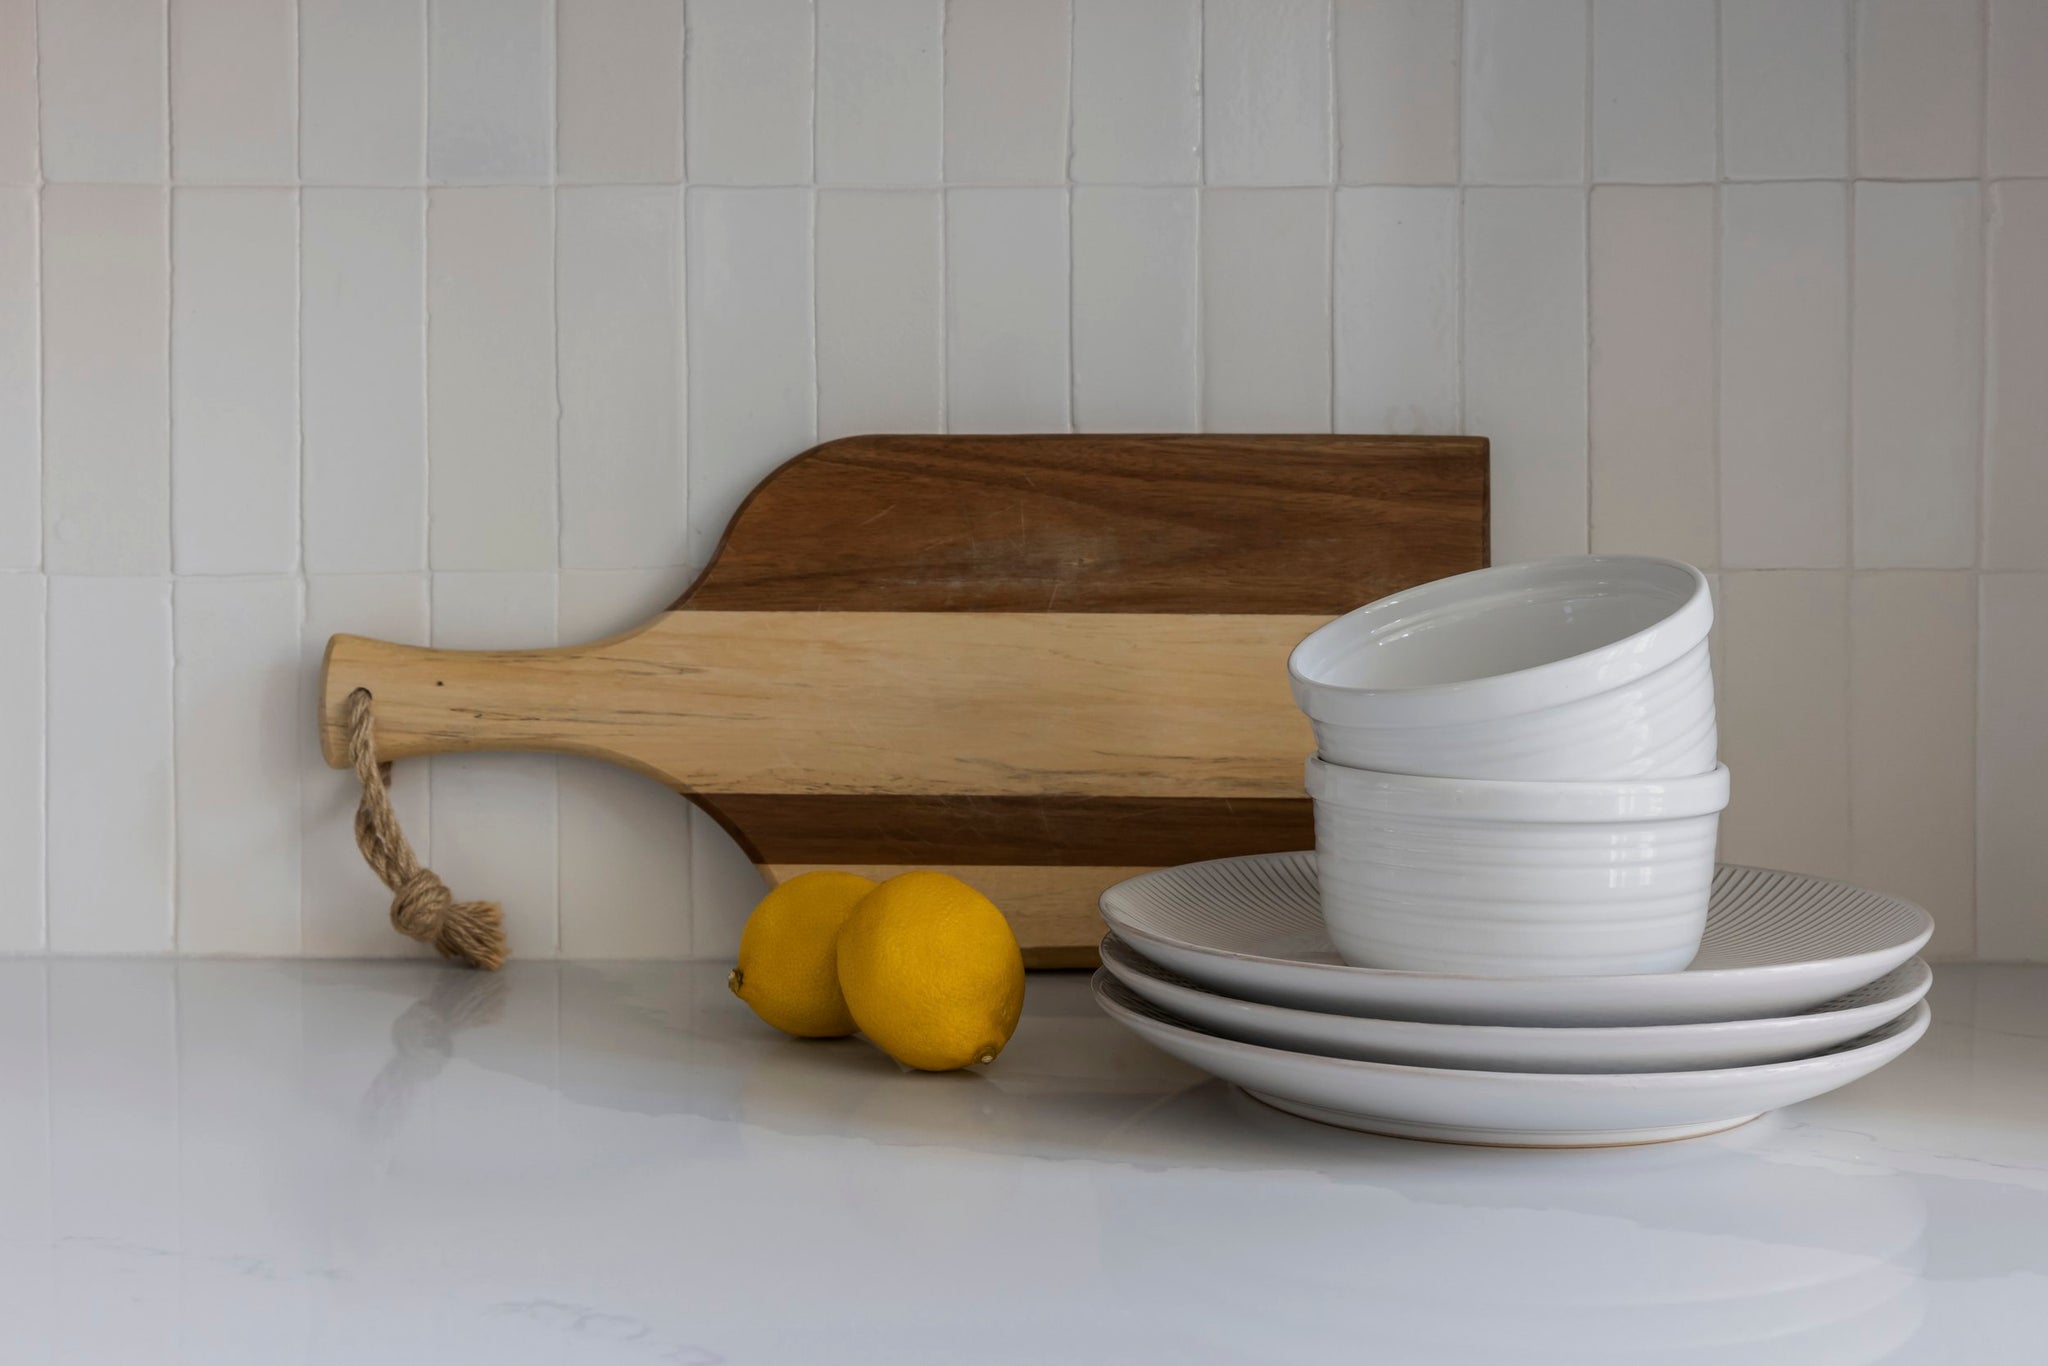
The biggest visual difference? Beveled edges. Unlike conventional clay tiles, Zellige tiles have slightly slanted edges, allowing for ultra-tight grout joints. This creates a seamless, hand-crafted aesthetic that’s hard to replicate.
Since Zellige is handcrafted, variations in size, thickness, and texture are expected: these organic imperfections add to its charm. Both Zellige and traditional clay tiles are suitable for backsplashes, showers, and floors with low to moderate traffic.

Zellige tiles have slightly slanted edges, allowing for ultra-tight grout joints.
Why Choose Clay Imports Zellige?
Clay Imports Zellige is:
- Sustainably Made – Using recycled clay materials.
- Lead-Free – Ensuring safety for artisans and consumers.
- 100% Handmade – Crafted by skilled artisans in Mexico.
- Durable & High-Quality – Perfect for various indoor and outdoor applications.
- Ethically Sourced – Supporting a growing artisan community.
When you choose Clay Imports, you’re investing in craftsmanship, sustainability, and ethical production.
Installation & Maintenance Tips
Do You Need to Grout Zellige Tile?
Yes! While some people choose to butt-joint Zellige tiles without grout, we recommend minimal grout spacing (1/16” – 1/8”) for durability and longevity.
Best Grout Color for Zellige?
To let the beauty of Zellige shine, opt for neutral grout colors like light or medium gray. We recommend Mapei Ultracolor Plus FA or Mapei Flexcolor CQ for the best results.
Size & Thickness Options

Our Zellige tiles come in:
- 4” x 4” (Classic Size)
- 2” x 6”
- 2” x 8” Each tile is approximately ⅜” thick, but due to their handmade nature, variations are expected.
Can You Use Zellige Tile in a Pool?
While Moroccan Zellige has been used in water features for centuries, it requires careful installation and maintenance. Due to its unglazed edges and back, prolonged water exposure may lead to damage. To err on the side of caution, we do not recommend Zellige for submerged or waterline applications.

High variation is an undeniable characteristic of zellige tile.
Design Casey Willson | Photo by Brooke Cooper.
How to Install Zellige Tile
Due to its unique characteristics, Zellige requires more time and skill to install. We highly recommend hiring a professional tile installer experienced in handmade tile. If you’re tackling a DIY project, follow these key steps:
Before Installing:
- Inspect all tiles before installation: variations in color, size, and texture are expected.
- Mix tiles from multiple boxes to create a natural, blended look.
- Clean each tile with a cloth to remove clay residue.
- Plan your layout and mark the installation surface using chalk lines or laser levels.
- Use a 1/2” trowel to evenly spread adhesive in small sections.
- Back-butter each tile with adhesive before pressing it onto the surface.
- Avoid direct contact between tile and setting surface—ensure full coverage.
- Use flexible 2mm spacers (or hand-adjust for a traditional look).
- Clean excess glue immediately and let adhesive dry for at least 24 hours.
Grouting Tips:
- Apply grout release before grouting to prevent residue.
- Use neutral grout colors to highlight Zellige’s natural beauty.
- Clean grout within 10 minutes to avoid stains.
- Let grout cure for 24 hours before use.
White subway-style Zellige tile backsplash in a kitchen.
Design by Hippie Design Studio | Photo by Cate Black
How to Maintain Zellige Tile
Proper care ensures Zellige remains stunning for years:
- Regularly clean with mild soap and water.
- Use sealers and maintenance products (available through Clay Imports).
- Avoid harsh cleaners that may damage the glaze.
How to Order Zellige Tile
Since Zellige tiles are known for their beautiful irregularities, we strongly recommend ordering samples first to ensure you love the look in your space. Order samples online and test them in your lighting.
Ready to purchase? Order your full quantity online, adding at least 15% extra for cuts and breakage.
Have questions? Email us at contact@clayimports.com.
Embrace the Beauty of Handmade Zellige
Zellige tile is more than just a design trend—it’s a centuries-old craft that brings warmth, history, and authenticity to your space. With Clay Imports’ sustainable and lead-free options, you can enjoy the beauty of Zellige while supporting ethical craftsmanship.
Ready to transform your space? Browse our Zellige collection today!
By Clay Imports


 Share
Share
 Pin it


