If you’re like most of us, you’re looking for budget-friendly ways to incorporate tile into your home. Not everyone has the ability to pay for a full-scale tile installation, but many tile installation projects can be done by tile install newbies.
Allie Launius is the Founder of Stampworthy Goods, a vintage and tiled furniture company based in Lockhart, TX.
As she prepared to open a new showroom in Lockhart, she had a laundry list of renovations to turn an abandoned dry cleaning building into her showroom.
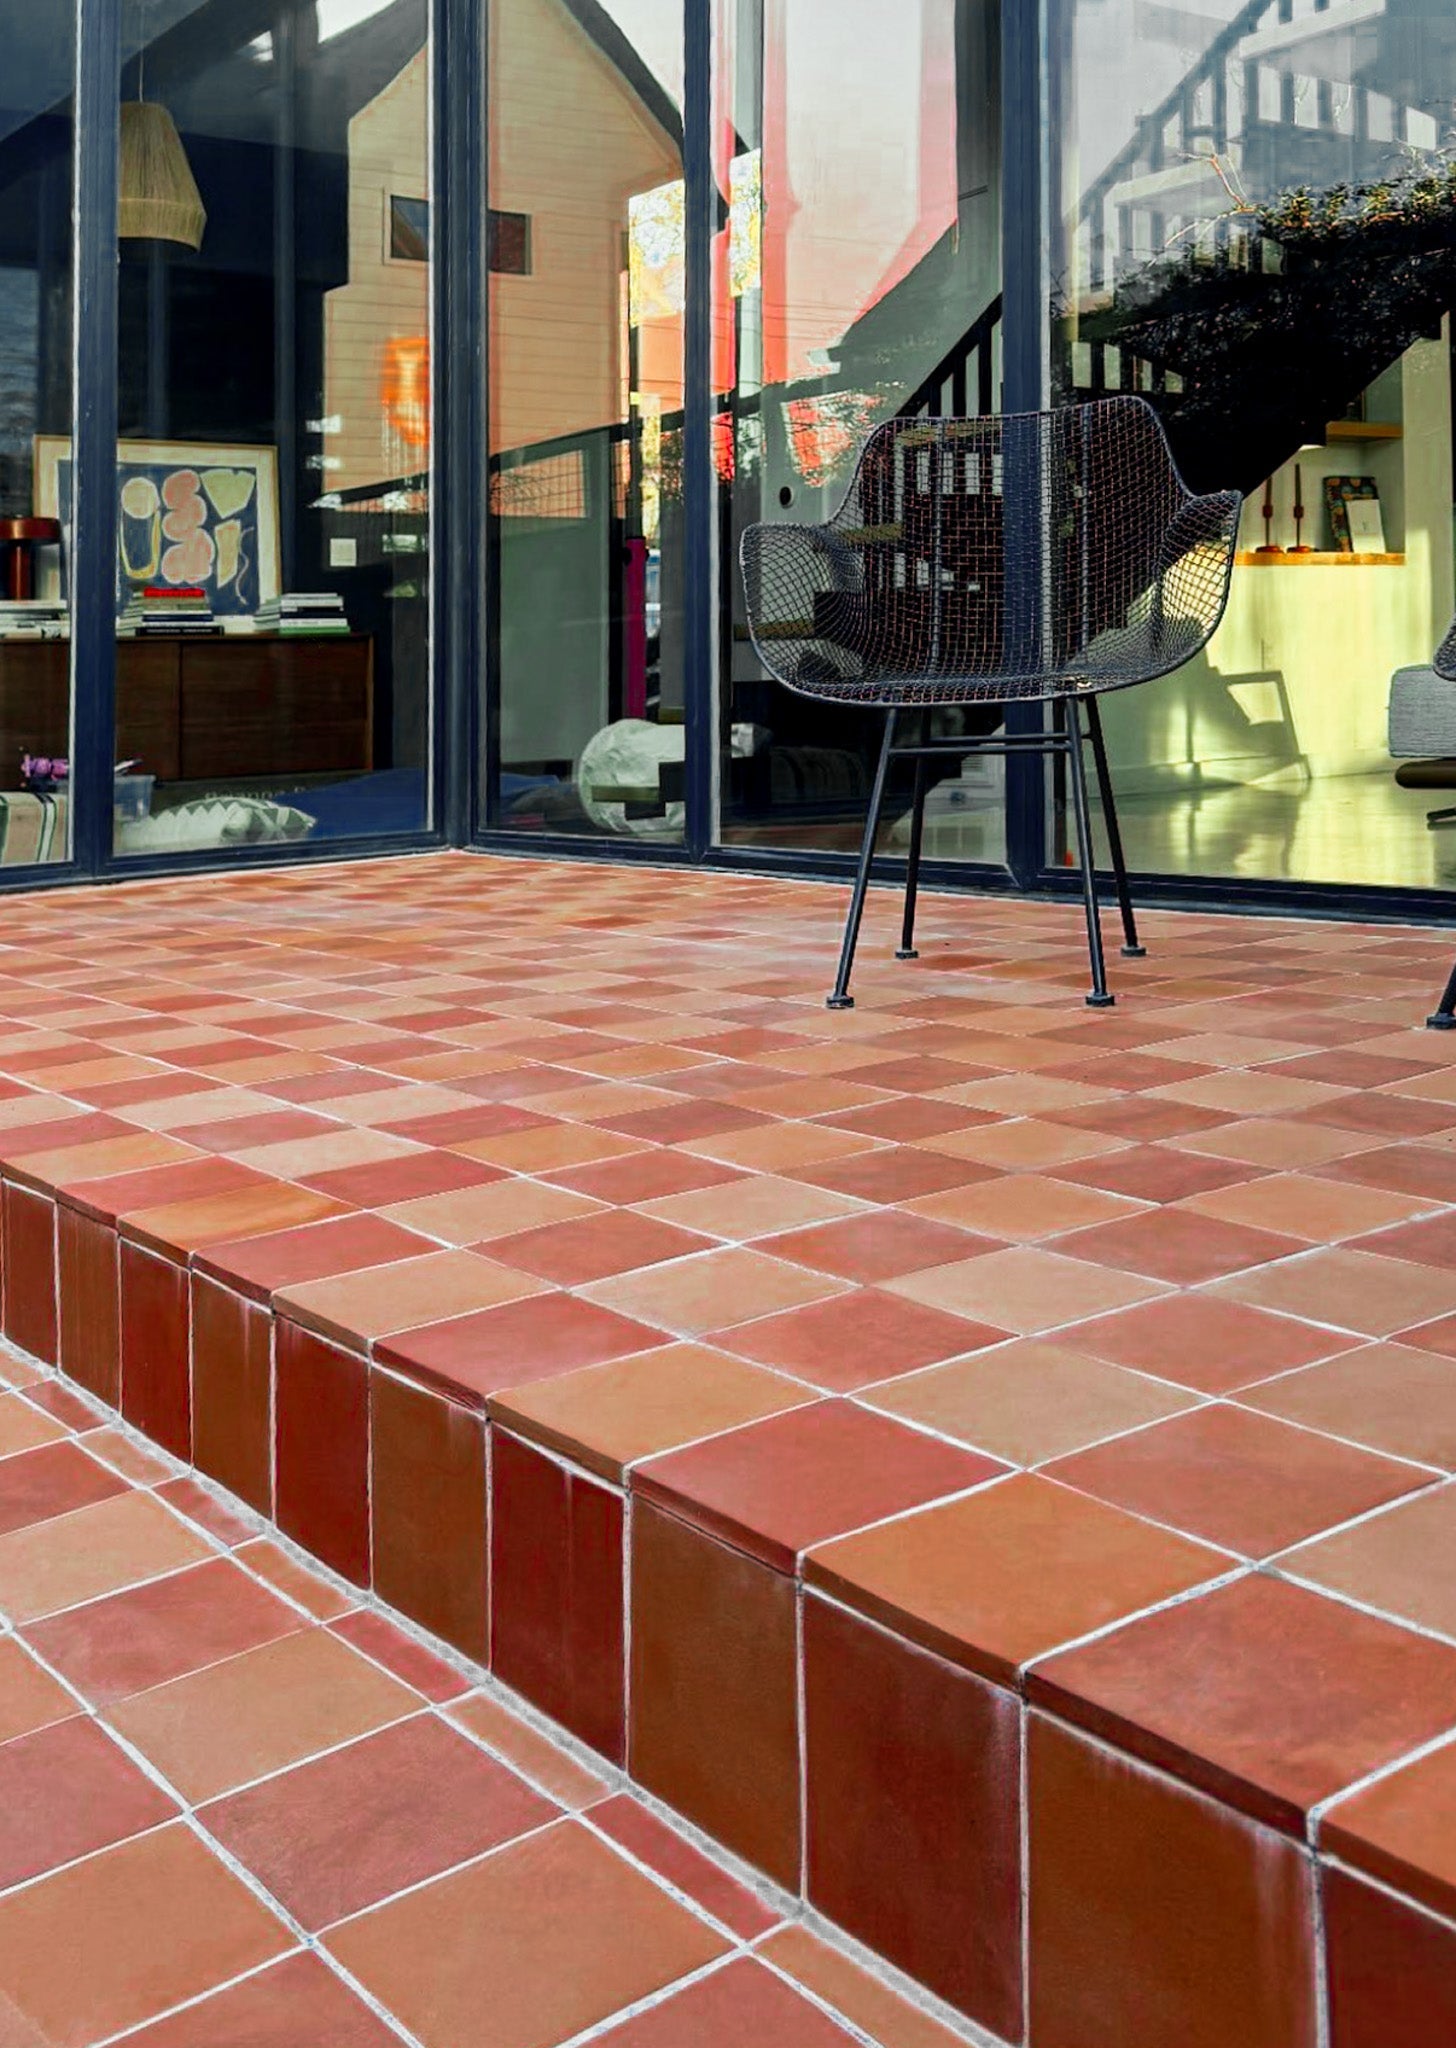
Top of her list? Replacing the old floor with Clay Imports Saltillo tile. We’ve put together a 6-day plan for a DIY Saltillo tile installation for anyone looking to do their own project.
Watch the video for visuals on how to tackle each step:
Prep Work:
Measure your installation area. Allie wanted to replace her entire showroom floor with Saltillo tile and measured approximately 600 sq ft. Make sure to do the calculations for how many tiles you’ll need and add 10-20% in case of breakage.
Budget Friendly Tip! Check out Clay Imports Last Call sales. Allie had a lot of renovations to do for her showroom—not to mention running a one-woman business and had a tight budget for tile. She waited for a Clay Imports Last Call sale to purchase leftover Saltillo tile that fit the space at 70% of the typical cost.
DAY 1: Rip up the old floor.
Tear up floor. Luckily, the previous floors were wood laminate floating floors. These can be pulled up by hand or using the claw side of a hammer.
Budget Friendly Tip #2! Want to turn the old flooring into some cash? Make sure to preserve each piece as you tear it up. You can easily sell flooring in good condition on Craigslist or Facebook Marketplace.
Unload tile. Unloading tile will be a workout. Save on delivery costs by picking up tile with a truck. For 600 sq. ft of tile, the pallet filled up the back of a pickup. Smaller projects you can get away with using an SUV.
DAY 2: Prep the floor.
Shopping: Make sure you have your shopping list prepped. Our trip to Lowe’s included Mapei grout, ceramic tile mortar, trowel, a float, plenty of large buckets, chalk line kit, and a wet saw. Cost: <$1000
Avoid our mistake! Not buying enough grout and mortar. We had to make extra trips during the installation which wasted precious time and was disruptive.
Floor Prep:
- Sweep away dust and debris. Then, run a wet mop over the floor. Important: Let the floor dry before installation.
- Level the floor. Luckily, this floor was fairly even without any major holes or cracks. But do address those with floor leveler or patching before laying tile.
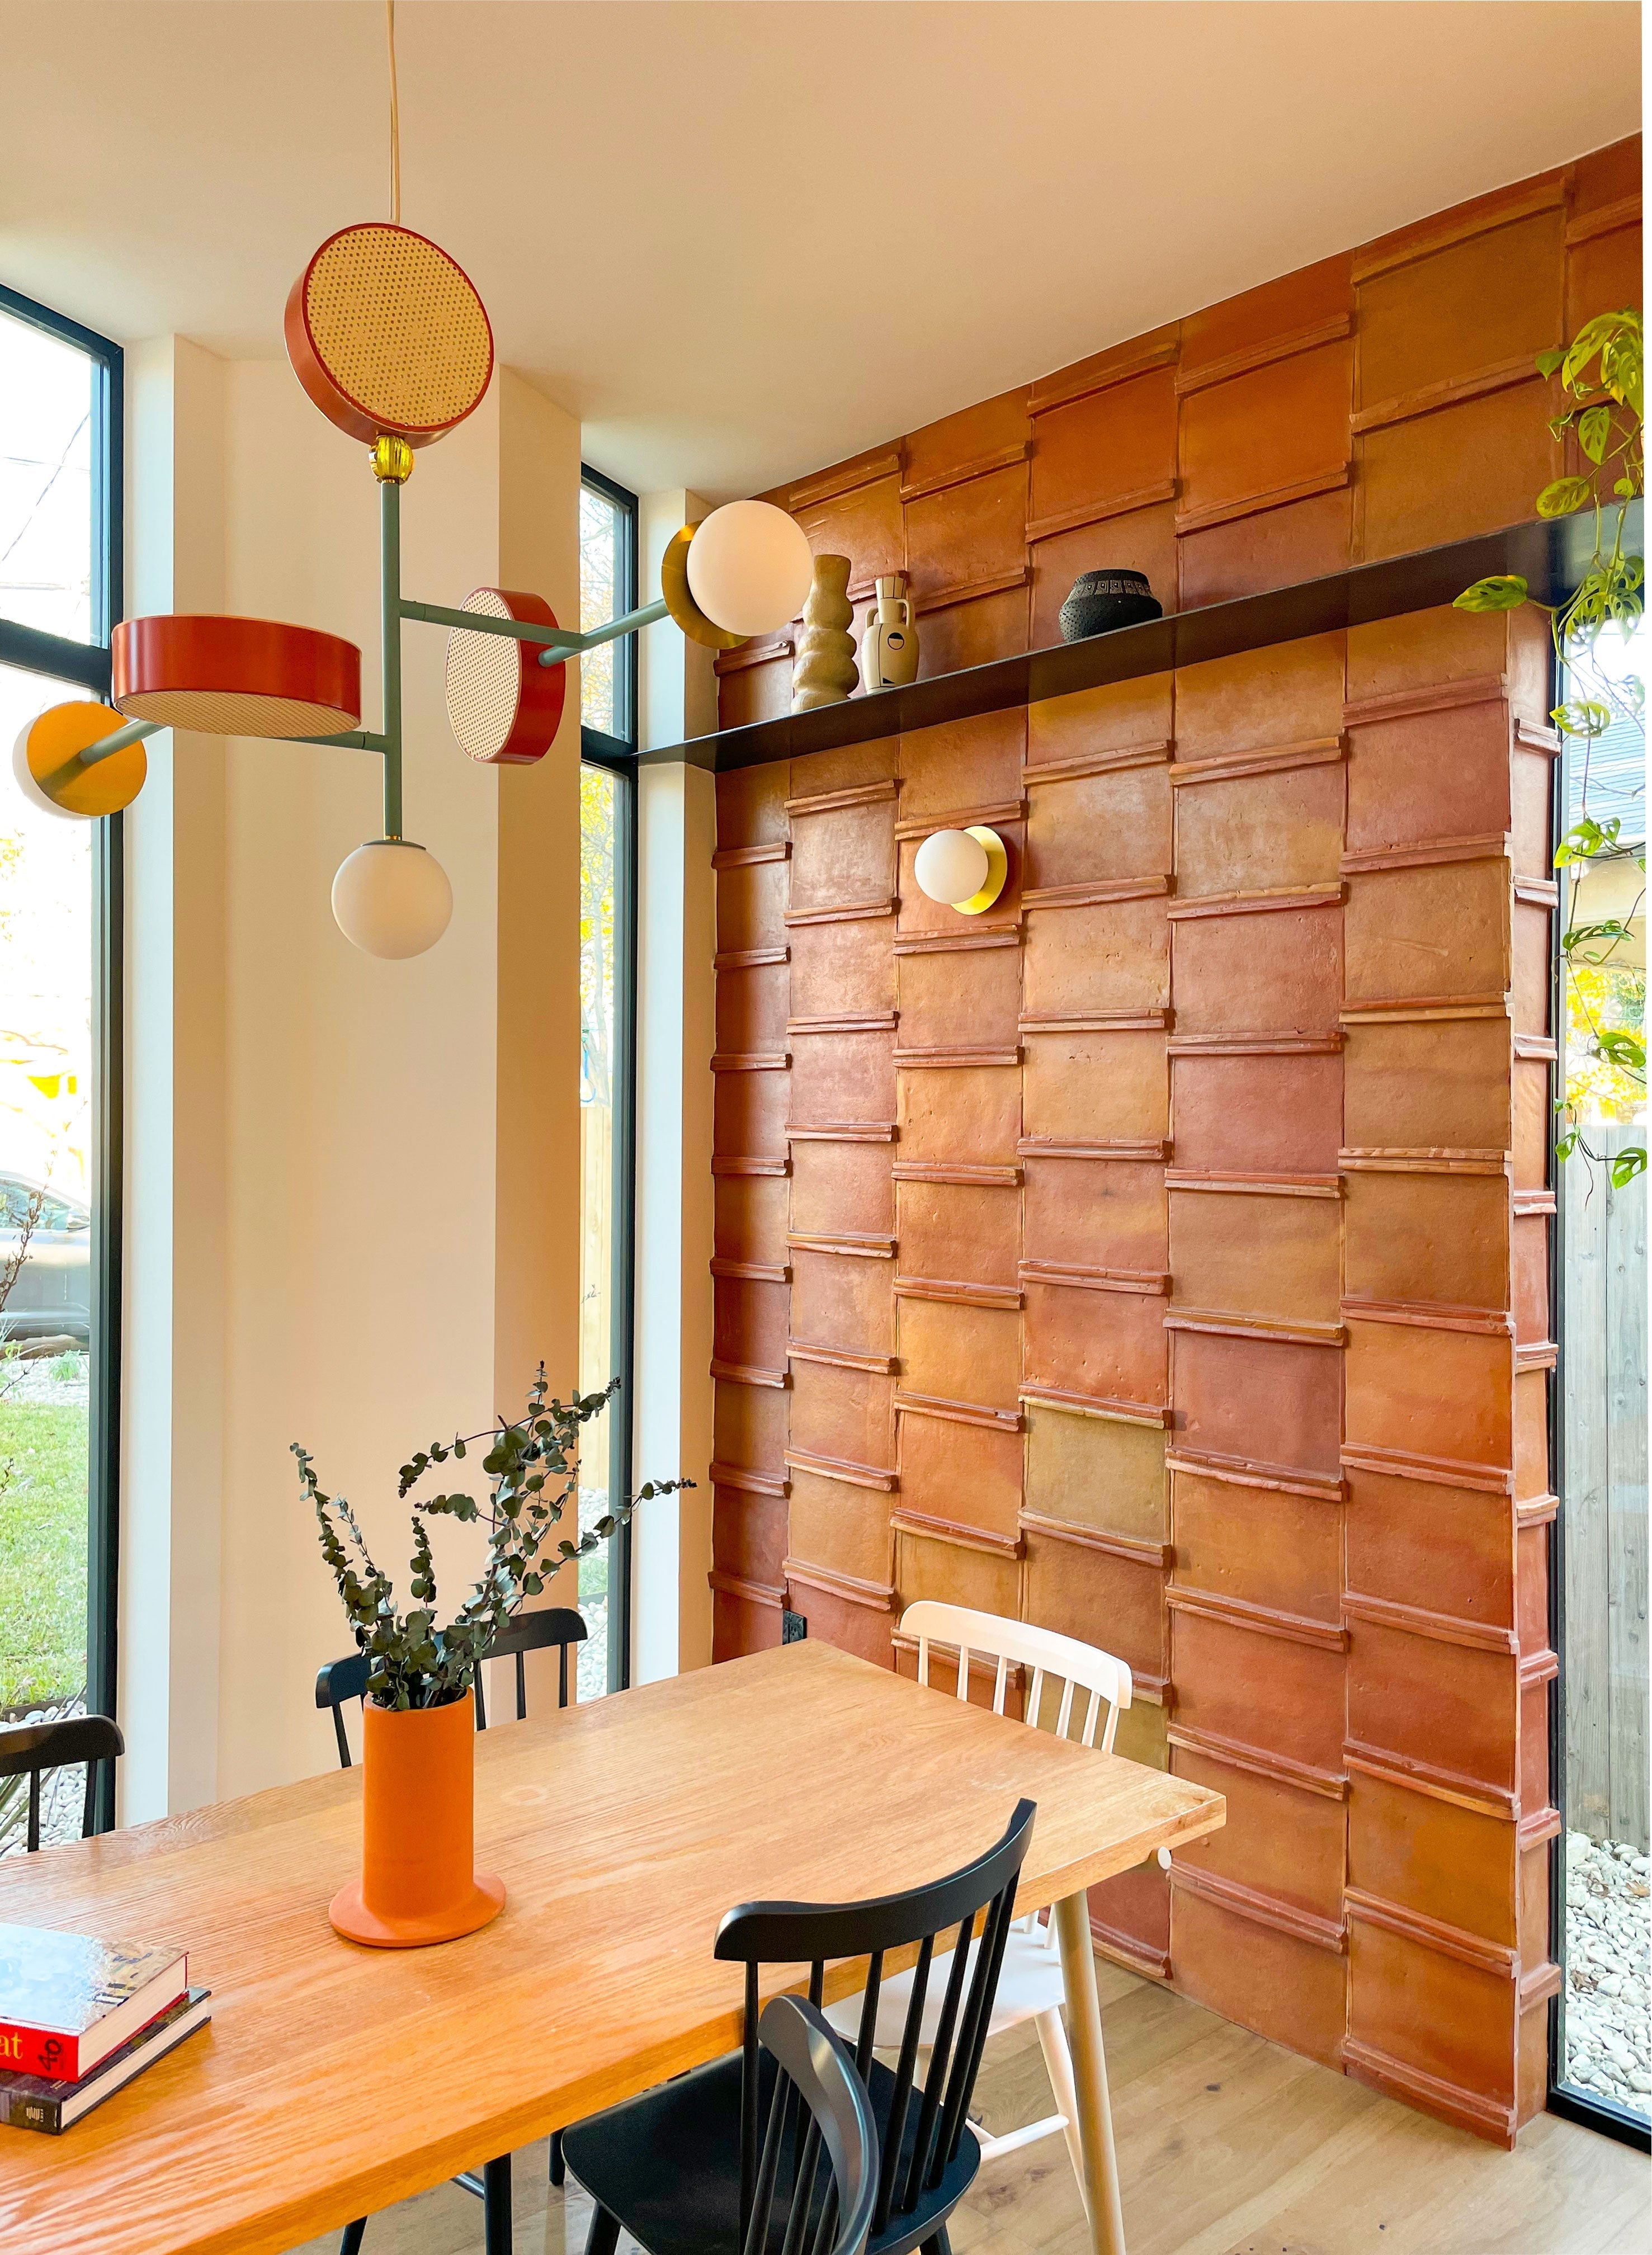
- Creating the grid: Allie chose an intricate pattern of two styles of Saltillo tile and was installing this pattern across a large floor. To ensure their installation lines were straight without using spacers, it’s important to use chalk lines and a chalk line kit.
- Pro tip: To keep the chalk from blowing away, spray with the lines with hair spray to keep them prominent and visible.
Day 3 + 4: Install And Cut Tile.
Lay the tile. Using thinset, we spent the next two days laying the tile across the entire 600 square foot floor. This part of the project could use an assistant or two if you have them. Also knee pads as you’ll be on all fours for most of the day.
Make your cuts for the borders. Once the tile was laid, we had to make cuts to fit these cut tiles in along the borders. Use a wet tile saw to cut each tile precisely—it’s not as scary as it looks! These can typically be rented from some larger department stores like Lowe's.
Day 5: Seal.
Once the tile adhesive has dried, it’s important to seal the Saltillo tiles to protect them.
These tiles were a mix of sealed and unsealed tiles, and so we used a sponge mop to apply several coatings of sealant across the floor.
Don’t worry about overdoing it as the sealant will protect the floor—particularly in Stampworthy's high traffic showroom where she will be moving furniture.
Day 6: Grout.
Mix the grout with water and use a grout float to apply the grout in between each piece of tile. Tackle the grout in small spaces, let it dry, then wipe off excess grout.
If you want some more in-depth written instructions, we've built an installation guide for Saltillo tile for all you DIYers.
Day 7: Enjoy.
And be sure to check out Stampworthy Goods new showroom in Lockhart! And remember, if you have any questions or require more information, don't hesitate to reach out to us at contact@clayimports.com.
Disclaimer: since the installation of tile greatly determines the integrity of the project and the tile itself, Clay imports does not warranty this product and is not responsible for dissatisfaction of material following installation. Please inspect all tile upon receipt and notify us immediately if you have any quality concerns. This guide is meant to serve as a general resource. Because each project is unique, consult your tile installer before installing your tile.
 Share
Share
 Pin it