DIY with Stampworthy Goods
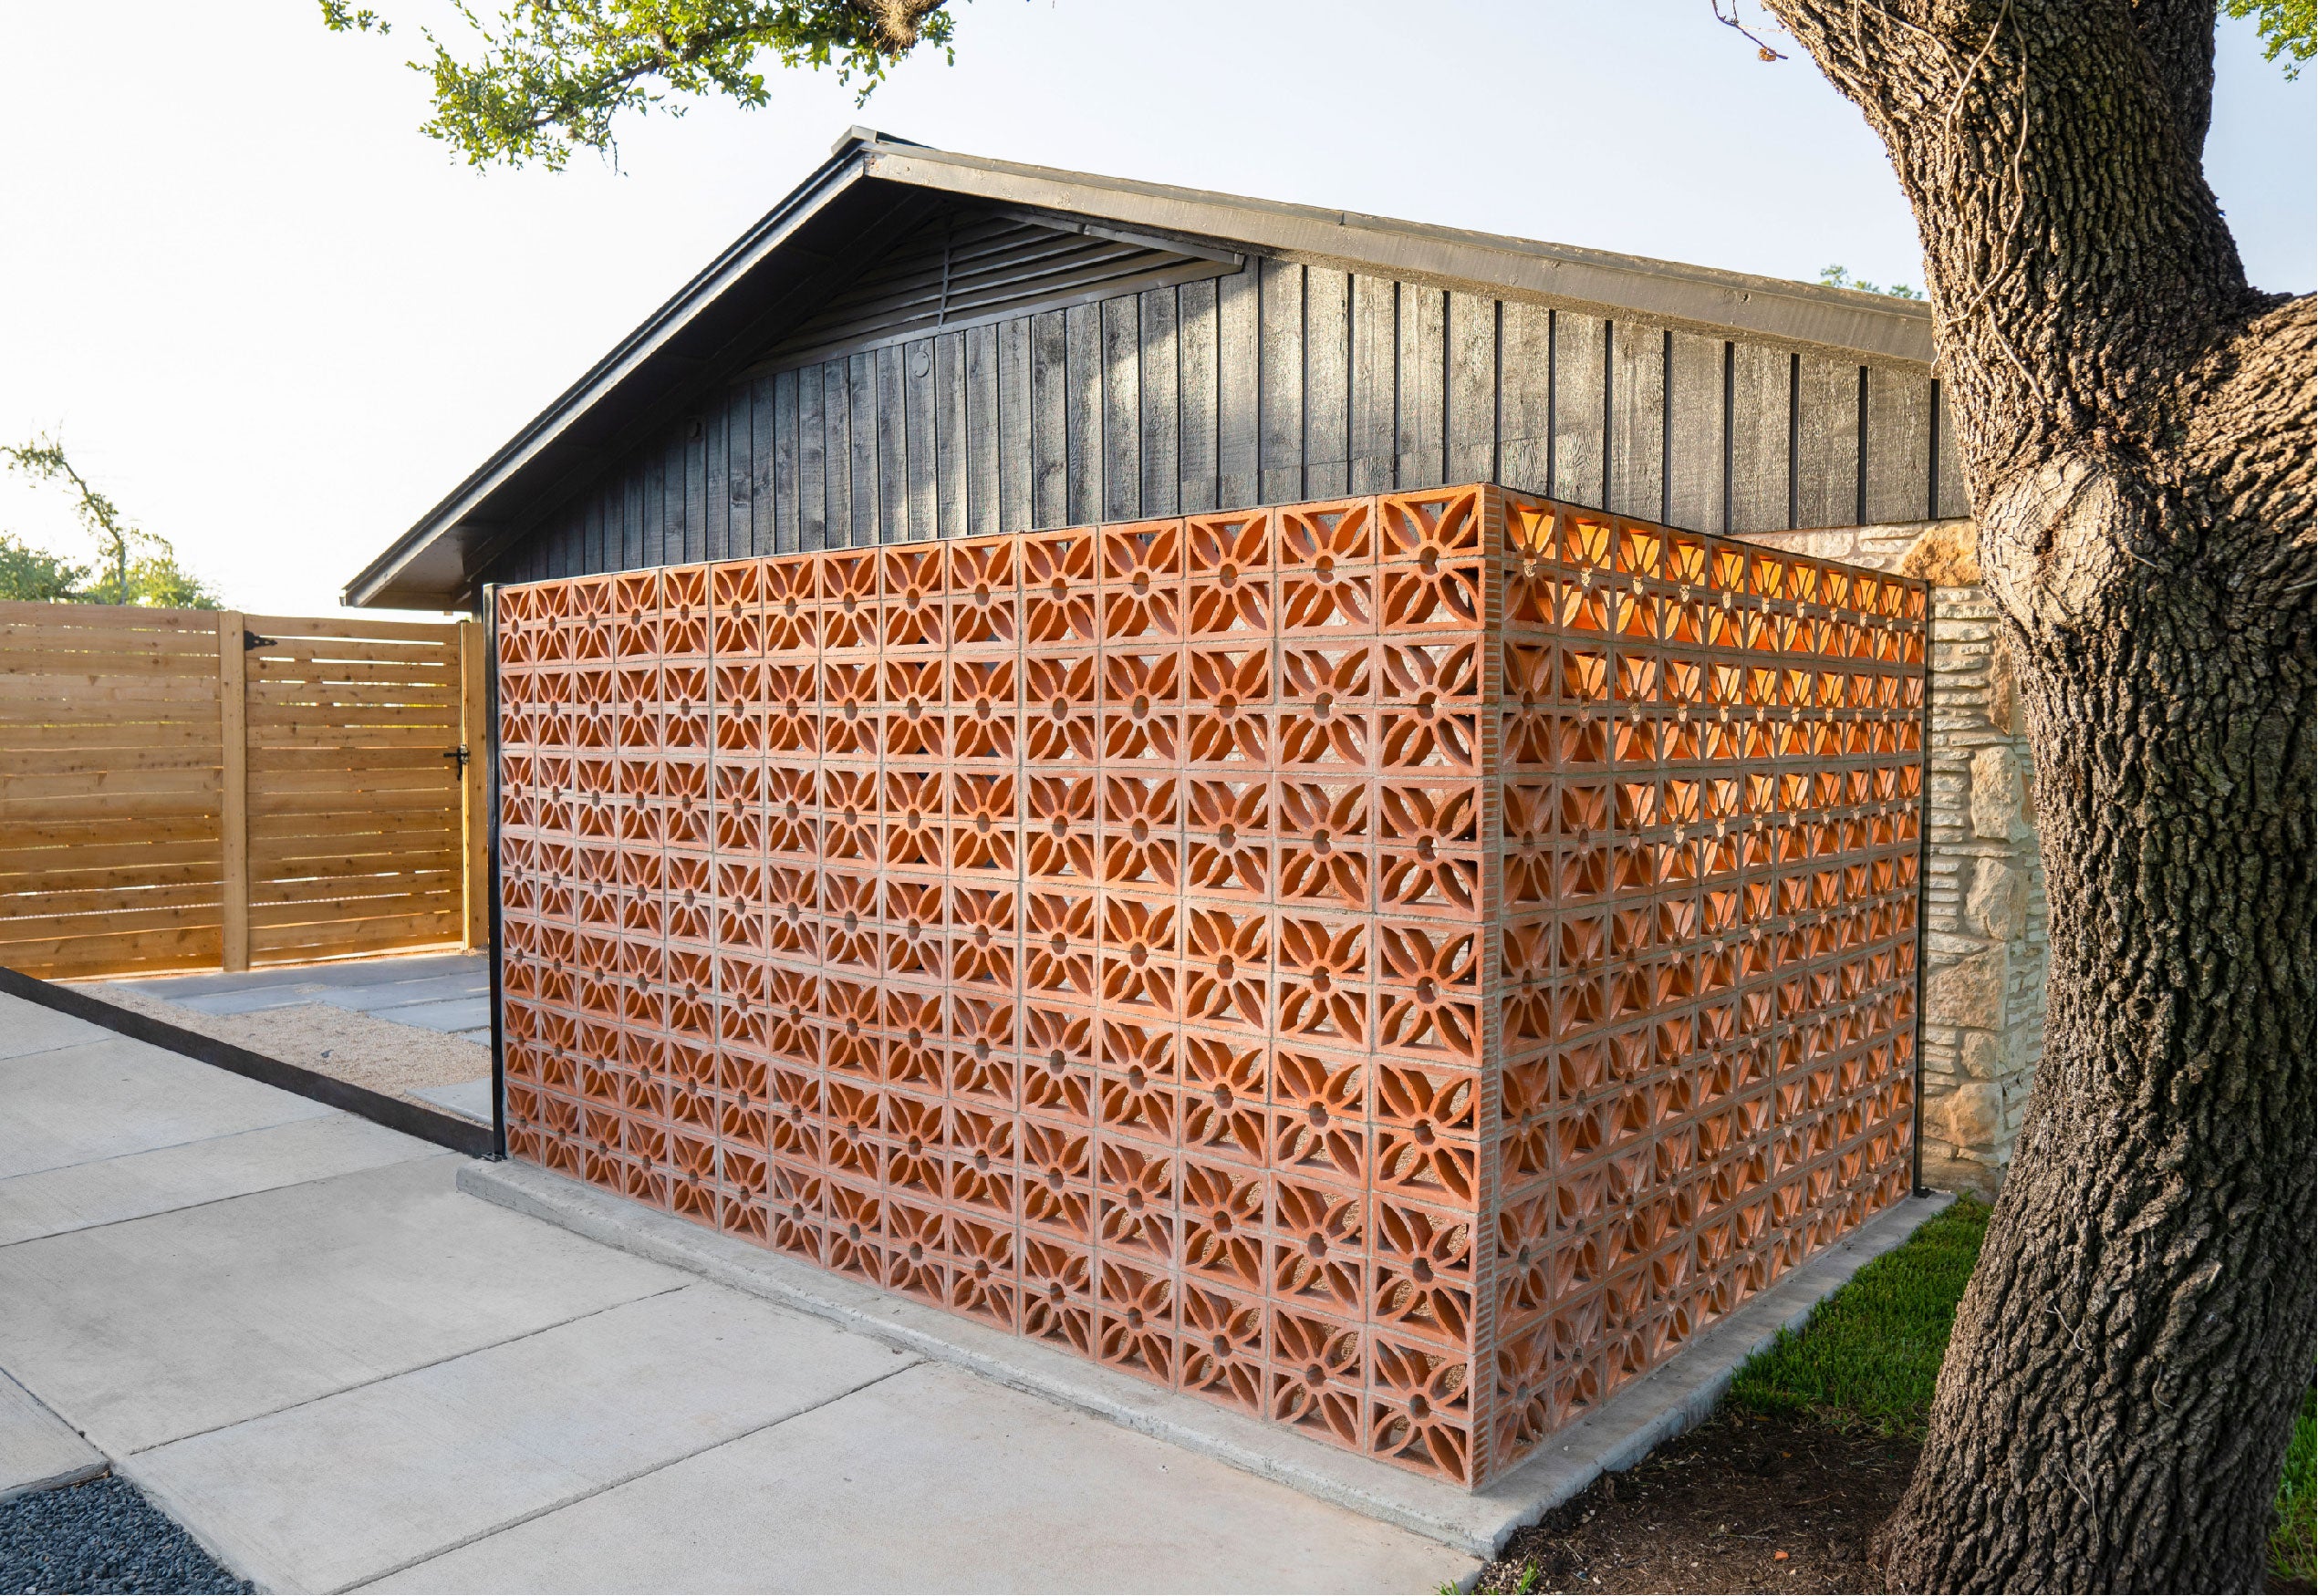
Our most common question about our most in-demand product: How do you install breeze block walls?
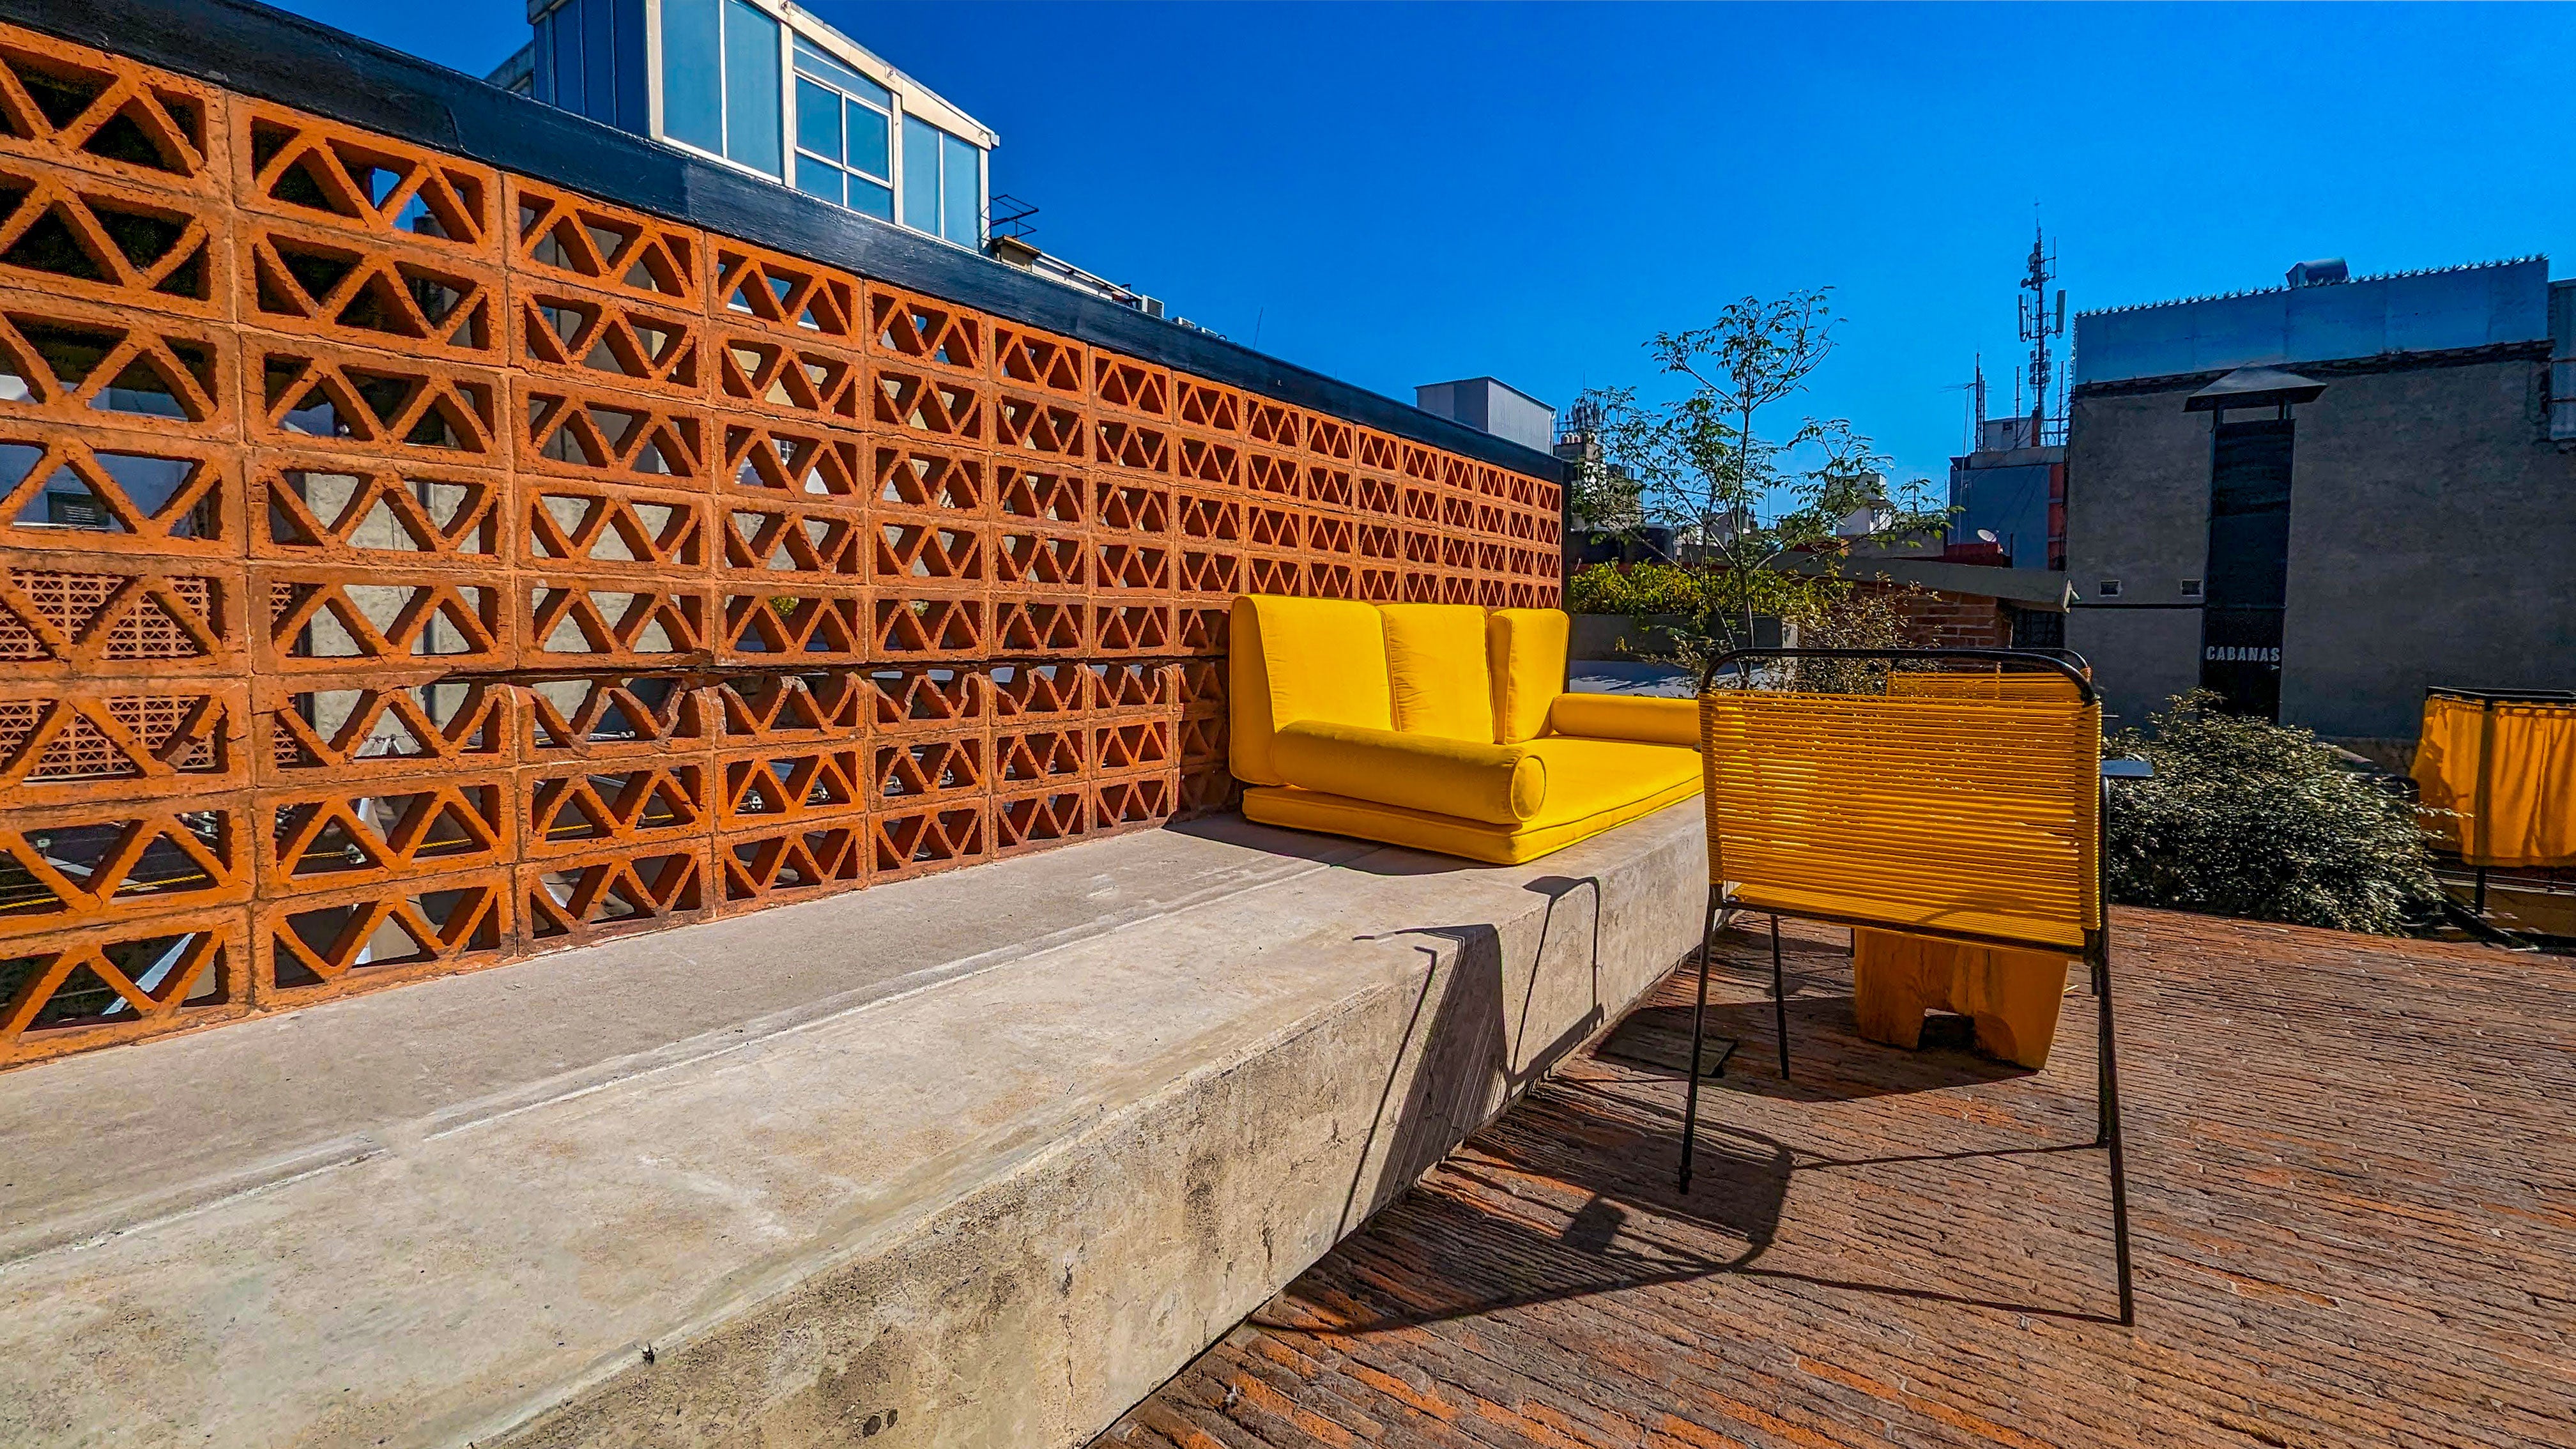
Breeze blocks were the material of choice for mid-century homes and landscapes, and now they’re making a huge comeback. You’ve seen them dotting the beautiful homes in Palm Springs – and now Lockhart, Texas.
Before you dig in below, we’d recommend reviewing our complete guide on building with breeze blocks.
Along with our partner Stampworthy Goods, we recorded a video on how to build a freestanding breeze block wall to make your backyard pop. Written overview below.
As always, feel free to reach out to Clay Imports or your local contractor if you have any questions on breeze block best practices.
Before you start:
- Breeze Blocks
- Spacers
- Measuring Tape
- Rebar
- Level
- Drill
- Construction Adhesive

STEP 1: Prep your breeze block layout
Before starting any installation, lay out all of your breeze blocks. Unlike tile, breeze blocks aren’t meant to be cut, so you want to have the whole pattern as part of the wall.
Your wall measurements should correspond to your breeze block layout, so you avoid having to cut any. Be sure that you’re measuring for space between the blocks as well that will be taken up by grout (in our case 3/8 inch for the grout).

STEP 2: Install the reinforcement bars
Our project is a bit unique – it’s a freestanding breeze block wall – with light support of a thin metal frame. Most commonly, there would be metal posts that would act as a support beam (see here). That said, we installed 3/8 inch rebar (reinforcement bars) in between every other breeze block to add more stability.
We are using 3/8 inch for the grout joint as that’s the smallest that we can actually find. The smaller joint spacing between blocks adds a nice aesthetic to the wall. Because of irregularity from block to block, grout joint spacing will typically be between 1/4-3/4 of an inch.
To install the rebar, we used a construction adhesive. As soon as the adhesive is applied and still a little wet, make sure the rebar is as straight as possible and level from the bottom to the top.
STEP 3: Guide marks and the first row of breeze blocks
To lay the first row of breeze block, be sure to make guide marks on the supporting concrete structure. These guide marks need to be precise and boldly drawn.
After making your marks, use a wet sponge to clear off the dust on the base.
Lay a strong adhesive (we’re using Liquid Nails) down on the concrete base. This is not slathered on like a tile adhesive, think of it more as a drizzle. See the photos and videos for an idea on the right amount.
This first row must be centered and aligned perfectly as it’ll be the foundation for the rest of our wall!
STEP 4: Build up the wall
You can see in the photos that we’re using the smaller pieces of rebar as reinforcement between each row, It’s not really necessary. However, when you have a structure like this that doesn’t have a wall or frame on either side, the rebar will add more support.
Keep building the wall out, row by row, using the adhesive, rebar, and spacers. It’s best practice to build around 2 rows at a time to ensure adhesive can dry before continuing to build upwards. Otherwise, you’re at risk of the wall getting out of alignment.
We originally planned to make this wall 72 inches tall but since we are applying the support beams after the wall, the wall started to get wobbly when we got to 60 inches.
We decided to be safe and keep it at 60 inches to not risk any issues.
Once we grout the metal frame around the walls, it will be significantly stronger.
Stay tuned for Part 2 on how we grouted the breeze block wall and added the metal frame.

Pool by Cowboy Pools.
Disclaimer: since the installation of tile greatly determines the integrity of the project and the tile itself, Clay imports does not warranty this product and is not responsible for dissatisfaction of material following installation. Please inspect all tile upon receipt and notify us immediately if you have any quality concerns. This guide is meant to serve as a general resource. Because each project is unique, consult your tile installer before installing your tile.


 Share
Share
 Pin it


