The best tile trim for your shower niche
By Clay Imports
When it comes to bathrooms and shower installations, there’s a lot of awesome ideas you can explore to add a stunning detail and make a more dynamic space. One of those ideas is a shower niche. This recessed section of a shower wall is typically tiled and designed to hold your shower essentials such as soap, shampoo, conditioner, and other bathing accessories. As you know, where there is a tile work, there's tile trim.
Miter cuts for tile trim not only enhance the aesthetics of your shower niche but also ensure a seamless transition and a polished finish. This tile trim can be a game-changer for all your DIY projects and will add a modern design for all your tile works. In this article, we will guide you step-by-step through the process of doing a miter cut for a shower niche to achieve an impressive result.
- What’s a Miter cut?
- How do I know if a Miter cut is a good option?
- How to make a Miter cut
- Conclusion

What’s a Miter cut?
Miter cut is a technique used to cut tiles at an angle (usually 45 degrees) to create precise corner joints or angled edges.The Miter cut will give you joints with no visible gaps or uneven edges creating a professional and polished look.
Common alternatives to miter cut tiles are bullnose and quarter rounds. These options offer a more traditional installation aesthetic but are not as versatile as miter cutting on site. Miter cutting is a more technical trim option that allows more flexibility. Miter cutting pieces from your batch of field tiles provides a more cohesive visual, no additional lead times and less color variation.
How do I know if a Miter cut is a good option?
Miter cuts are commonly used when aiming for a clean, seamless, and professional look in tile installations, resulting in a cohesive and harmonious design. Because of this, the Miter cut is a very versatile tile trim; doesn't matter If you want to keep a discrete but modern design or if your shower niche involves complex tile layouts, intricate patterns, or irregular shapes, the Miter cut is the perfect choice for you.
Also, keep in mind that a Miter cut is better done with a wet saw. Because this kind of trim requires precision, this kind of tool is a must in order to maintain consistency between all your cut tile edges. If this is the first time you’ll be working in a DIY project using this powertool, we suggest you take a look at this article where Anna goes deeper on how to work with a wet saw for tile cutting.
Design and Photo by Case Dunn
How to make a Miter cut
Mark your tiles: Mark the edges of tiles that need to be cut and make sure those edges are not chipped or damaged.
Make the cut: Set the blade of your wet saw to a 45-degree angle to create the miter cut. Adjust the angle on your saw accordingly to ensure accurate cuts.
Firmly hold the tile: Place the tile securely on the saw's cutting surface, ensuring a stable grip to maintain control during the cutting process. Safety goggles and gloves are recommended for protection.
Make the cut: Guide the tile through the saw, carefully following the marked line where the miter cut is desired. Is recommended to cut your tile facing down. The cut should not go deeper than the glazing of your tile. A 1/32 of an inch before reaching the glazing should be a good depth. Take your time to maintain accuracy and avoid rushing through the cut. Repeat both this and the previous step for each of your tiles.
 We recommend to install the exterior tiles of your shower niche first. Project by Davey McEathron Architecture
Sand the edges: After making the miter cut, you may notice rough edges or imperfections. Use sandpaper or a tile file to gently smooth and refine the cut edges, ensuring a clean and professional finish.
Fit the pieces together: Once all the cuts are done, fit the tiles together to create your mitered edge. Pay close attention to the alignment and orientation of the cut edges to ensure a seamless fit. If you need more information regarding the tile installation, you can take a check out our guide on how to install glazed tiles. If you need a more detailed guide on how to install tiles in wet areas, like a shower, we also have a helpful wet area installation guide for you.

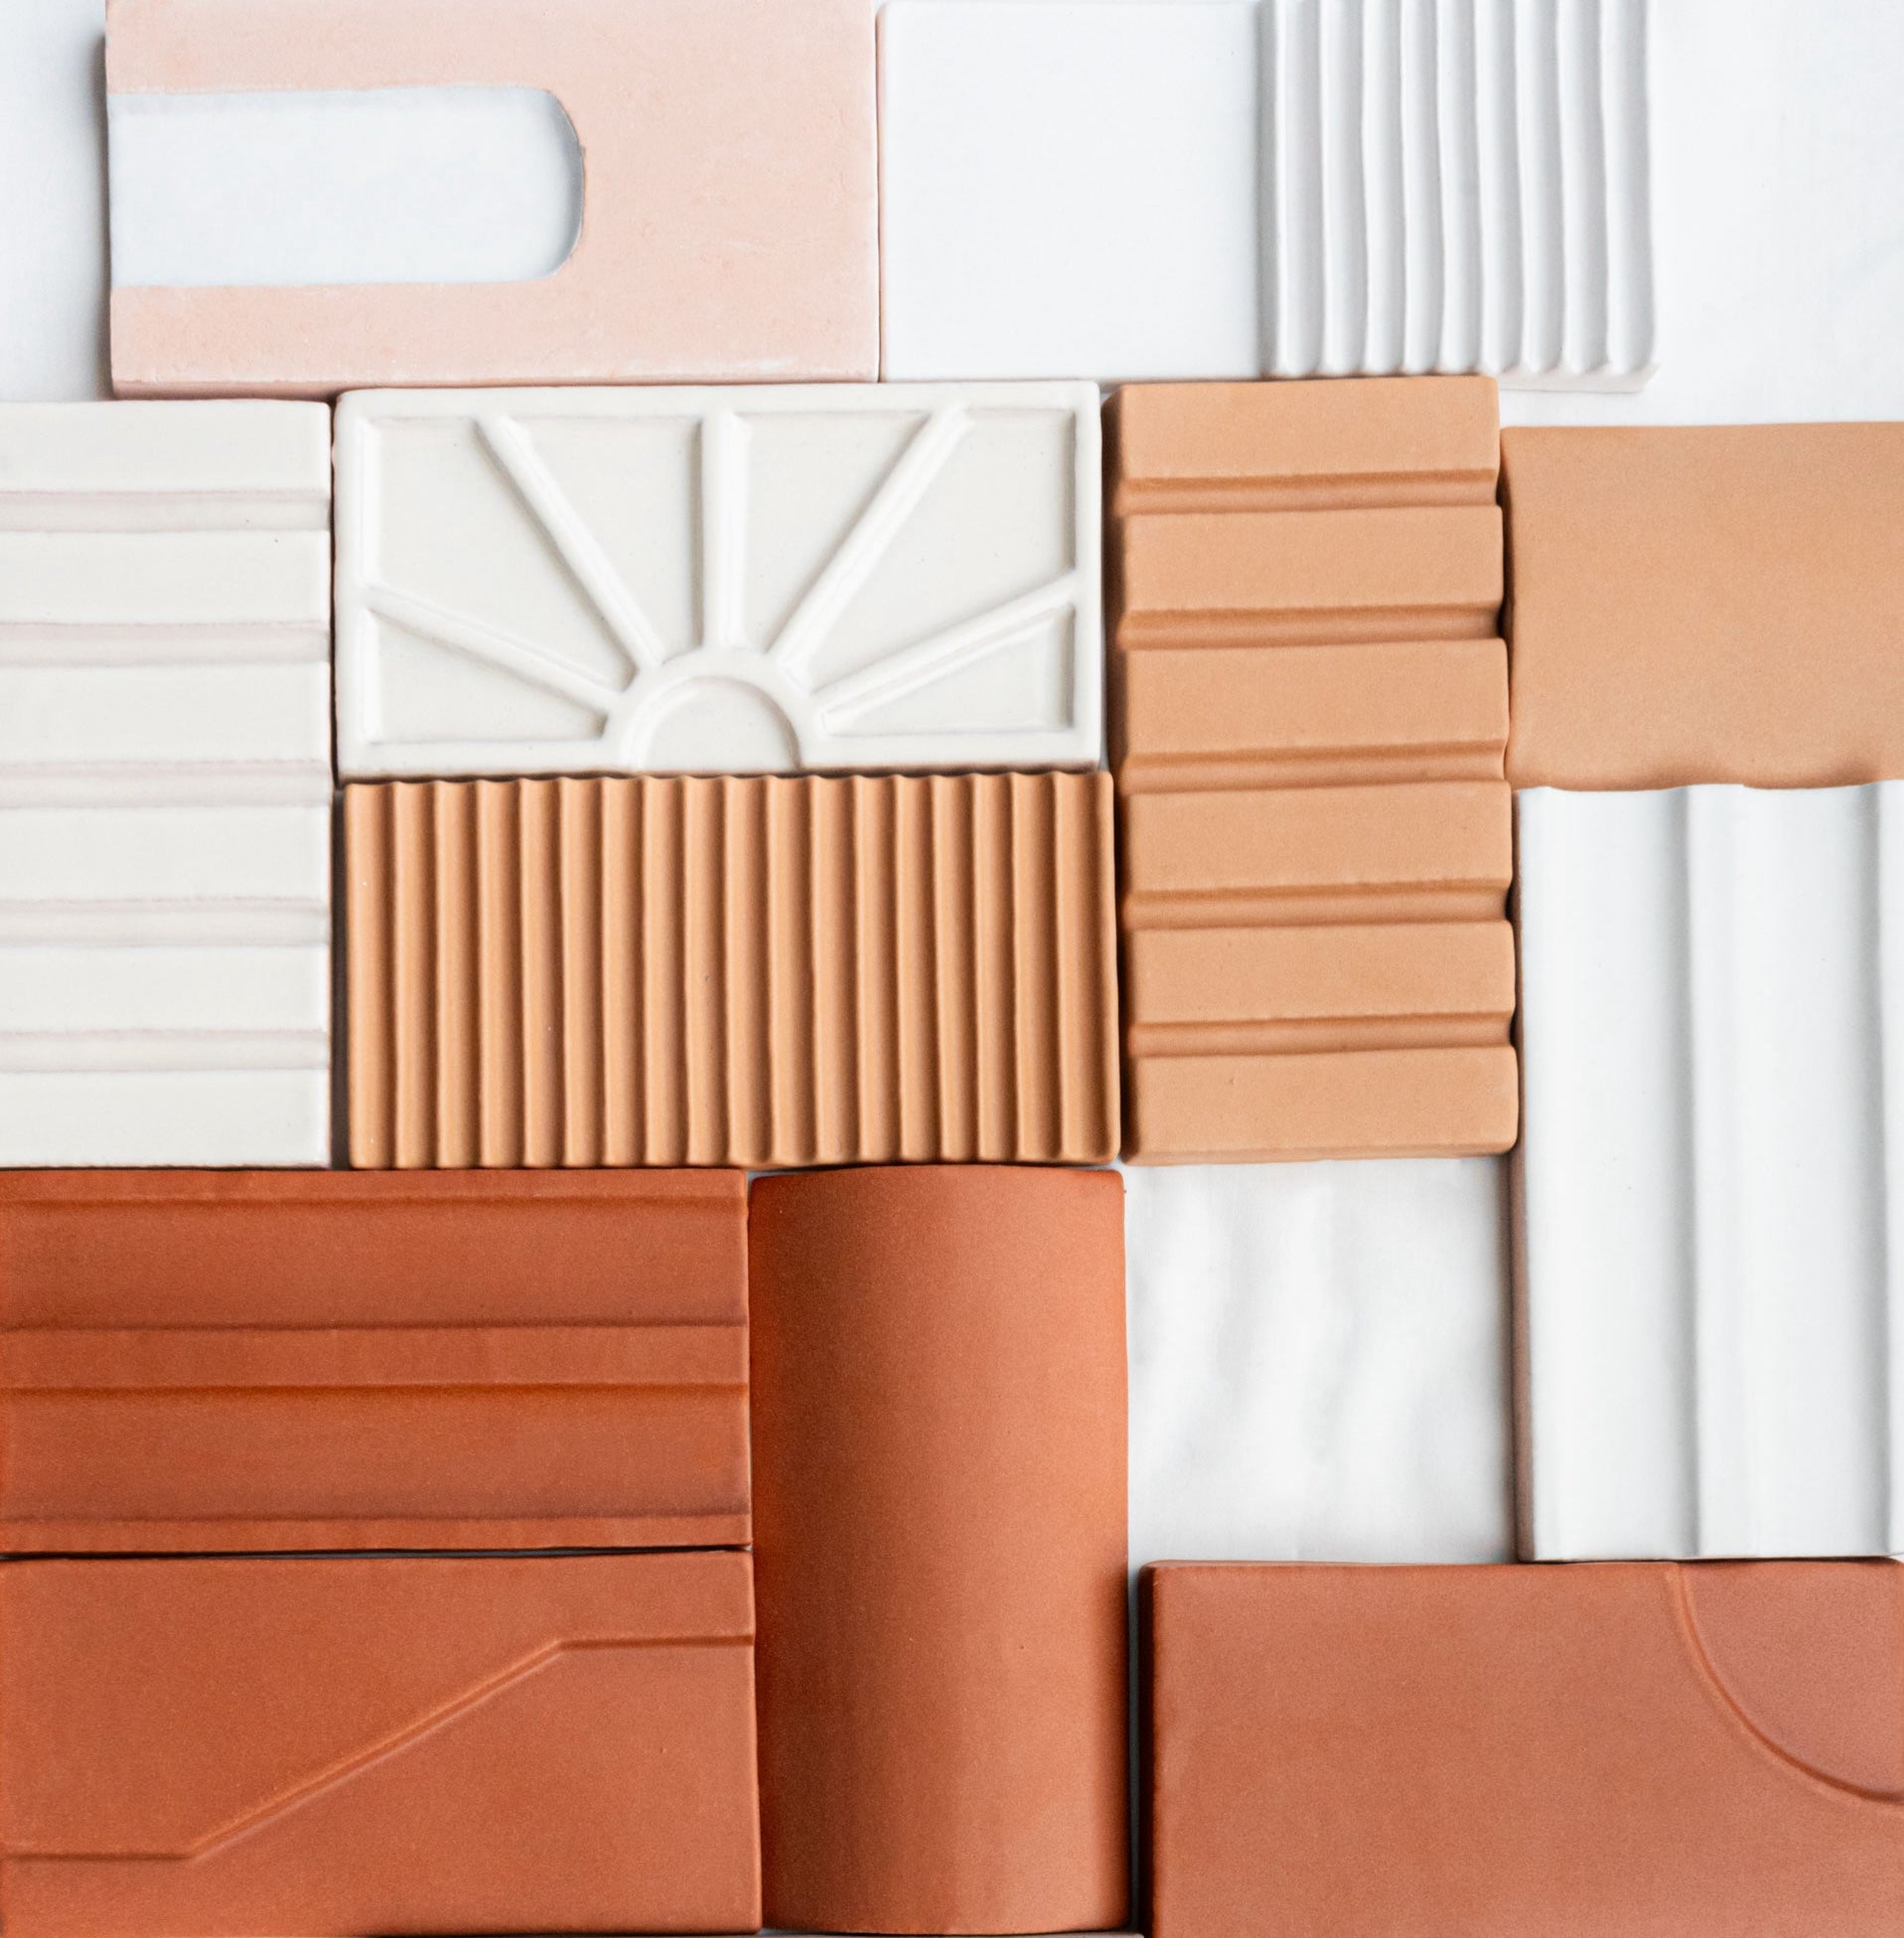
The key for a successful cut is to find the perfect pieces, especially if you going to work with handmade tiles like ours. Handmade tiles exhibit natural variations, which are inherent traits of natural products like Terracotta. These variations are not defects but rather a natural part of the product. We highly recommend ordering samples before making a final purchase to confirm and appreciate these natural variations in each tile.
Finally, in order to maintain your tiles in perfect shape, we invite you to take a look at our Clay Care products. These maintenance items have been carefully tested with our products, and they are designed to preserve your tiles' beauty, ensuring their longevity and durability. From sealers to cleaners, purchasing these maintenance items together with your tiles not only simplifies your order but also prepares you to enjoy your tiles for a long time.
Conclusion
When considering whether to utilize miter cuts, it's important to evaluate your design, preferences and the practical considerations of time and budget. With careful consideration and attention to detail, you can create a shower niche that blends functionality and aesthetics seamlessly, turning it into a standout feature of your bathroom design. And remember, if you have any questions or require more information, don't hesitate to reach out to us at contact@clayimports.com.
 Share
Share
 Pin it