We’ll go over how to properly install handmade tile with size and thickness variations
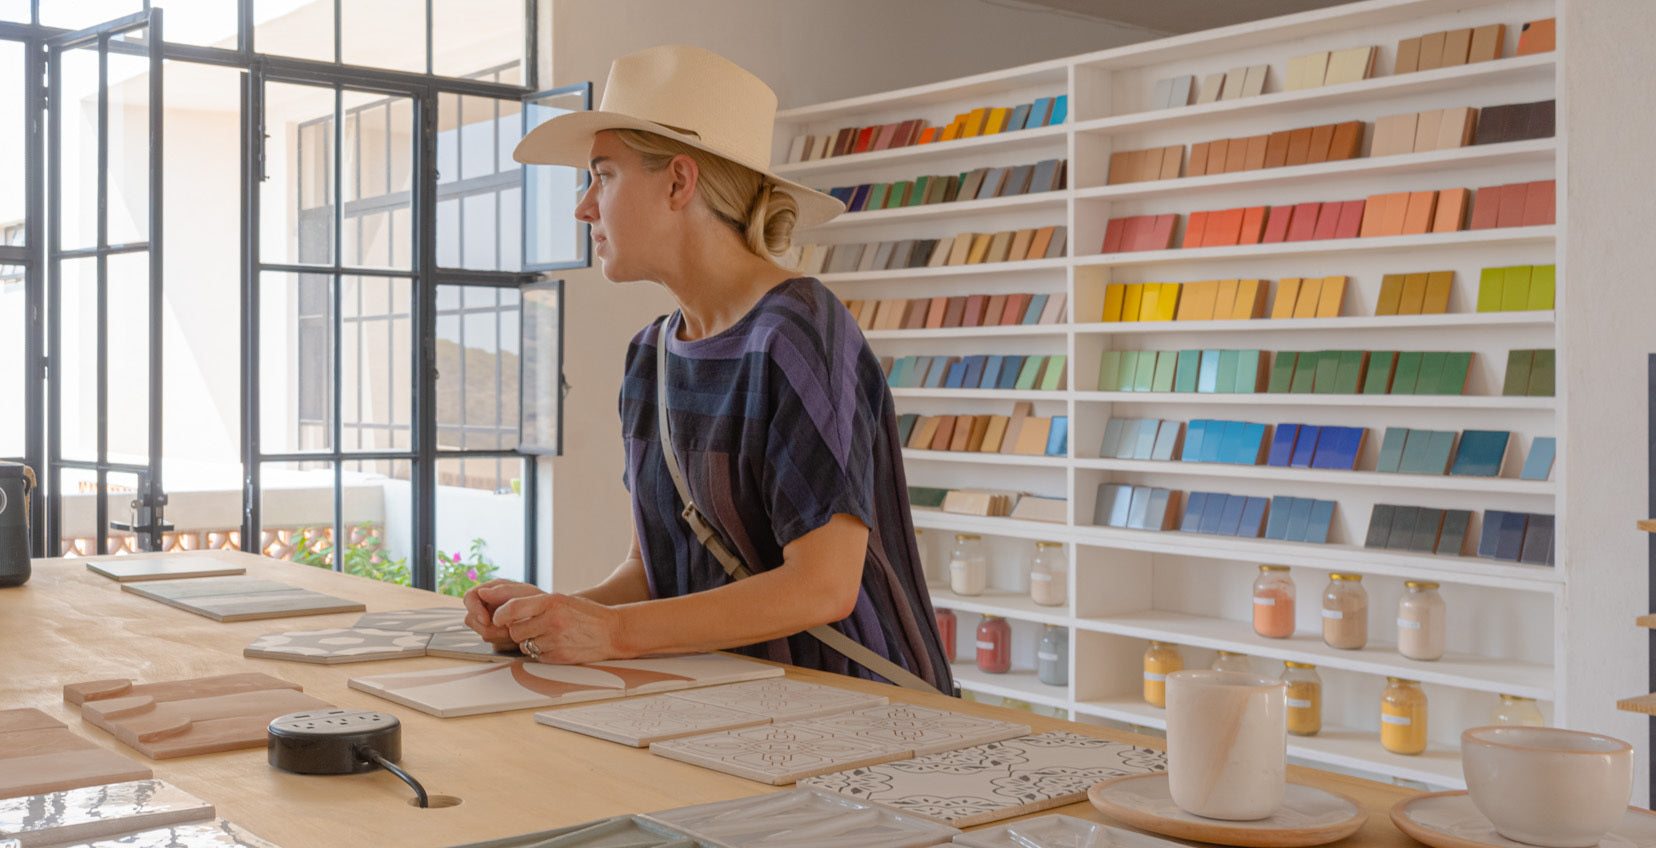
At Clay Imports, we take pride in offering a wide selection of individually handcrafted tiles made by skilled artisan tile makers. Handmade tiles are unique and full of character, with variations in size and thickness from piece to piece. While these differences are a natural part of the handmade process, they can present a challenge during the installation process. However, when installed correctly, these variations contribute to a one-of-a-kind look and feel. In this blog, we’ll show you how to expertly install tiles with size and thickness variations to achieve stunning results.
- Why do tiles have size variations?
- Using the Grid Method for Size Variations
- Managing Thickness Variations
- Achieving a Professional Look

Why do tiles have size variations?
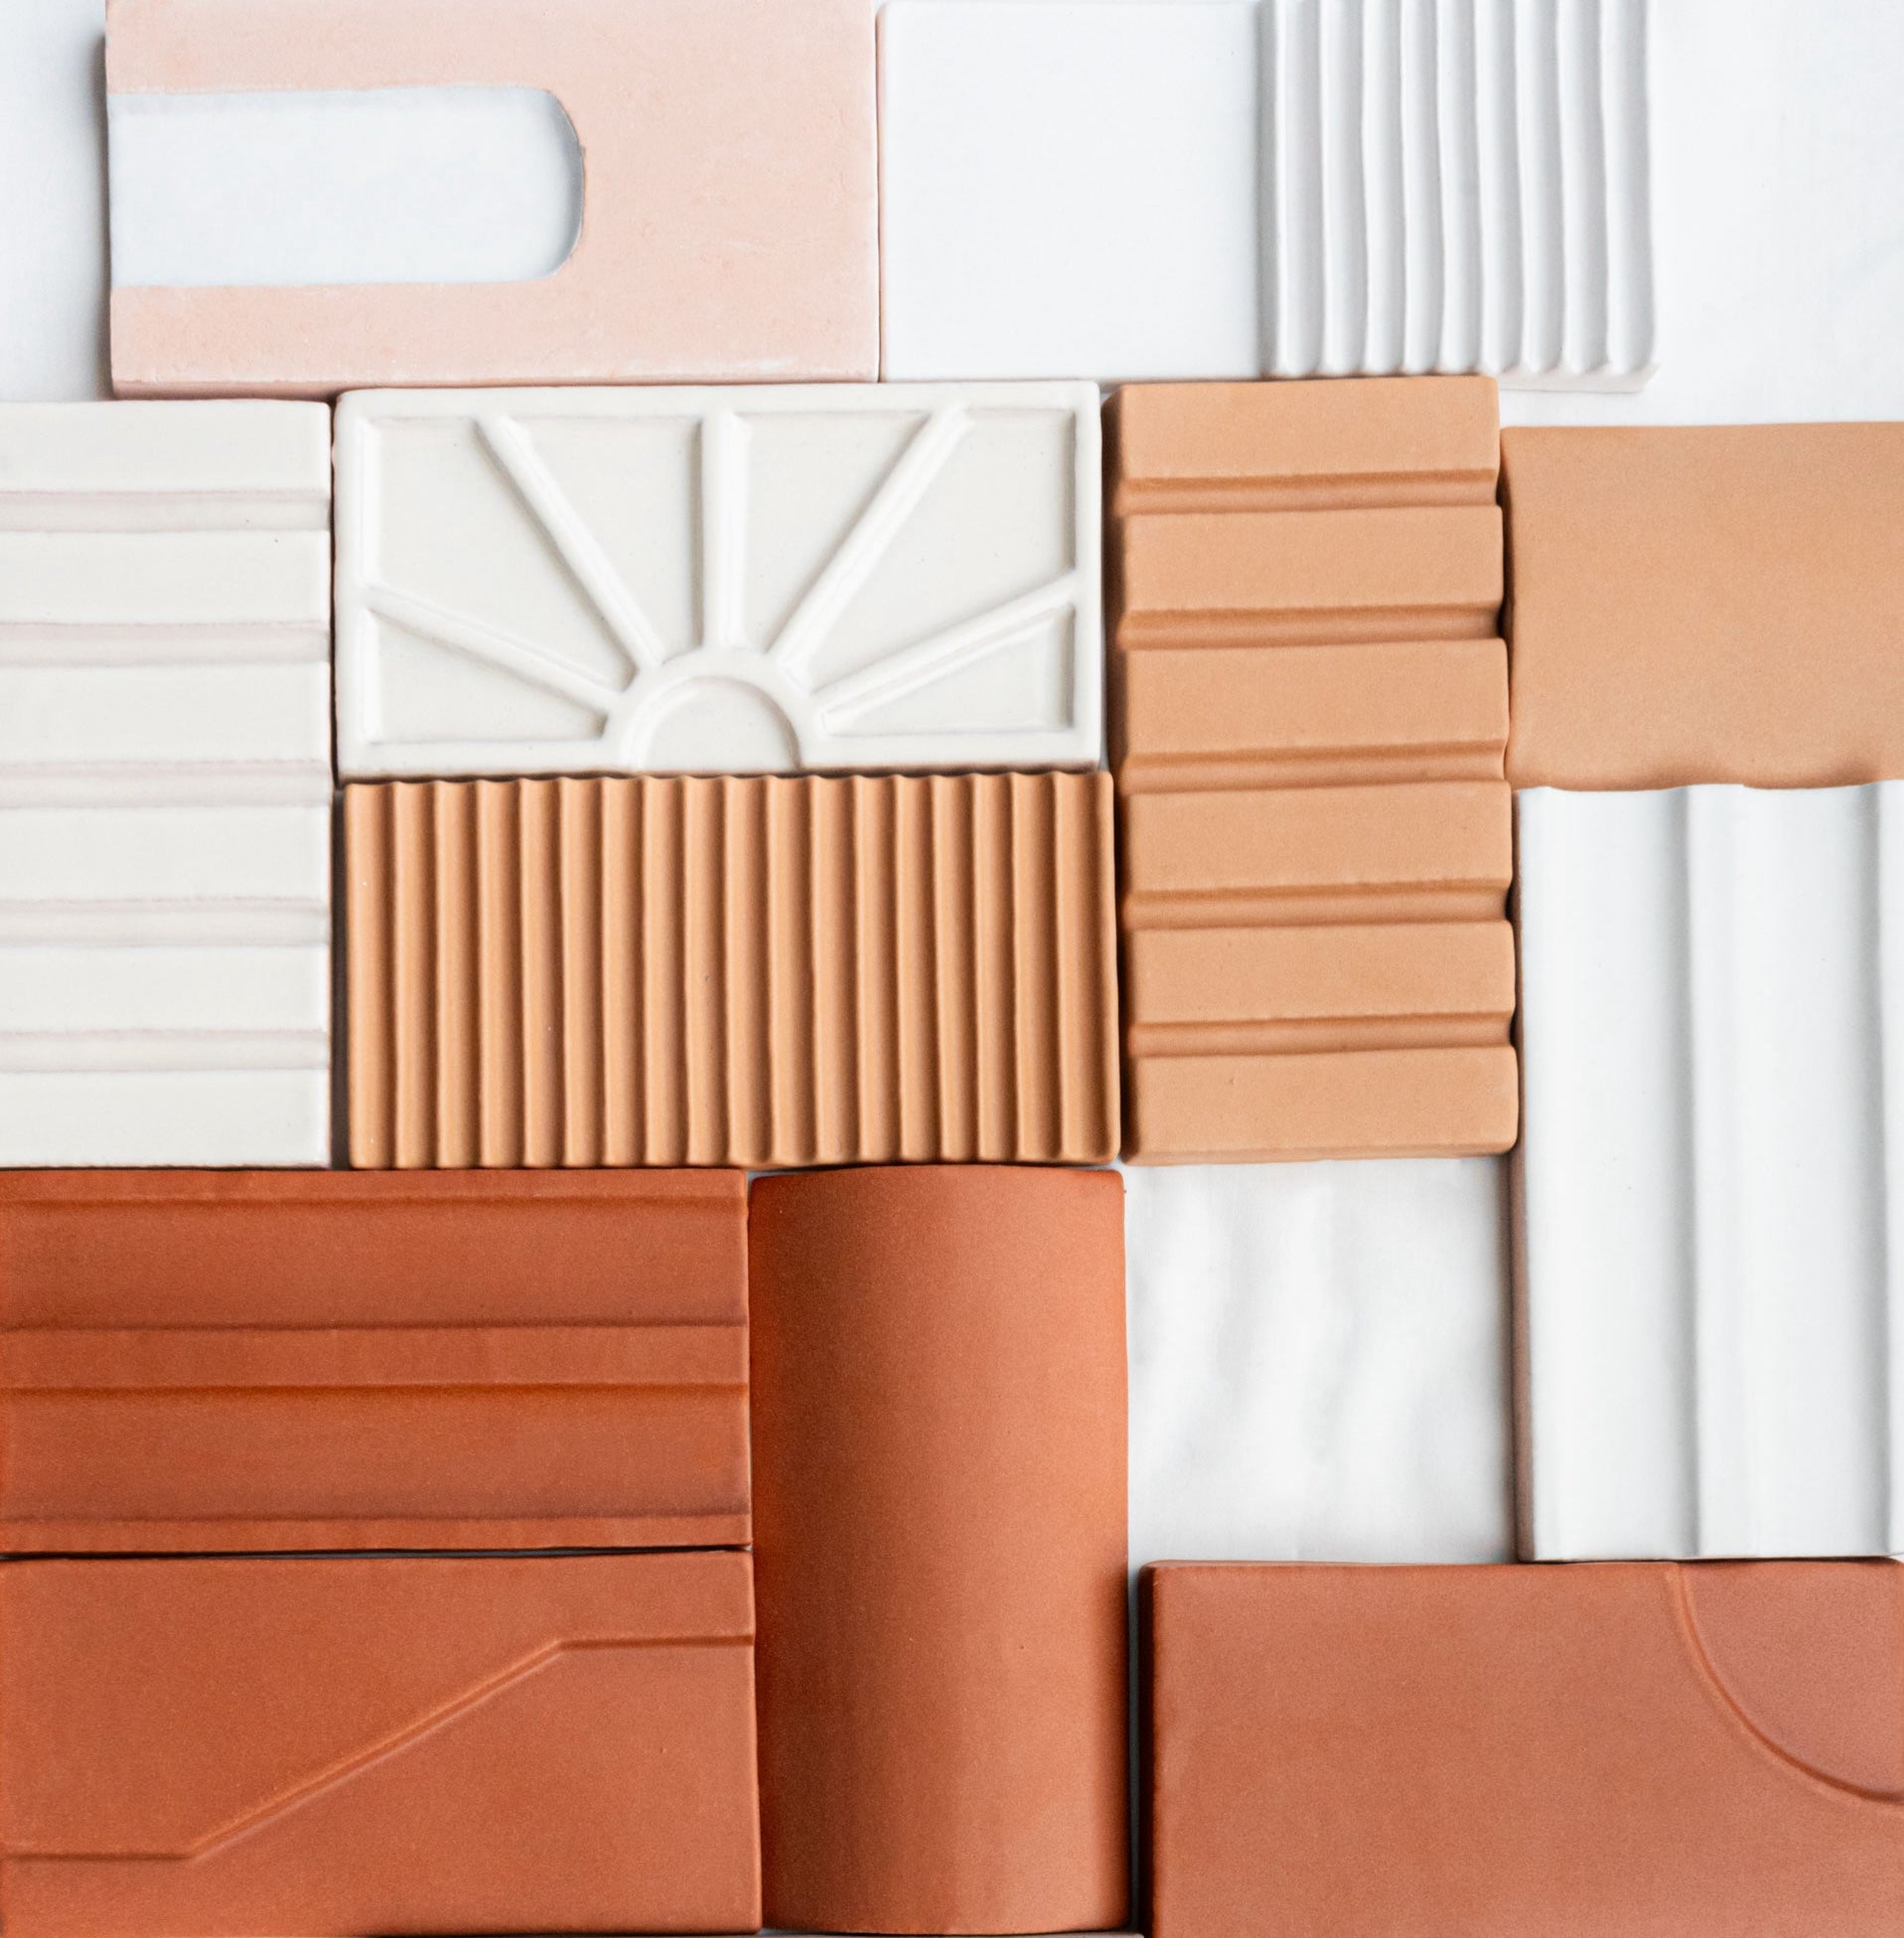
All handmade tiles have variations not only in color, but also in their sizes and thickness. This happen because, while being accommodated in the kiln, they will recibe different temperatures and heat. These variations are not defects but rather a natural part of the product. We highly recommend ordering samples before making a final purchase to confirm and appreciate these natural variations in each tile.

Using the Grid Method for Size Variations
Traditional tile installation techniques will not work when installing tiles with size and thickness variations. Variations in size become more pronounced with each additional row of tiles, making it challenging to maintain a straight line as you continue the installation. The recommended technique for installing tiles with size variations is the grid method.
First, start by drawing out a grid on the subsurface of the installation using a pencil, chalk, or lasers. Apply adhesive to one grid space at a time and drop the tile into the middle of the grid. It's essential to make sure that the grid is slightly larger than the tile to ensure the tiles are aligned correctly and allow for easier adjustments if needed.

To create a quarter-inch spacing between tiles using the grid method, make the grid slightly larger than the tiles. When two tiles are placed side by side within their designated grids, there will be an eighth of an inch of space on each side of the tiles, resulting in a quarter-inch spacing between the tiles.
When using the grid installation method, the spaces within the grid may vary slightly in size, but this helps distribute size variation evenly across the installation, rather than concentrating on one side, which can result in jagged lines. The grid ensures that the tiles are evenly spaced and aligned correctly.
If spacers are needed, wedge spacers can be used to prevent tiles from sliding during a wall installation.

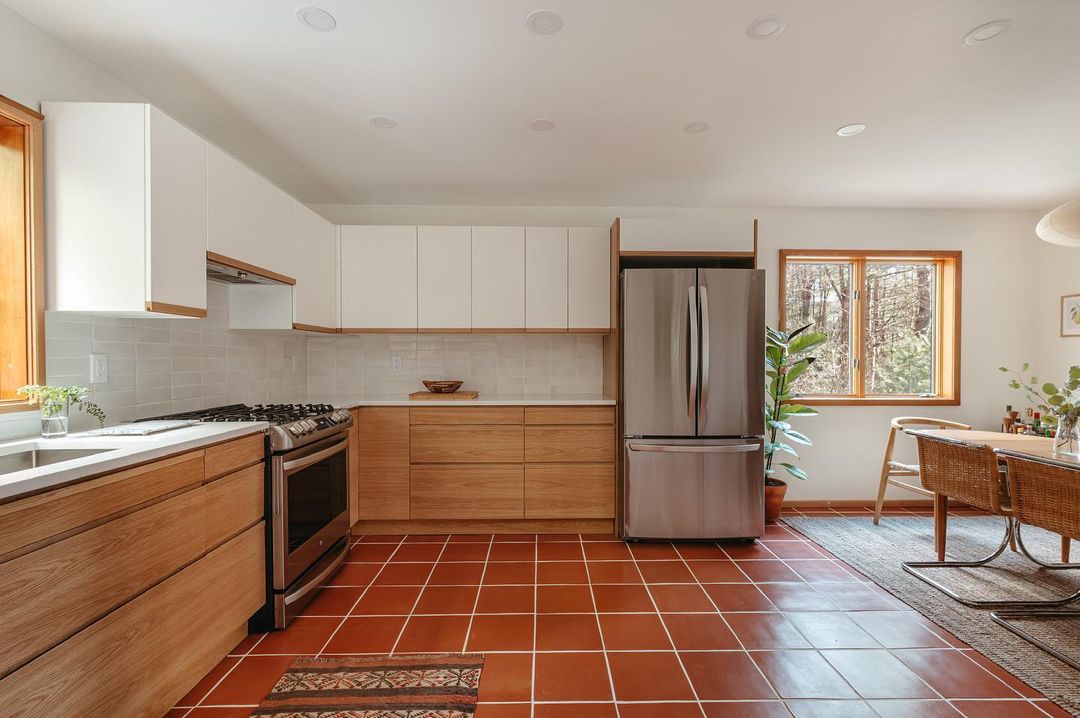
Design by Brooke Irwin
Managing Thickness Variations
When installing tiles of varying thickness, it's essential to maintain optimal control and precision. To properly install tile with varying thickness we recommend applying adhesive to one grid space and one tile piece at a time. This technique allows you to adjust the amount of adhesive you use on each tile based on its thickness, ensuring that you are using the right amount of adhesive for each individual tile.
If a tile has a pillow-top, fill the raised, hollow space in the center of the tile with more adhesive to support it and prevent it from sinking too far into the adhesive. Once the adhesive is in place, press the tile down to ensure that it's fully supported and level with the surrounding tiles.
If a tile is significantly thinner than the surrounding tiles, you can add more adhesive to the back of the tile to help support it. If a tile is significantly thicker than the surrounding tiles, you have two options: drop the tile onto the adhesive-covered subsurface and press down firmly to ensure that it is fully supported, or remove a very small amount of adhesive from the subsurface before pressing the tile down. Removing a small amount of adhesive will help to create a more even surface for the thicker tile to rest on, which will help to ensure that it is level with the surrounding tiles.

Achieving a Professional Look
By using the grid installation method and managing thickness variations, you'll be able to achieve a level tile wall or floor with straight lines. Tile size and thickness variations will be confined to each individual grid space, resulting in a beautiful, professional-looking tile installation.
In summary, when working with handmade tiles with size and thickness variations, the key is to use the grid method to ensure that the tiles are evenly spaced and aligned correctly. When managing thickness variations, apply adhesive to one tile piece and grid space.

We also recommend you to check our easy to follow guide to install cement tiles, or if you are working with other types of tiles, we also have a guide for an easy installation of clay tiles, and installation of natural terracotta. Finally, you can take a look at our Clay Care collection to find the best products for the maintenance of your tiles.
Got any questions? We’re available via email at contact@clayimports.com; our expert design staff is always happy to help.
 Share
Share
 Pin it