By
Terracotta pavers have been used for centuries in patios, walkways, courtyards, and living spaces. At Clay Imports, each one is still handmade in small batches in Saltillo, Mexico, shaped from natural clay, dried in the sun, and fired in wood-burning kilns. The result is a timeless, durable surface with earthy hues and beautifully imperfect variation.
Whether you’re designing a cozy kitchen floor or a sun-soaked patio, terracotta pavers bring warmth, authenticity, and character that concrete simply can’t replicate.
Why Terracotta Pavers?
Terracotta pavers offer a rich, lived-in look that becomes more beautiful with age. Their natural clay composition creates soft, organic color shifts that range from sandy yellow to deep red. They perform similarly to concrete pavers in durability but deliver a visual warmth unique to handmade clay.
Use terracotta pavers outdoors for patios, walkways, pool decks, and garden paths. Or bring them indoors to create inviting entryways, kitchens, hallways, and main living spaces.
These pavers are suitable for residential and commercial environments. Note that terracotta is not frost-rated and may require additional care depending on climate and application.
How are pavers made?
Tile makers handcraft this product exclusively for Clay Imports in Saltillo, Mexico, where Natural Clay is hand-packed into wooden molds of the desired shape and size. The shaped clay is then left in the sun to dry. Lastly, dried tiles are hand-stacked in wood burning-kilns where they are fired for over 24 hours.
Introducing: Baked Paver
A warmer, deeper terracotta option
BAKED PAVER
Made from densely packed clay and fired at high heat, Baked Pavers feature a deeper reddish-orange tone and an unrefined, organic surface. They bring a warm, moody aesthetic and a strong visual presence to any design. Each piece feels rugged, timeless, and directly connected to the natural clay it came from.

How Our Pavers Are Made
Each Clay Imports paver is crafted by hand. Artisans pack natural clay into wooden molds, smooth the surface, sun-dry the shapes, and hand-stack them in wood-burning kilns for a 24-hour firing.
This traditional process produces variation in:
• color
• size
• thickness
• surface texture
• shade complexity
These characteristics are expected and central to the beauty of authentic terracotta. No two pavers are exactly alike, and that’s what makes them special.
Thicknesses
Terracotta pavers are available in multiple formats to suit your design and installation needs.
Thickness options:
• Thick Pavers: 2–2.5 inches (ideal for exterior sand-set applications)
• Thin Pavers: 3/4–1 inch (ideal for interior tile-style installations)
Sealing & Grouting
Read our blog on “how to seal pavers” here.
Certain sealers will darken the colors of your pavers significantly. Ask your installer to apply sealer options to sample pieces prior to sealing all pavers. We recommend Miracle Seal 511 Impregnator Sealer for a rich, saturated look. To maintain the natural look of the pavers, we suggest Miracle Seal 511 Porous Plus.
Indoor Paver Installation
If you are installing pavers indoors, you need to grout your pavers. Note that your terracotta pavers should be sealed before grouting to keep the grout from staining the surface. Make sure to do a grout sample before starting on the full area. Also, seal your indoor paver installation heavily after installation, and after the grout is dry, to prevent any moisture absorption. Do not soak your pavers.
 Design Leah_Ashley of Finn Familiy Farm | Photo Madeline Harper
Outdoor Paver Installation
Outdoors, pavers are often installed with no grout between. If this is the case, sealing is not necessary. Non-grouting and non-sealing creates an “impervious surface.” This means the water can go through the joints and then soak into the ground. Design Motel Marfa
Sealer Options
Certain sealers will darken the colors of your pavers significantly. Ask your installer to apply sealer options to sample pieces prior to sealing all pavers. We recommend Miracle Seal 511 Impregnator Sealer for a rich, saturated look. To maintain the natural look of the pavers, we suggest Miracle Seal 511 Porous Plus.
FAQs
Where can terracotta pavers be used?
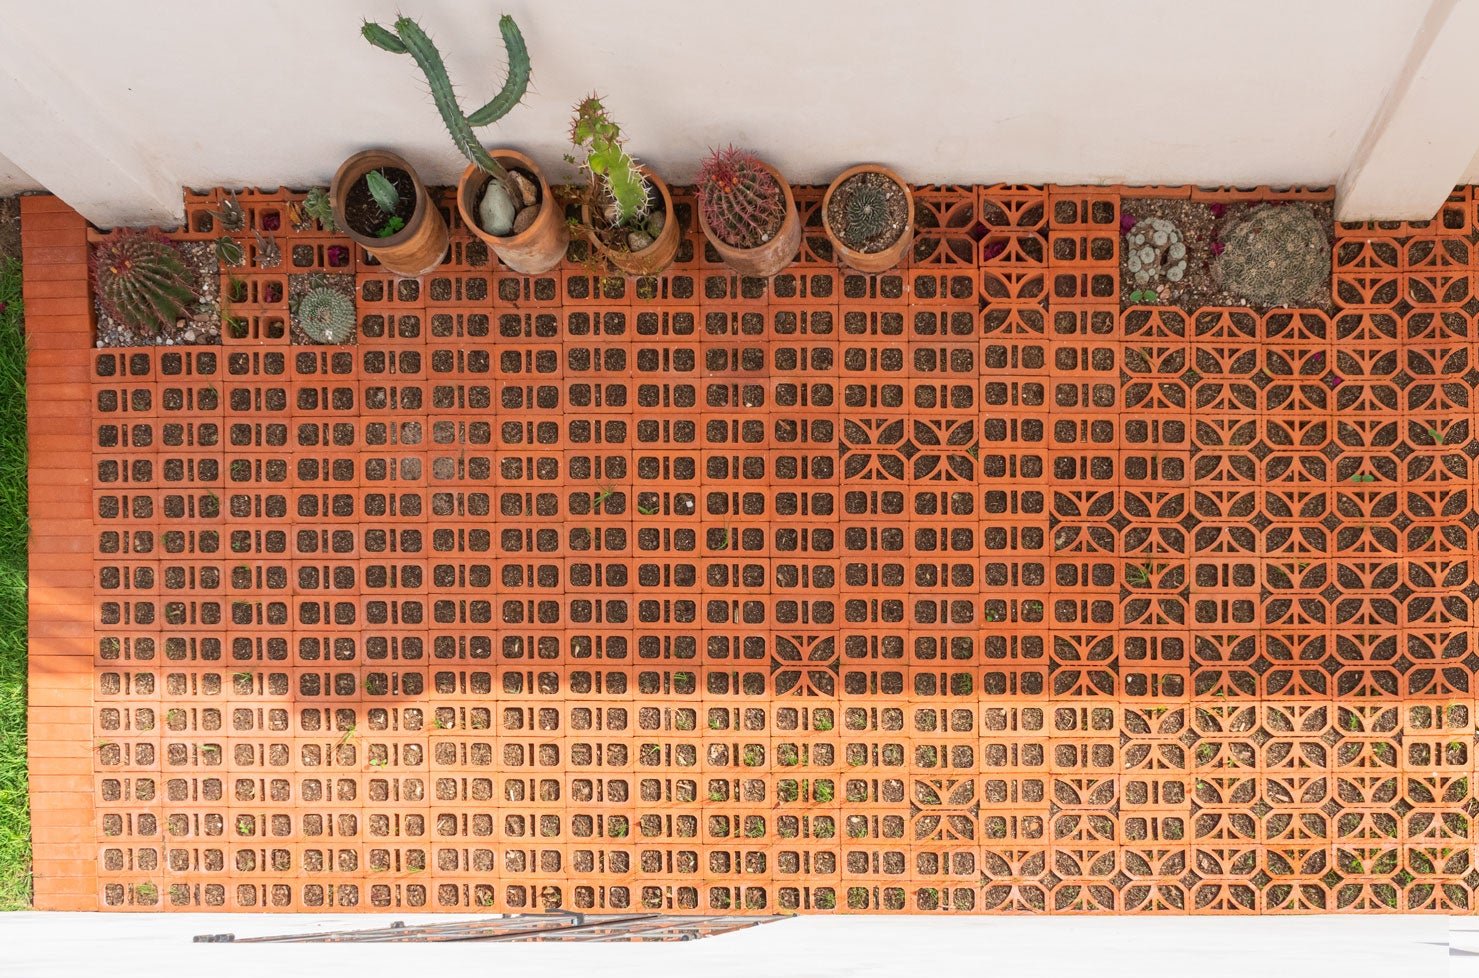
Terracotta pavers can be used outdoors for patios, walkways, courtyards, planter boxes or exterior walls, and pool surroundings, and indoors for kitchens, entryways, and living spaces. They are suitable for residential, commercial, and hospitality projects.
Are terracotta pavers frost-resistant?
Terracotta pavers are not frost-rated. In freeze–thaw climates, they may require specialized installation methods or may not be recommended for exterior use.
Can terracotta pavers be installed indoors?
Yes. Thin pavers are designed for interior applications that involve adhesion, grout, and appropriate sealing. They bring warmth and earthy character to kitchens, mudrooms, hallways, and more.
Do terracotta pavers need to be sealed?
Interior thin pavers should be sealed before and after installation. Exterior thick pavers set in sand or gravel should remain unsealed to allow moisture to move naturally and prevent trapping.
Will terracotta pavers change color over time?
Yes. Terracotta naturally deepens and develops patina as it ages. Outdoor pavers darken more quickly due to sun and moisture exposure. Sealed or unsealed, this color evolution is part of the material’s charm.
Is variation normal in terracotta pavers?
Absolutely. Expect differences in color, size, texture, and surface markings, including divots, chips, lime pops, and irregular edges. Variation is inherent to handmade clay and makes every batch unique.
Are terracotta pavers good for driveways?
We do not recommend terracotta pavers for driveways or any areas intended for vehicle traffic. Terracotta is a natural clay material that can shift, crack, or break under the heavy, repetitive load of cars and trucks. These pavers are best suited for pedestrian areas such as patios, walkways, courtyards, and interior spaces.
Do terracotta pavers get hot in the sun?
Terracotta absorbs and releases heat gradually. It is typically more comfortable underfoot than concrete in direct sun, especially in lighter color ranges.
Will terracotta pavers get slippery?
The natural matte texture of terracotta offers good traction. Slip resistance may vary slightly depending on where they’re used and whether they’re sealed.
What maintenance do terracotta pavers require?
Outdoor pavers benefit from simple sweeping, weed trimming, and occasional resetting. Indoor pavers should be cleaned with pH-neutral products and resealed over time to maintain stain resistance. Check out our Clay Care products for cleaning and maintenance.
 Share
Share
 Pin it