


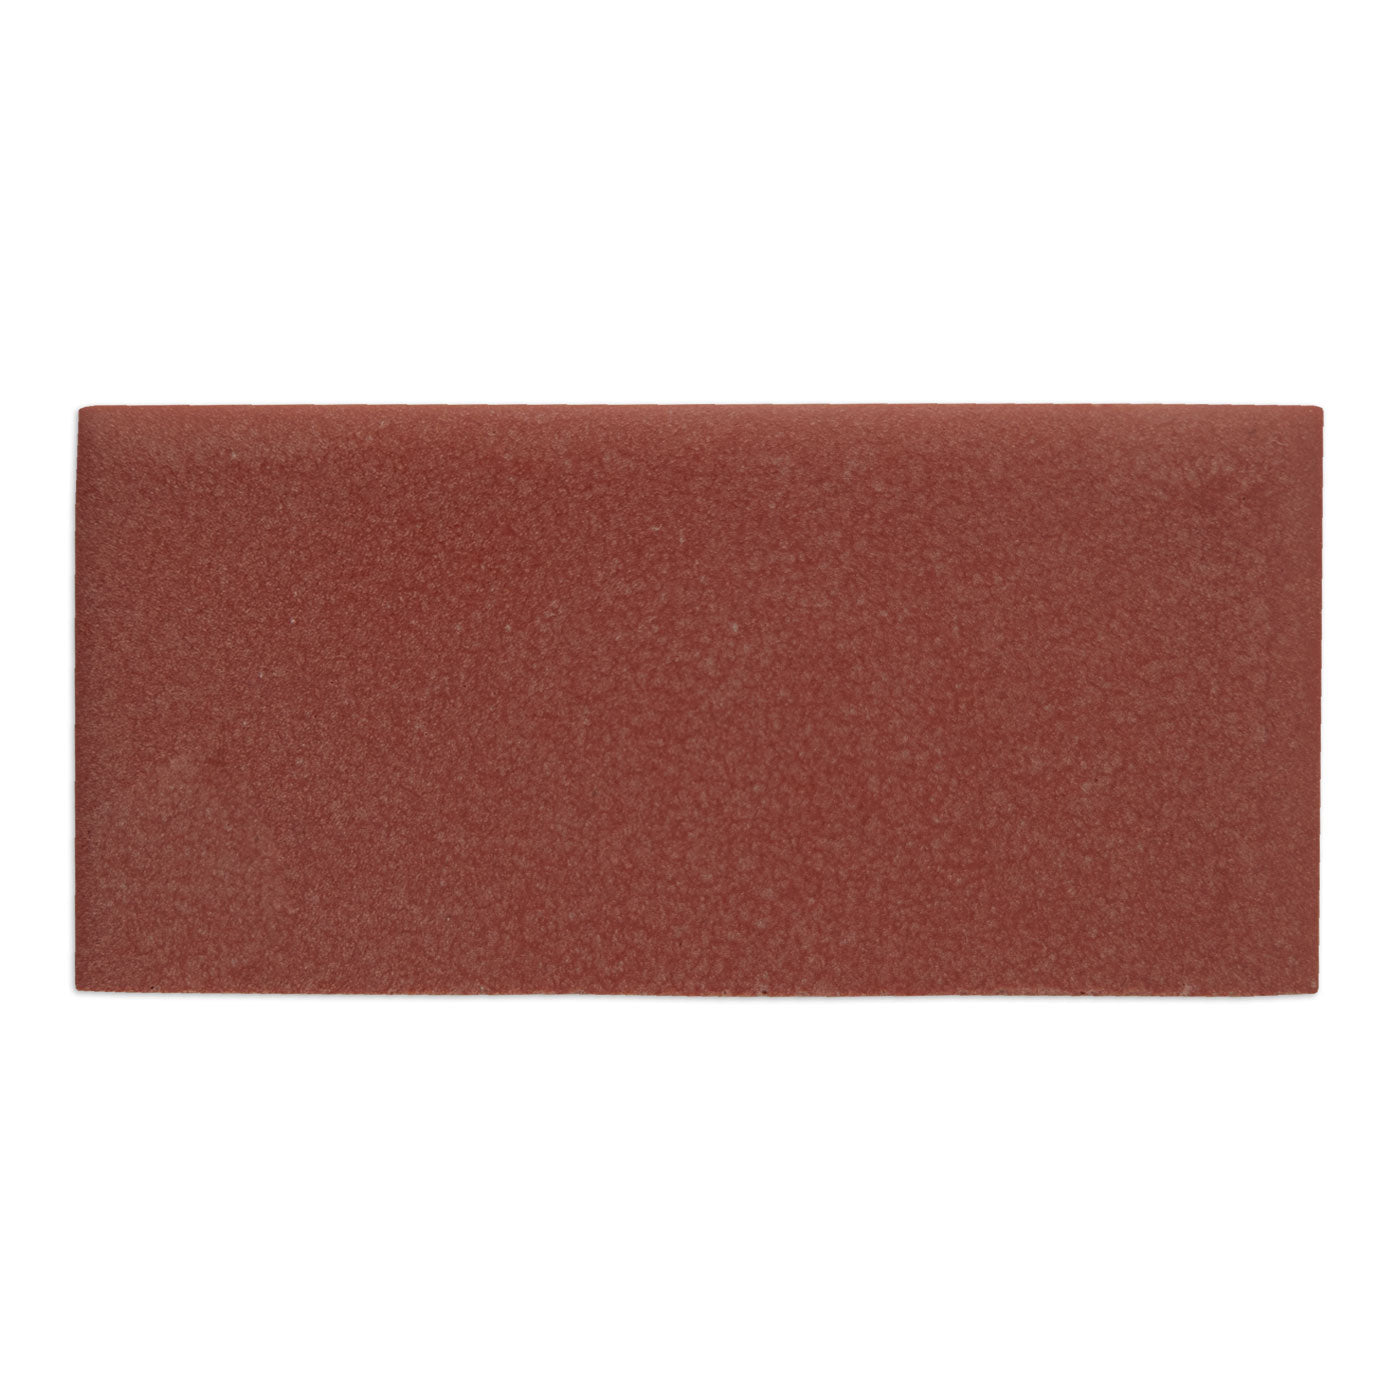
Wild Berry Matte Sample
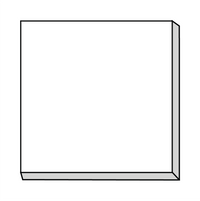
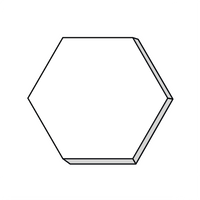
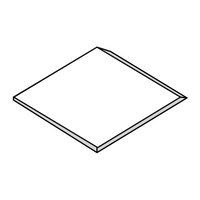
Interested in this color, but in a different size or shape? Find all available shapes below.
Couldn't load pickup availability
 Share
Share
 Pin it


From inspiration to installation
ALL ABOUT CLAY TILE
MAINTENANCE
Our solid glazed tiles are a breeze to clean and keep looking new. Ideal for a busy, low-maintenance home.
Try our Clay Care products for preserving your tiles' beauty, ensuring longevity and durability.
GROUT TYPE | JOINT
TYPE We recommend Mapei Ultracolor Plus
JOINTS 1/8” to 1/4" to accommodate inherent size variation of handmade tiles. Acceptable deviations of up to ± 1/4" are considered acceptable and expected for joint alignment, variation and leveling. A tighter grout joint can lead to movement within the grout joints and affect the straightness of lines.
GROUT COLOR
Choose grout colors that reflect your personal style. Aim for monochromatic shades that complement the tile. Experimenting with contrasting grout will highlight unique, handmade details. Steer clear of dark pigmented grout with light tiles.
Consider printing a few grout colors to compare with tile samples to help with visualizing. Keep in mind there may be slight variations, but it's a great starting point.
SEALING
Solid glazed tiles don't require sealing, making them an easy choice for any space. However, for added peace of mind, especially in exterior or wet areas, you can opt to seal them for extra protection.
TRIM
Bullnose | Versatile transition piece that can be used on floors or walls. Featuring a rounded bullnose edge that creates a smooth transition between surfaces.
Miter Cut | With miter cuts, you can conveniently create 45-degree angles for corners, niches, and edges, or cut down and miter standard pieces to a create custom trim.
Exposed Edge | Embrace the natural elements and leave the edge unfinished
HOW IT'S MADE
The process of making handmade solid glazed clay tiles is a blend of traditional craftsmanship and meticulous attention to detail. Here’s a step-by-step guide to how these beautiful tiles are created:
- Clay Preparation: The process begins with the selection of high-quality clay. The clay is kneaded thoroughly to remove any air bubbles and to achieve a consistent texture. This step is crucial as it ensures that the tiles will be strong and durable.
- Shaping the Tiles: The prepared clay is then rolled out into slabs of the desired thickness. Artisans often use wooden molds or cutting tools to shape the clay into tiles.
- Drying: Once shaped, the tiles need to be dried slowly and evenly to prevent cracking. This can take several days, depending on the humidity and temperature. The tiles are usually placed on drying racks in a well-ventilated area.
- Clay Body Firing: After the tiles are completely dry, they undergo an initial firing in a kiln at a lower temperature. This process hardens the clay and prepares it for glazing. These clay tiles are porous and ready to absorb the glaze.
- Glazing: The next step is glazing, where each tile is dipped, brushed, or sprayed with a liquid glaze. The glaze can be clear or colored. This coating not only adds color but also creates a glass-like surface that makes the tiles water-resistant and easy to clean.
- Glaze Firing: After the glaze is applied, the tiles are fired again in the kiln at a higher temperature. This second firing vitrifies the glaze, creating a smooth, durable surface. The firing temperature and duration are carefully controlled to achieve the perfect finish.
The entire process of making handmade solid glazed clay tiles is labor-intensive and requires a high level of skill and expertise. The result is a unique, durable, and beautiful product that can enhance any space.