


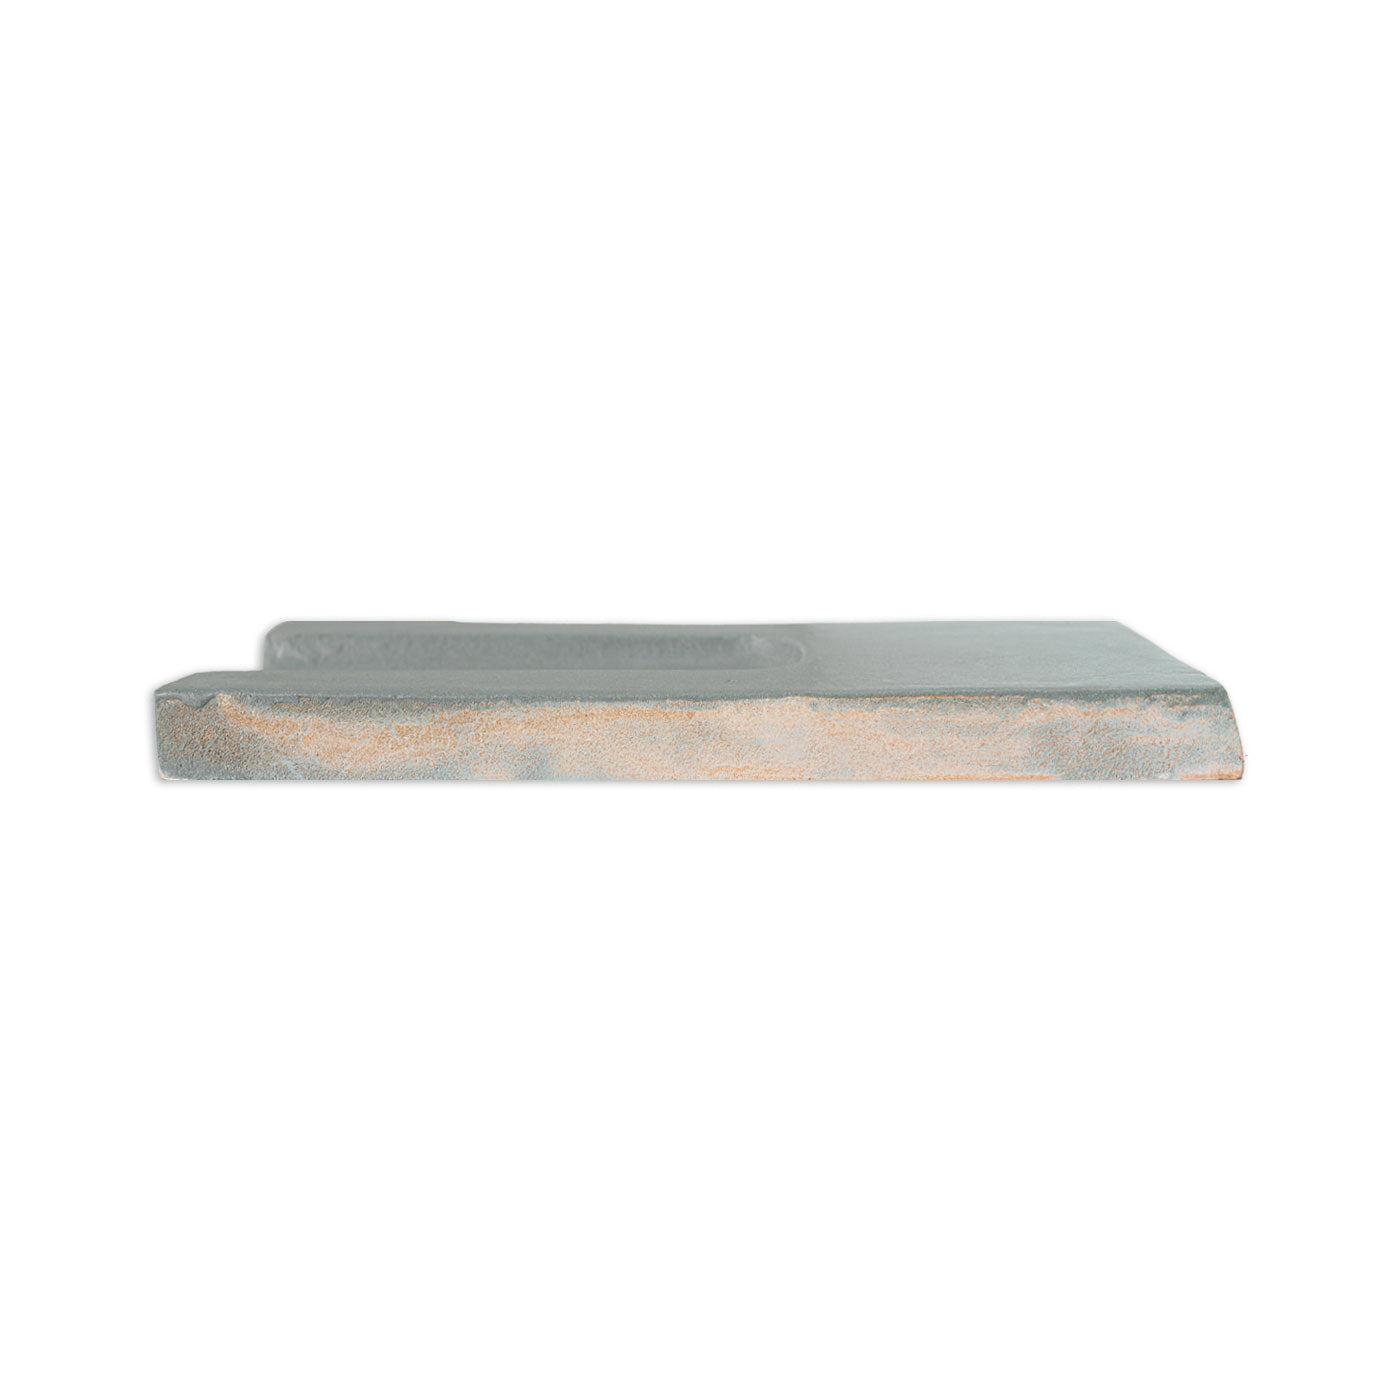
Hueco Rucksack Green 4x8
Plan ahead with 10–15% extra tile to cover natural variation and keep your project running smoothly.
SPECS
SPECS
- Size: 4"x8"
- 1 sq.ft.: 4.5 pcs
- Thickness: 1/2"
- Material: Clay
- Finish: Matte
- Texture: 3D
- Variation: V2
USAGE
USAGE
INTERIOR
- Kitchen backsplashes and islands
- Shower walls
- Fireplaces (surround and interior)
- Decorative walls
- Stair risers
- Commercial spaces such as restaurants, bars, retail stores, and offices (non-kitchen areas)
EXTERIOR (Vertical Applications Only)
Glazed clay tile may be used outdoors on vertical surfaces only when properly waterproofed, installed, and maintained, and only in non-freezing climates.
- Outdoor kitchen walls
- Outdoor shower walls
- Exterior fireplace surrounds
- Exterior walls not directly exposed to harsh weather or freezing temperatures
NOT RECOMMENDED FOR USE
- Flooring
- Any area exposed to freezing or frequent freeze-thaw cycles
- Areas with standing water or prolonged saturation (pools, fountains, water features)
- Steam rooms
- Commercial kitchen floors or walls (does not apply to residential kitchens)
- High-traffic commercial flooring subject to heavy rolling loads


From inspiration to installation
PRODUCT DETAILS
GROUT
TYPE
We recommend unsanded Mapei Ultracolor Plus grout for 3D tiles.
COLOR
- Contrasting Grout
Mapei Ultracolor Plus FA 5221 Moonbeam
- Monochrome Grout
Mapei Ultracolor Plus FA 5093 Warm Grey
JOINTS
We advise using grout joints ranging from 1/8” to 1/4" to accommodate inherent size variation of handmade tiles. Acceptable deviations of up to ± 1/4" are considered acceptable and expected for joint alignment variation and leveling.
While it's possible to use a tighter grout joint, we strongly suggest seeking guidance from an experienced installation professional to increase the likelihood of a successful installation.
TRIM
Adding trim to your tile installation is like putting the cherry on top of a sundae - it's the finishing touch that makes everything come together!
Schluter:
Sleek metal trim pieces offers a variety of metal finishes and paintable options to suit your design needs.
Miter Cut:
Create seamless 45-degree angles for corners, niches, and edges effortlessly with miter cuts.
Grout, Paint, or Caulk:
Achieve a simple polished look by applying grout, paint, or caulk along the trim edges. Make sure all exposed tile edges are properly covered.
Inset:
For a sleek and seamless look, set tiles flush with drywall or sheetrock. Remember, careful planning is key to maximizing the effectiveness of this option.
SEALING
While our clay tiles typically do not need to be sealed, we advise applying a protective sealant for tiles installed in wet areas such as shower surrounds and exterior applications.
Though not mandatory, sealant offers an additional layer of protection by sealing in the micropores of glazed clay tiles, ensuring your tiles remain in excellent condition over time.
EASY MAINTENANCE
Regular maintenance is crucial for preserving the beauty and durability of your clay tile. Here's a comprehensive guide to keep your clay tile looking pristine:
1. Regular Cleaning:
To maintain cleanliness, regularly clean your clay tile. Opt for a soft-bristled broom or a vacuum cleaner. For deeper cleaning, use a damp mop with warm water and our Unscented Cleaner Concentrate to remove dirt and grime.
2. Avoid Harsh Chemicals:
Steer clear of bleach or ammonia, as they can harm or discolor the tile. Instead, utilize pH-neutral cleaners like soap or household non-acidic cleaners. These effectively remove stains without damaging the tile. When cleaning, use a soft cloth or mop to prevent scratching.
3. Tackle Tough Stains Carefully:
For stubborn stains, consider using a slightly more abrasive cleaner after testing it on a less visible area first. Ensure thorough removal of cleaning solution residue to maintain the tile's luster.
4. Prompt Spill Cleanup:
Address spills promptly to prevent staining. Use a soft cloth with warm water or a pH-neutral cleaner for effective spill removal.
5. Prevent Scratches:
While clay tile is durable, it's still susceptible to scratches. Avoid abrasive scrub brushes, sponges and any other material or furniture that might cause abrasive damage.
6. Wet Areas Maintenance:
For wet areas such as shower surrounds or exterior applications, periodically apply a clay care protective sealant that best fits your installation need. While not mandatory, sealant adds an extra layer of protection by sealing micropores, ensuring your tile remains in optimal condition.
By adhering to these maintenance practices, you can prolong the lifespan and beauty of your clay tile flooring.
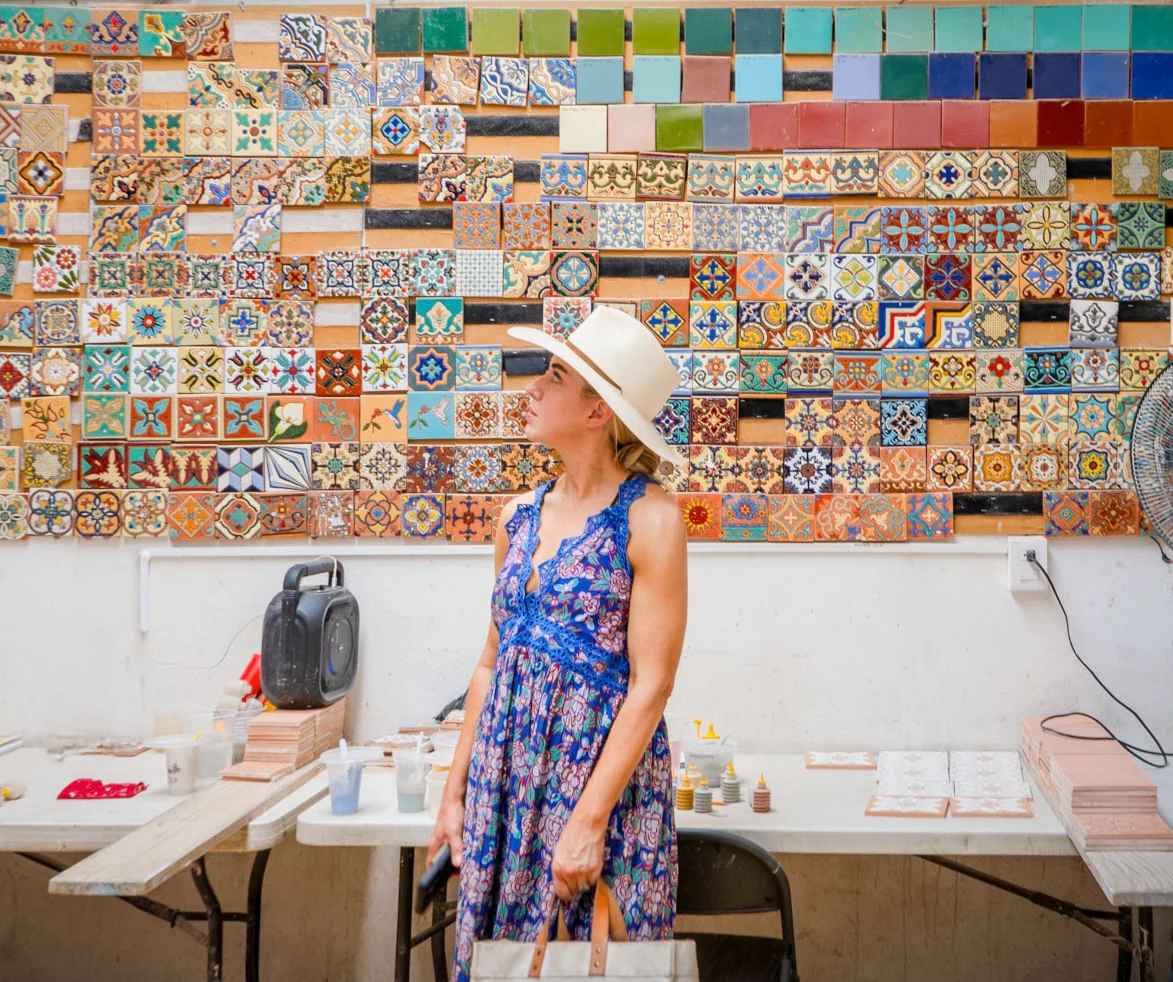
in collaboration WITH
AMY PIGLIACAMPO
Los Angeles-based interior designer Amy Pigliacampo specializes in residential renovations, select new builds, and intimate commercial projects. Amy's "subtractive" approach to design focuses on uncovering the soul of each home by peeling back layers to help clients realize their ultimate vision, creating magazine-worthy yet livable spaces.