-

-
 Painted Blocks | Design Create Atelier | Photography Robert Tsai
 -

-
 Design and Build Moontower Austin
 -

-
 Design Laura Branson
 -
 Painted Blocks | Design Create Atelier | Photography Robert Tsai
 -
 Painted Blocks | Design Create Atelier | Photography Robert Tsai
 -
 Painted Blocks | Design Create Atelier | Photography Robert Tsai
 -
 Design Moontower
 -
 Clifton Club Bar & Lounge
 -

-

-

-

-

-

Breeze Block Mariposa
Breeze Block Mariposa
Plan ahead with 10–15% extra tile to cover natural variation and keep your project running smoothly.
Price $52.00
SPECS
SPECS
- Size: 9 1/4″ x 4 5/8″ x 2 1/4″
-
Size Variation:
- Length up to ±1/2 inch
- Height ±5/8 inch
- Depth (thickness) ±1/4 inch
- 1 sq.ft: 3.3 pcs
- Weight/Piece: 3.8 lbs
USAGE
USAGE
To achieve the best results, consult a professional mason and follow our installation guidelines. Use the information on installation materials. Use a stable surface like concrete and avoid freezing temperatures. Do not dry stack or construct a wall on shifting substrates like sand or gravel. For detailed installation recommendations, reference our Ultimate Breeze Block Guide.
Can be used in residential or commercial applications.
- Exterior | Porch, Patio, Walkway, Driveway, Partition wall, Backyard, Terrace, Fencing
- Interior | Partition wall, Pony wall, Room divider, Accent or decorative wall
DESIGN FILES
DESIGN FILES


SUSTAINABLY MADE
From raw clay, to decoartive blocks, all powered by the sun. Our breeze blocks are crafted in a 100% solar-powered factory and are sustainably made in Mexico.
From inspiration to installation
PRODUCT DETAILS
HOW AND WHERE BLOCKS ARE MADE
Mexico, of course! We produce our Clay Imports breeze blocks using 100% natural clay native to Central Mexico. Each piece is produced by extracting dense red clay through a patterned dye (think Play-Doh). Then, the block is fired. Voilà, a decorative breeze block for any project.
CUSTOM BLOCKS
We currently do not offer customization of breeze block patterns.
Get creative! Try "customizing" breeze blocks by painting them or by mixing different patterns.
PAINTING BREEZE BLOCKS
Breeze blocks can be painted on both sides or a single side before installation. Although there are various methods to paint blocks, we suggest dipping them individually in paint as it's quicker and easier to fill all spaces. Epoxy paint is recommended, and the color is your choice.
*Even if you paint your breeze blocks properly, it’s still possible for them to chip over time, which will reveal the contrasting terracotta tones underneath. You can also whitewash breeze blocks using a sponge application.
INSTALLATION
For guidance on reinforcement and other related information, we recommend referring to the Ultimate Breeze Block Guide to answer many commonly asked questions. However, specific details may vary from project to project.
Our Breeze Block Installation guideline is designed to offer broad recommendations.
We encourage consulting with a professional mason or installer who can provide personalized advice tailored to your specific project. We don’t provide detailed installation plans as this is usually the responsibility of the installer, architect, engineer or other hired professionals. They should be able to offer customized plans, installation specifics, and reinforcements to help ensure your installation goes smoothly.
ADHERING BLOCKS
Conventional masonry installation (i.e., brick wall): Minimum 3/8” to 1/2” grout joint recommended
Technical installation (i.e., liquid nails or construction adhesive): Minimum 1/4” grout joint is recommended, followed by filling joints with sanded grout
FOUNDATION
When constructing a breeze block wall, it is essential to begin with a solid and stable foundation. While concrete is the most common and recommended
base for these projects, all freestanding masonry walls require a concrete footing or skirt.
A general guideline for determining the footing size is to make it three times the width of the breeze block and 2 inches for every foot of wall height.
This is a typical rule but may not be universally applicable.
EXTERIOR REINFORCEMENT
It is crucial to reinforce your breeze block installation for both exterior and interior stability. To ensure the durability of your breeze block wall, consider reinforcing it with existing structures or constructing framing structures. For an optimal installation, aim to establish multiple solid points of structural integrity to secure the blocks. An effective method is to anchor the blocks to the floor and two walls for added stability.
While these are recommended techniques, there are various approaches to installing breeze blocks in different structural settings to ensure the necessary rigidity for your wall.
INTERIOR REINFORCEMENT
In addition to exterior reinforcement, it is ideal to have interior reinforcement that is integrated into the breeze block wall during installation. This can be achieved by using interior reinforcement to connect to existing structures. Interior reinforcement provides additional rigidity to the horizontal and vertical joints of an installation as the wall is being constructed.
- To enhance structural integrity, consider placing a vertical beam every 8 feet for wall support.
- For wall heights above 9 feet, horizontal bond beams are recommended.
After determining the installation method, it's important to decide what type of interior reinforcement will work for the project. There are 4 main types (metal plates/beams, rebar, ladder wire, or wall/brick ties) of industry-standard masonry reinforcement options often used for breeze block installations.
SEALING
Terracotta breeze blocks, being clay-based, are porous, making them susceptible to staining during grouting. To avoid this issue, it is recommended to seal the blocks before grouting. Here's how you can do it:
- While it's not mandatory, we suggest using Penetrating Sealant to preserve the natural clay appearance.
- Apply the sealer by rolling or brushing it onto ONLY the front and back of the blocks, ensuring to avoid the top, bottom, and sides.
- Allow the sealer to dry completely before continuing with the installation process.
It is recommended to seal the blocks if they will be exposed to freezing conditions to help preserve their appearance and integrity over time.
-

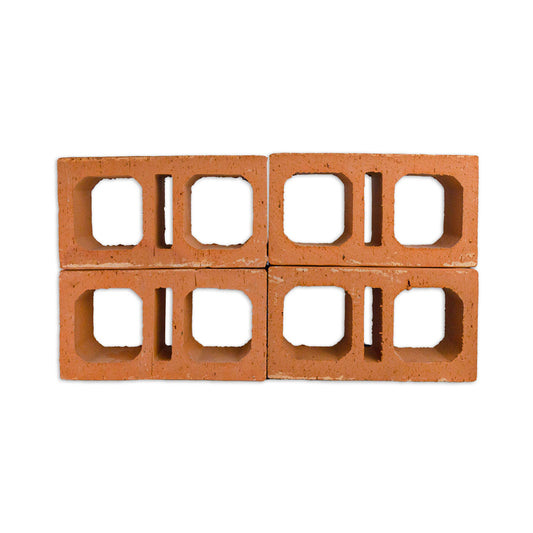 IN STOCK
Breeze Block Ventana
Loading price in sq.ft...Regular price $5.20Regular priceUnit price / per -

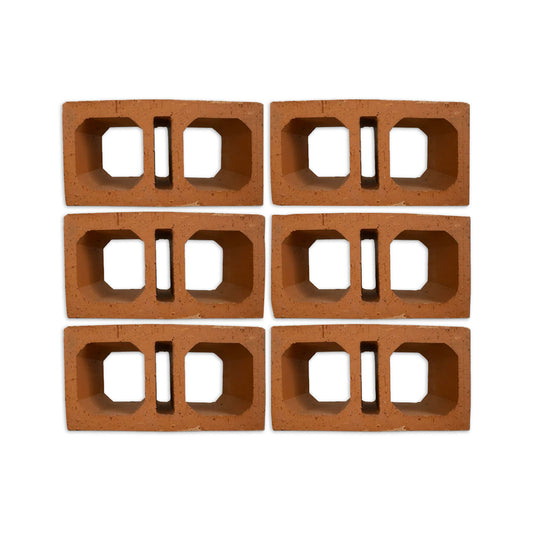 IN STOCK
Breeze Block Ventana Grande
Loading price in sq.ft...Regular price $5.90Regular priceUnit price / per -

 IN STOCK
Breeze Block Petalo
Loading price in sq.ft...Regular price $5.20Regular priceUnit price / per -

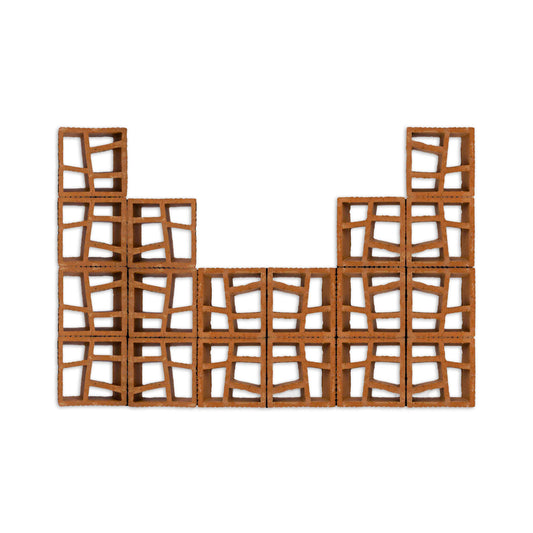 IN STOCK
Breeze Block Tigre
Loading price in sq.ft...Regular price $6.85Regular priceUnit price / per -

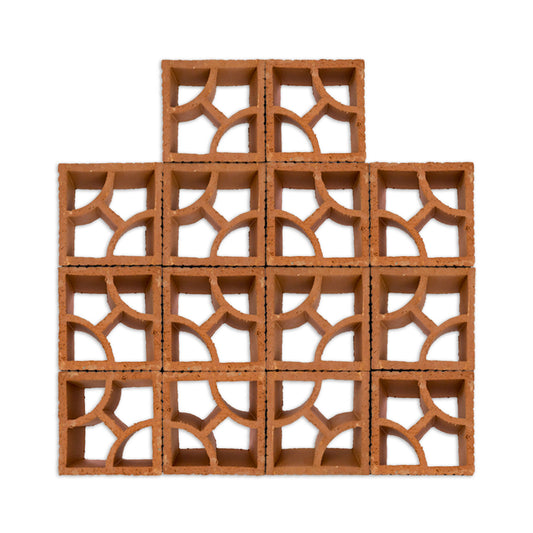 IN STOCK
Breeze Block Lava
Loading price in sq.ft...Regular price $6.85Regular priceUnit price / per -

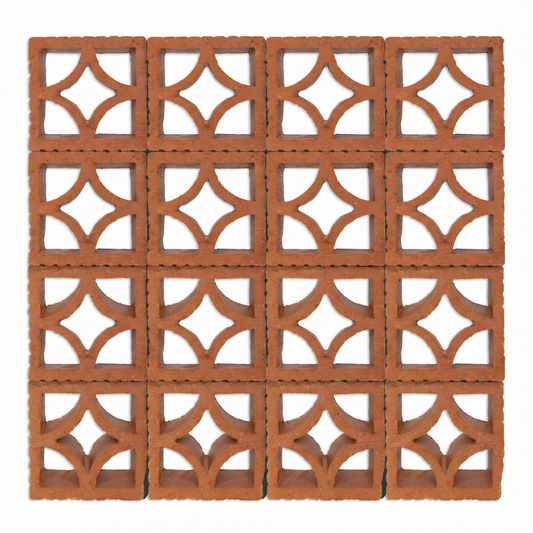 IN STOCK
Breeze Block Escala
Loading price in sq.ft...Regular price $5.00Regular priceUnit price / per -

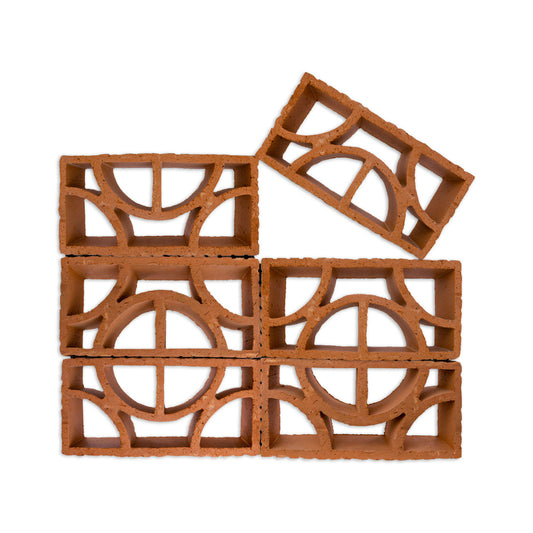 IN STOCK
Breeze Block Disco
Loading price in sq.ft...Regular price $8.30Regular priceUnit price / per -

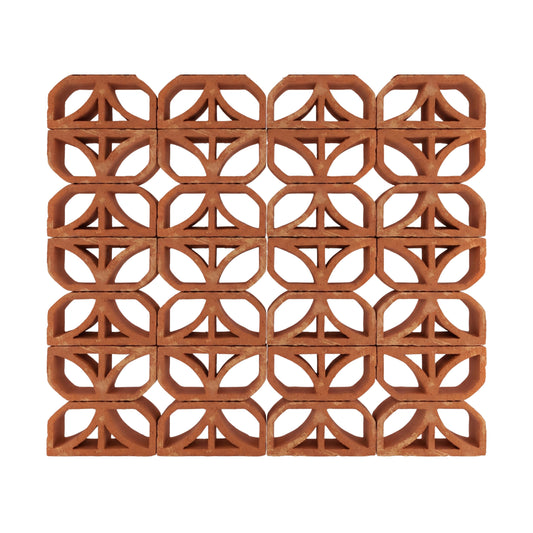 IN STOCK
Breeze Block Mariposa
Loading price in sq.ft...Regular price $5.20Regular priceUnit price / per -

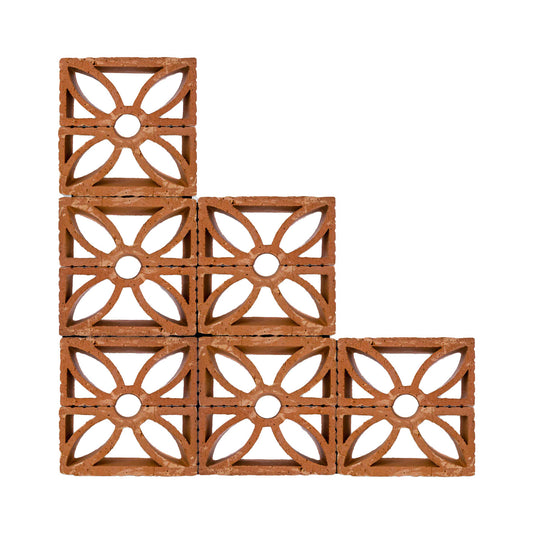 IN STOCK
Breeze Block Dulce
Loading price in sq.ft...Regular price $5.20Regular priceUnit price / per -

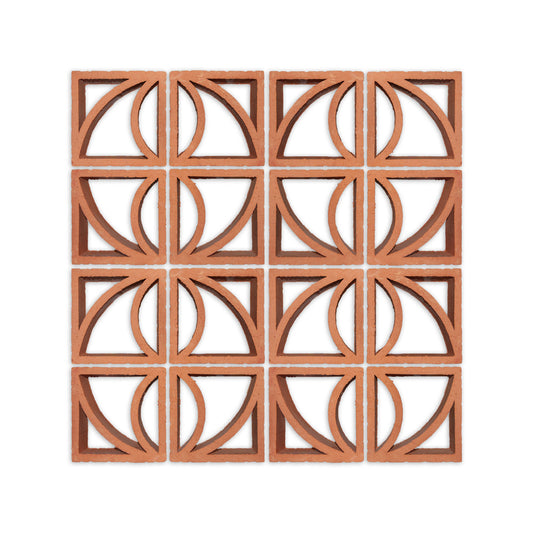 IN STOCK
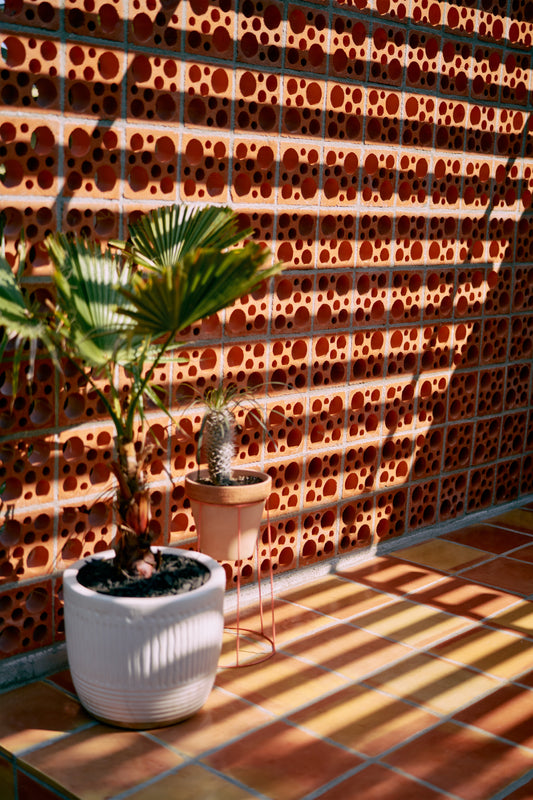
Breeze Block Brisa
Loading price in sq.ft...Regular price $6.85Regular priceUnit price / per -

 IN STOCK
Breeze Block Campo
Loading price in sq.ft...Regular price $6.85Regular priceUnit price / per -

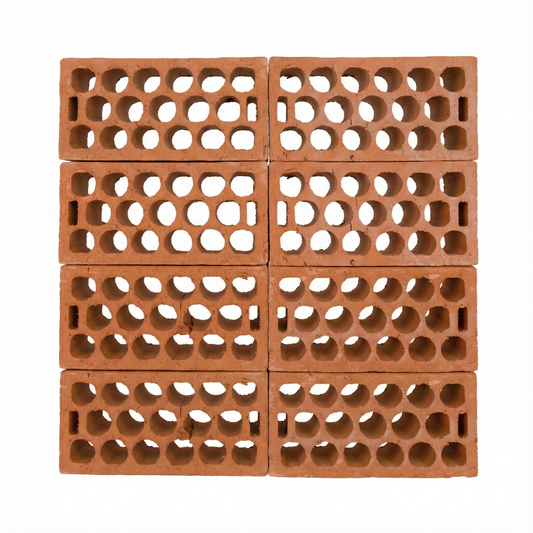 IN STOCK
Breeze Block Pozos
Loading price in sq.ft...Regular price $5.50Regular priceUnit price / per
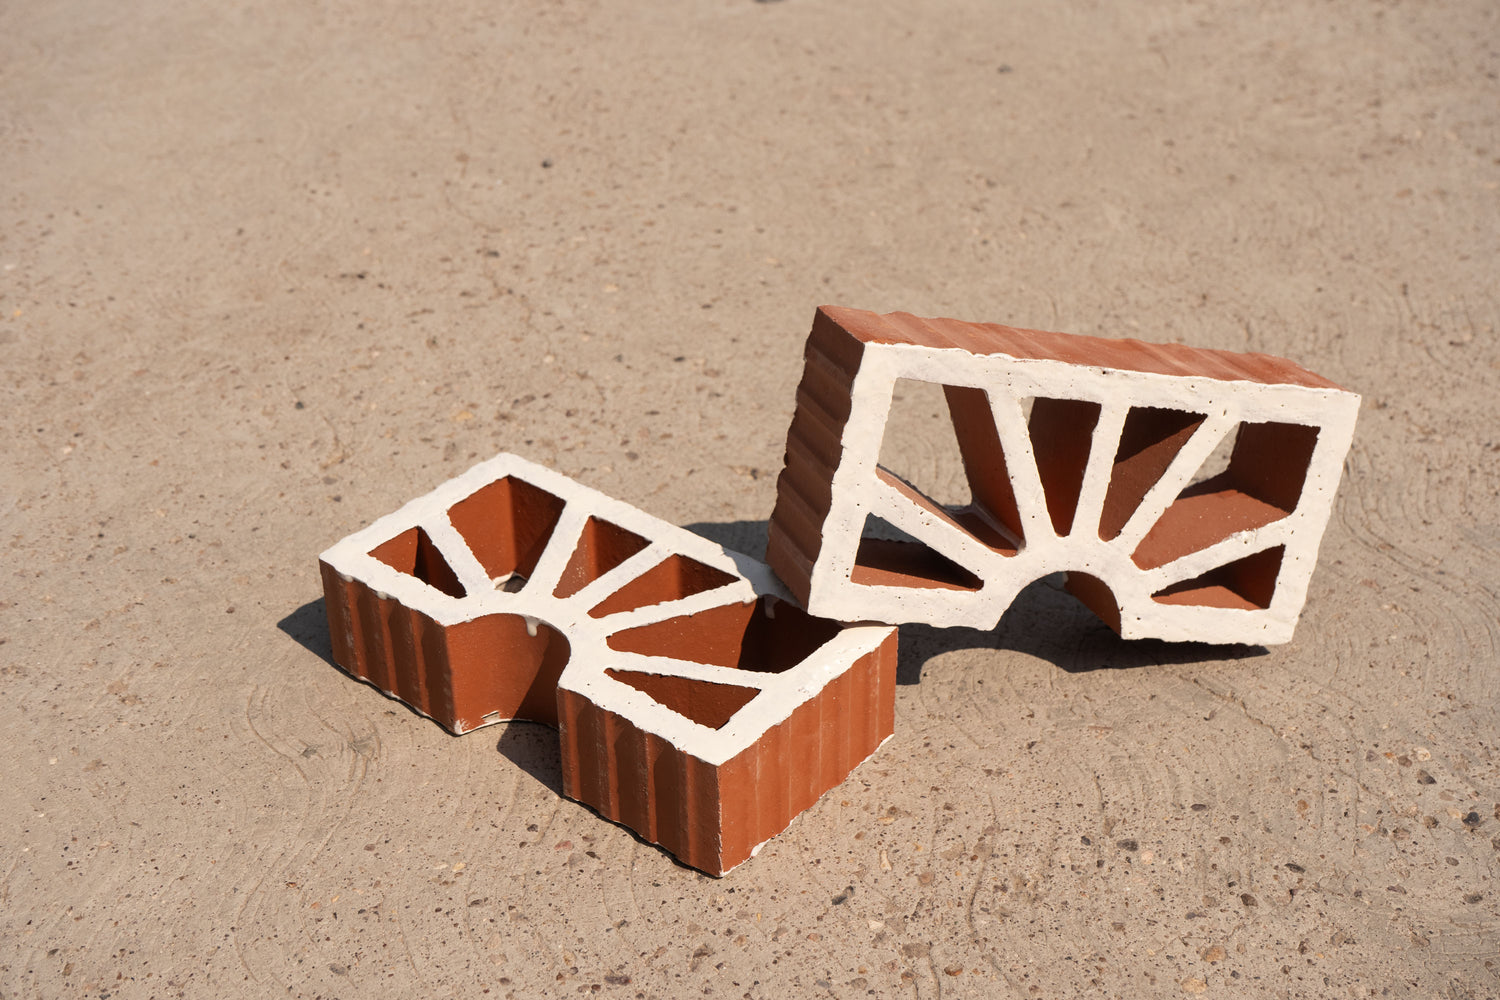
GLAZED BREEZE BLOCKS
We are the pioneers of glazed terracotta tiles and now bring you the first-ever glazed breeze blocks. Unlike painted blocks that require maintenance, glazed breeze blocks are double-fired for durability and water resistance, offering superior performance in any setting.

BORROW FROM THE EARTH
- Choosing a selection results in a full page refresh.
- Opens in a new window.
We use cookies to make your visit feel as personalized as our handcrafted materials. From remembering your favorites to showing you the right inspiration. By clicking “Accept,” you agree to our use of cookies. See our Cookie Policy.
We use analytics cookies to understand how our site is used. You can opt in or out below.


