When planning a tile installation, grout color often gets most of the attention, and for good reason. Grout can dramatically change the final look of a tile. But beyond color, there are critical technical details that need to be considered before you open a bag of grout.
In this guide, we’re walking through a real-world example using Clay Imports’ Dragonfly Gloss 2x8 tile paired with one of the most intensely pigmented grout colors available: Ragin’ Red by Grout 360. Along the way, we’ll highlight the key precautions you should always take before grouting any tile project.
- The Tile & Grout Setup
- Five Critical Things to Consider Before Grouting
- Always Test Before You Grout
- If Pigment Is an Issue, You Have Options
- Proper Prep Makes All the Difference
- Mixing & Applying Grout Correctly
- Cleaning & Drying Tips
- Final Results
- Final Takeaway: Think Technical First
The Tile & Grout Setup
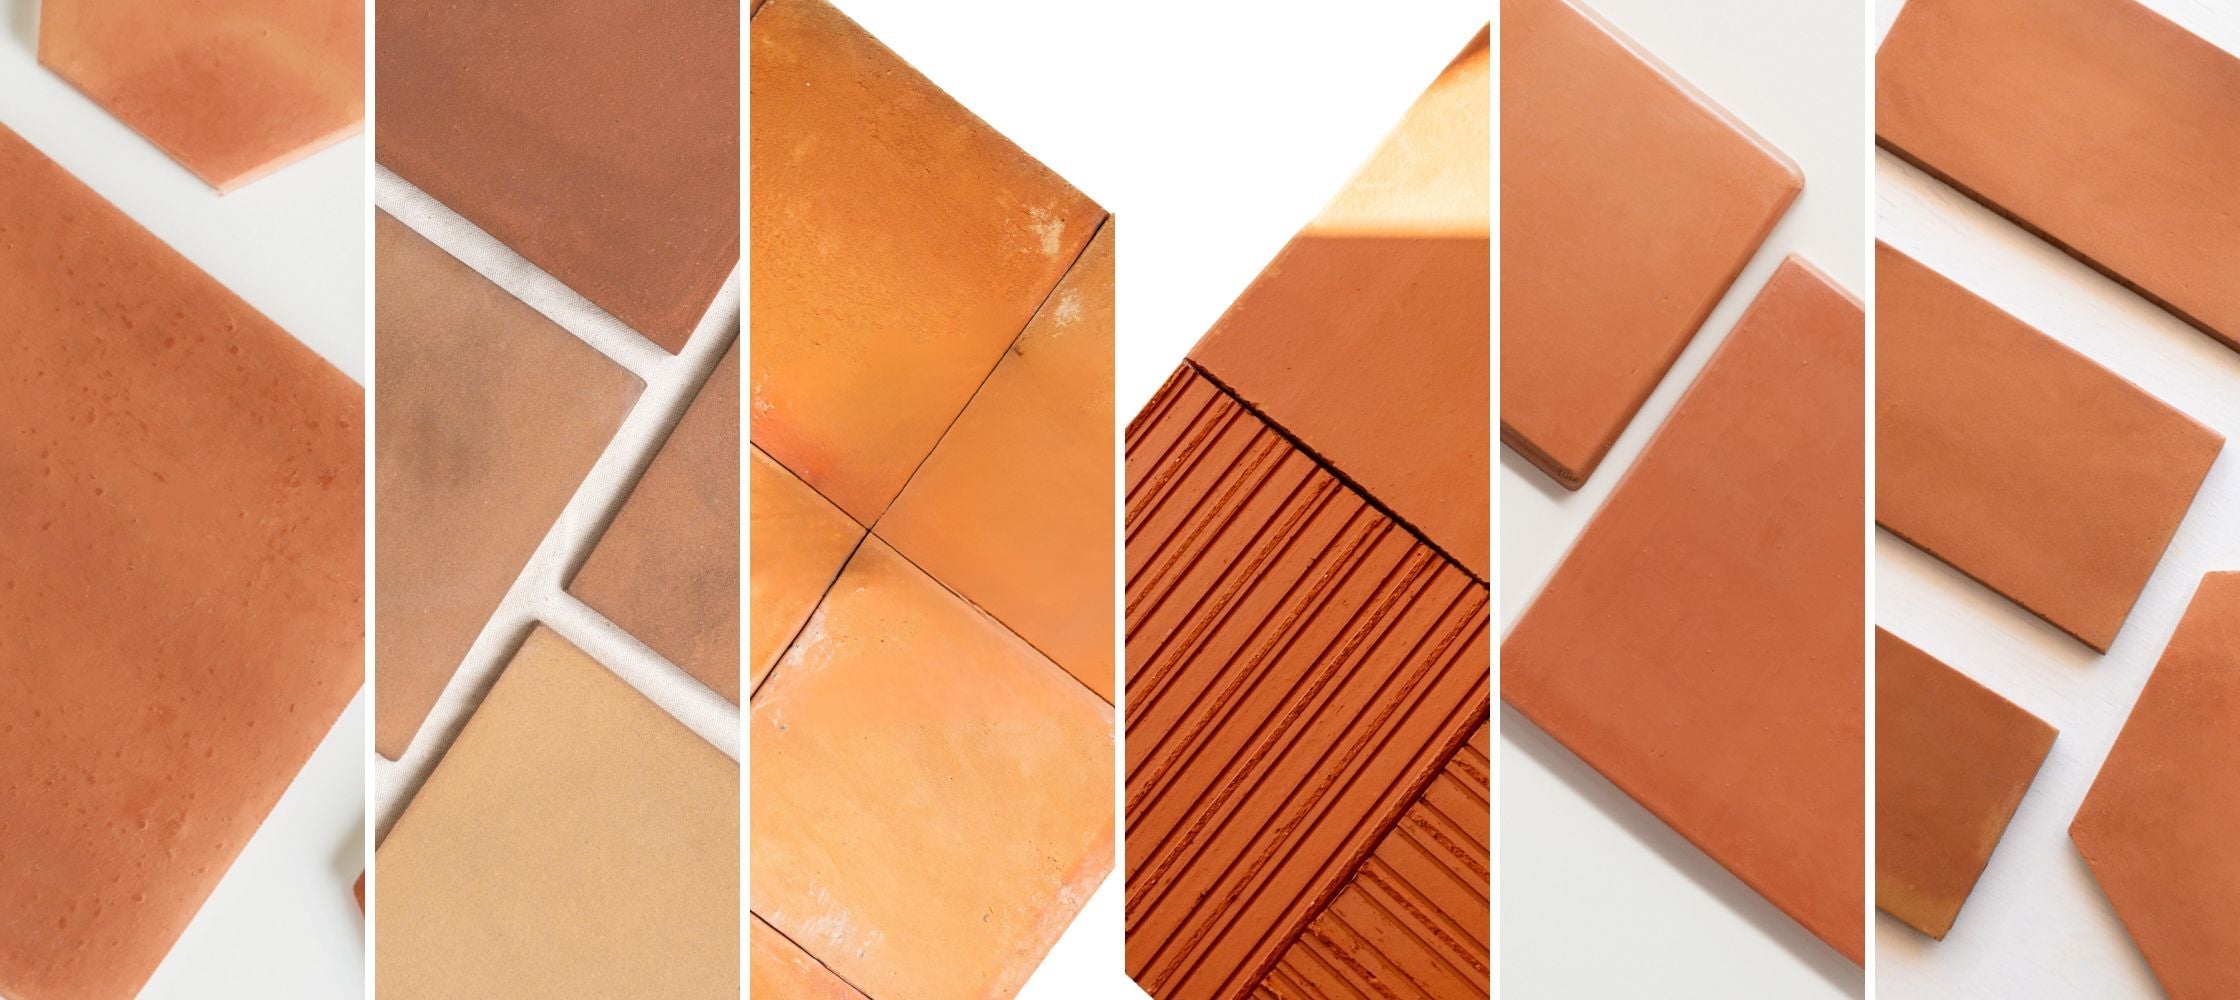
- Tile: Dragonfly Gloss 2x8 (Clay Imports)
- Grout: Grout 360 Sanded Grout in Ragin’ Red
- Joint Size: Approximately 1/8"
Grout 360 is not a Clay Imports product, but it’s frequently used with our tile because of its bold, vibrant, and uncommon grout colors. Ragin’ Red is one of their most intense pigments, making it perfect for demonstrating why testing and prep are essential.

Grout 360 Ragin’ Red is a very intense pigment, making it perfect for demonstrating why testing and prep are essential.
Five Critical Things to Consider Before Grouting
1. Sanded vs. Unsanded Grout
- Unsanded grout is used for joints smaller than 1/8”
- Sanded grout is designed for joints between 1/8” and 3/4”
Using the wrong grout can lead to cracking, poor performance, or surface damage.
2. Dry Powder Color Is Not the Final Color
The color of grout in the bag is not what it will look like once mixed and cured. Ragin’ Red, for example, looks surprisingly muted in powder form, but becomes extremely vibrant once water is added.
3. Pigmented Grouts Can Stain Tile
Highly pigmented grouts can permanently stain certain tile surfaces, especially:
- Natural stone
- Cement tile
- Matte or porous glazes
Even glazed tiles should never be assumed “safe” without testing.
4. Pigments Can Highlight Crazing
Crazing: fine hairline cracks in a glaze, often not visible until pigment is introduced. Heavily pigmented grout can soak into these cracks and permanently highlight them.
5. Sanded Grout Can Scratch Certain Surfaces
Sanded grout can scratch delicate materials like polished marble or other soft stones. Always confirm surface compatibility before committing.

The color of grout in the bag is not what it will look like once mixed and cured. Ragin’ Red, for example, looks surprisingly muted in powder form, but becomes extremely vibrant once water is added.
Always Test Before You Grout
The single best way to avoid costly mistakes is to test your grout on a sample tile.
In this example, we tested Ragin’ Red on several Clay Imports tiles, including:
- Dragonfly Gloss
- Handmade white glazes
- Crackle finishes
What We Found:
- Dragonfly Gloss: No staining, no scratching, no crazing highlighted
- Most glazed tiles: No surface change
- Yucca Crackle Gloss: Pigment penetrated the crackle finish, leaving a red hue
This is exactly why testing matters. Catching an issue on a sample tile gives you options; discovering it mid-installation does not.

Test your grout on a sample tile to avoid costly mistakes.
If Pigment Is an Issue, You Have Options
If testing reveals staining or pigment penetration, you can:
- Choose a less pigmented grout color
- Apply a grout release or penetrating sealer to help protect the tile surface
While sealers can help, our general recommendation is to select a grout color that’s naturally compatible with your tile whenever possible.

Applying a grout release or penetrating sealer helps protect the tile surface.
Proper Prep Makes All the Difference
Before grouting:
- Clean all grout joints thoroughly
- Remove any protruding adhesive or debris
- Tape off surrounding surfaces like wood trim, cabinets, baseboards, or drywall
Pigmented grout can permanently stain anything it touches, and as this demo shows, even a small unprotected area can be affected.
 Before grouting, clean all grout joints thoroughly and remove any protruding adhesive or debris.

Mixing & Applying Grout Correctly
- Use the manufacturer’s water ratio carefully (Ragin’ Red requires very little water)
- Mix slowly to a peanut-butter-like consistency
- Avoid adding too much water; you can’t fix it later
Apply grout using a rubber grout float, not a metal trowel.

Mix slowly to a peanut-butter-like consistency.

Apply grout using a rubber grout float, not a metal trowel.

Cleaning & Drying Tips
- Begin wiping once the grout becomes slightly hazy
- Use a damp sponge, not too wet
- Rinse your sponge frequently and use a clean section with each wipe
- Allow the grout to rest before final cleaning to avoid pulling grout from joints
Once residue feels dusty instead of wet, tape can be safely removed.

Begin wiping once the grout becomes slightly hazy using a damp sponge, and rinse frequently.
Final Results
The finished installation features Dragonfly Gloss 2x8 tile paired with Grout 360’s Ragin’ Red, producing a bold, high-contrast look that works beautifully because every technical detail was addressed beforehand.

Once residue feels dusty instead of wet, tape can be safely removed.
Final Takeaway: Think Technical First
Before grouting any tile project, always ask:
- Am I using the correct grout type?
- Will this grout scratch the surface?
- Can the pigment stain the tile or surrounding materials?
- Will it highlight crazing?
Taking the time to test and prepare can save your project, and your sanity.
Gracias, and have a grout day!
 Share
Share
 Pin it