Learn the best practices for installing handmade tiles with natural imperfections to achieve a flawless, professional look.
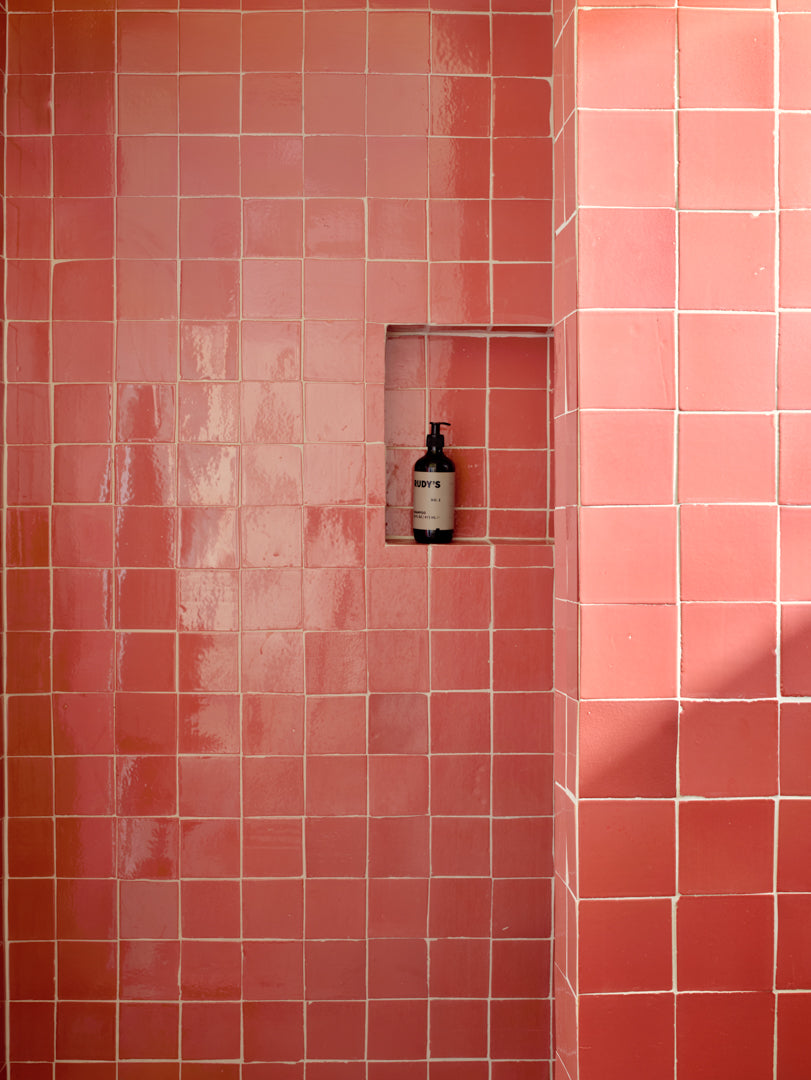
At Clay Imports, we pride ourselves on offering a wide selection of handcrafted tiles made by skilled artisan tile makers. These handmade tiles are unique and full of character, often featuring natural variations in size, thickness, and flatness from piece to piece. While these differences are an inherent part of the handmade process, they can pose challenges during installation. But don’t worry—when installed correctly, these variations enhance the artisanal charm of your space.
In this guide, we’ll walk you through how to expertly install tiles with size and thickness variations to achieve stunning results.
- Why Do Handmade Tiles Have Size and Thickness Variations?
- How to Install Handmade Tile with Size Variations: The Grid Method
- Managing Thickness Variations
- Achieving a Professional Finish
- Final Tips & Resources

Why Do Handmade Tiles Have Size and Thickness Variations?
All handmade tiles exhibit variation, not only in color but also in their dimensions and thickness. These differences occur due to the way tiles are formed and placed in the kiln, where they are exposed to varying levels of heat. As a result, no two tiles are exactly the same.
These variations are not defects, but rather a testament to the authenticity and craftsmanship behind each piece. To get a feel for this natural uniqueness, we highly recommend ordering samples before making your final purchase.
Understanding Flatness and Warping
Handmade tiles are crafted and dried by hand, so slight warping or bowing can occur during the firing process. This is completely normal and part of their handcrafted character. For wall installations, minor warping is rarely noticeable once grouted. For floors, a skilled installer will compensate for unevenness through adhesive depth adjustments and careful layout planning to minimize lippage (uneven edges between tiles).
Pro Tip: Always review the tile’s flatness before installation by laying several pieces together dry. Mix tiles from all boxes to blend natural variation evenly across the surface.

How to Install Handmade Tile with Size Variations: The Grid Method
Traditional tile installation techniques won’t suffice when working with tiles that vary in size. Even slight differences can become more pronounced over multiple rows, making it difficult to maintain straight lines. That’s why we recommend using the Grid Method.
Steps to Install with the Grid Method:
- Create a grid on your subsurface using pencil, chalk, or laser lines.
- Apply adhesive to one grid space at a time.
- Drop the tile into the center of the grid. Make sure the grid space is slightly larger than the tile to allow for adjustments.
- To achieve ¼-inch spacing, make each grid space about ⅛ inch larger on each side. When tiles are placed side-by-side, the spacing will naturally total ¼ inch.
Using this method helps distribute size variation evenly across the entire layout rather than accumulating inconsistencies on one side. It keeps grout lines consistent and prevents jagged lines.
Pro Tip: Always review the tile’s flatness before installation by laying several pieces together dry. Mix tiles from all boxes to blend natural variation evenly across the surface.
Pro Tip: If needed, use wedge spacers, especially on vertical installations, to keep tiles from sliding out of place.

Managing Thickness Variations
Installing tiles with thickness differences requires precision. Here's how to keep your surface level:
- Apply adhesive one tile at a time, focusing on each individual grid space.
- Adjust adhesive depth based on the tile’s thickness.
Check Flatness Regularly: Use a straightedge or level across the installation area as you work to ensure tiles remain even. Adjust adhesive thickness as needed to bring tiles flush with one another.
Preventing Lippage: Lippage is common with handmade tile because of their organic shape and thickness variation. Using the Grid Method and monitoring flatness helps minimize visible edge differences. Avoid over-leveling, which can erase the handcrafted texture and natural flow of the tile surface.

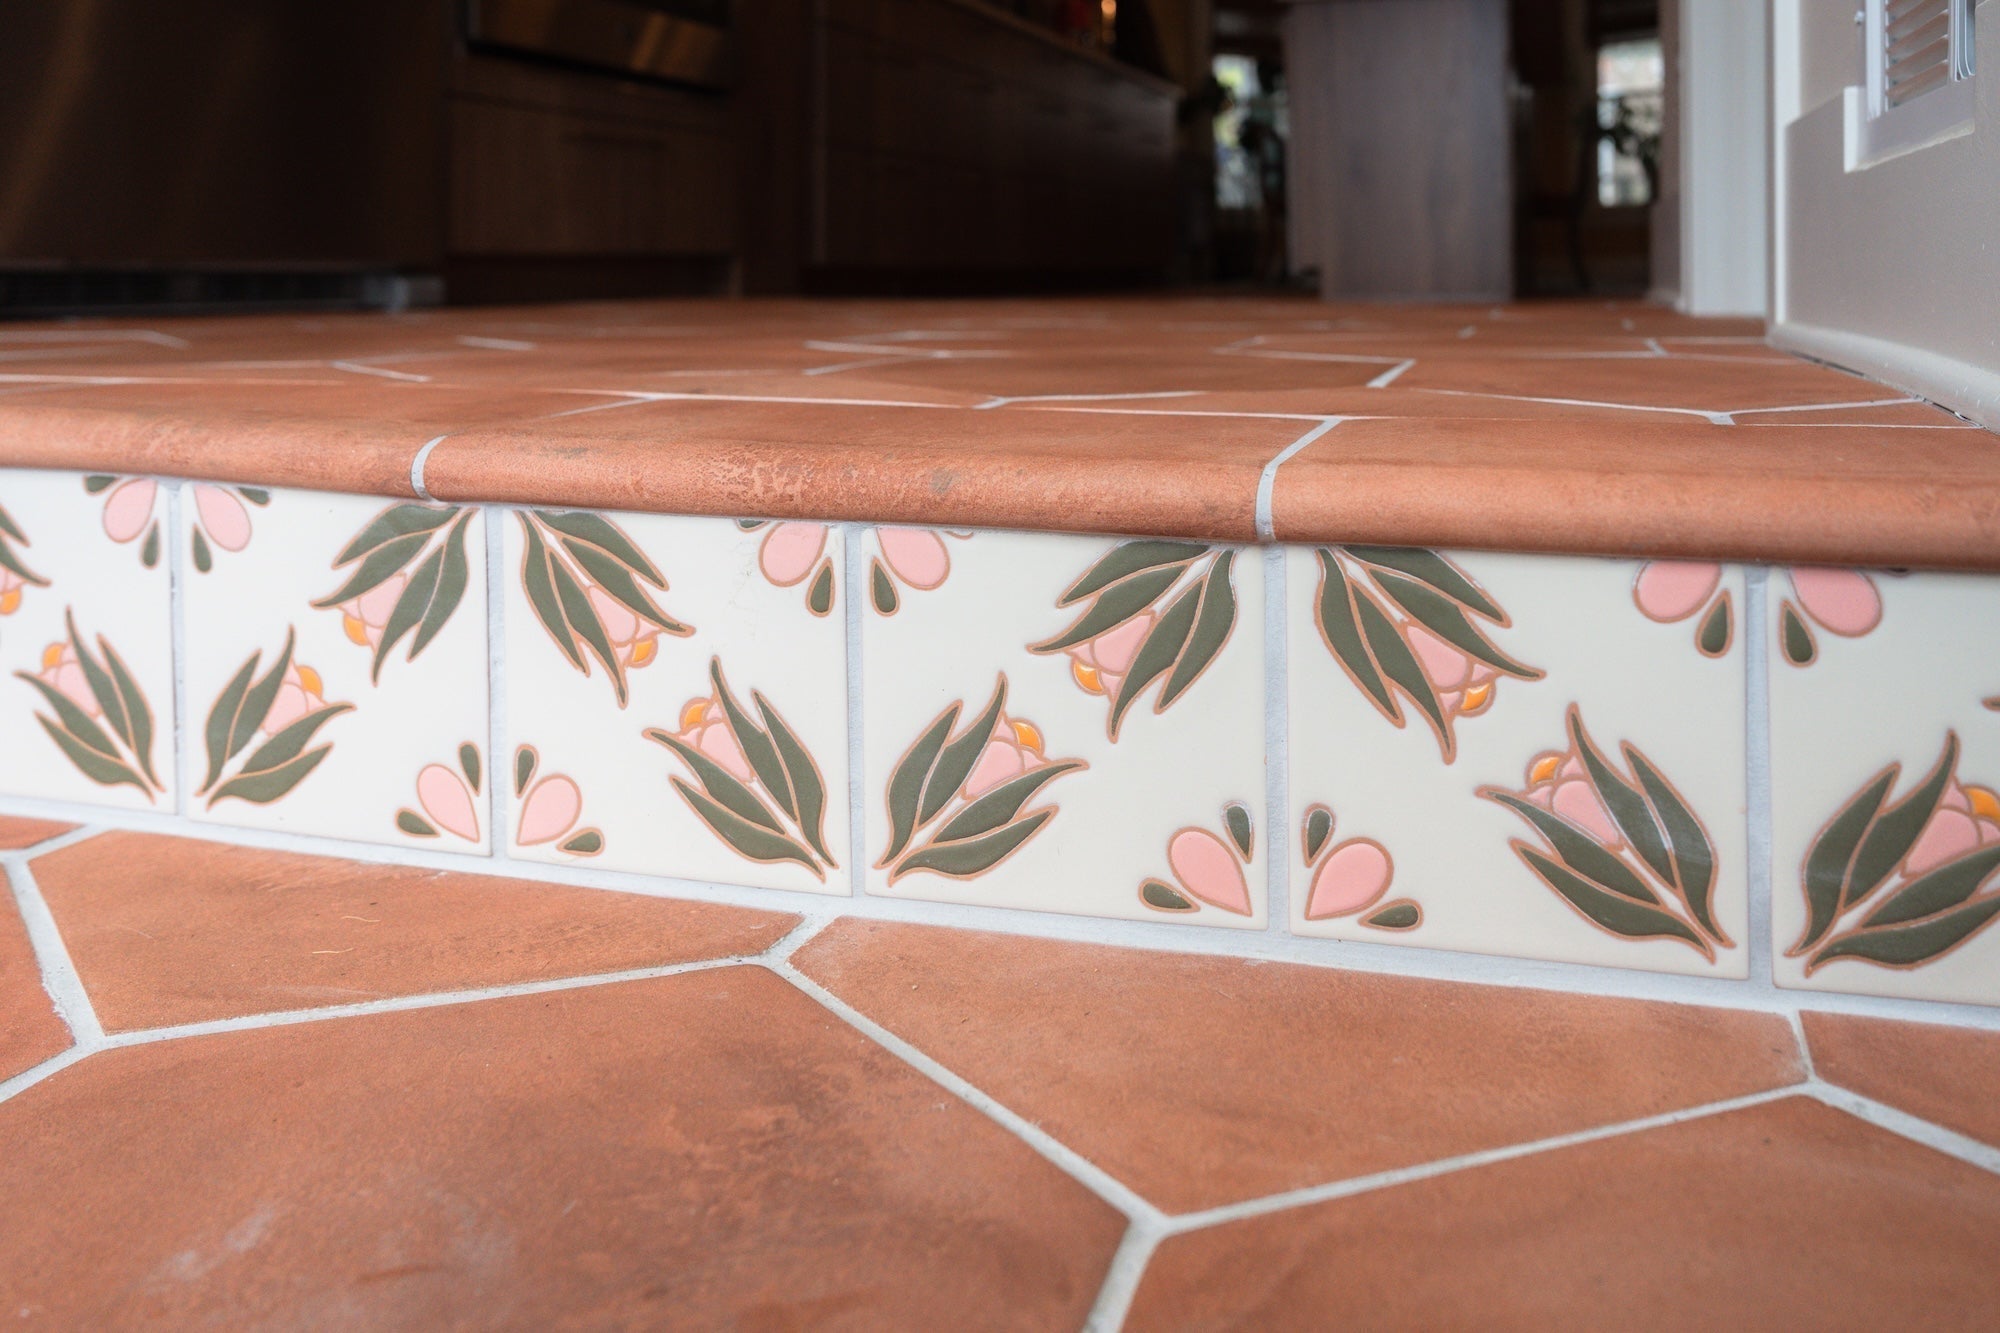
Design by Brooke Irwin
What to Do Based on Tile Type:
- Pillow-top tiles: Add more adhesive to the raised center to prevent sinking.
- Thinner tiles: Apply additional adhesive to the back of the tile for elevation.
- Thicker tiles: Either press them firmly into the adhesive or remove a small amount from the surface to level it out.
The key is to ensure each tile is fully supported and flush with its neighbors to maintain a smooth, level surface.
Check Substrate Flatness First
Before installing, make sure the substrate or surface is clean, stable, and level. For best results, follow industry flatness standards: no more than ¼″ deviation in 10 ft for tiles shorter than 15″. Uneven substrates can exaggerate tile variations and make lippage more noticeable.

Preventing Lippage
Lippage, know as uneven height between adjoining tile edges, is common with handmade tile due to thickness and flatness differences. Some variation is normal, but you can minimize it by:
- Checking flatness frequently with a straightedge or level as you install.
- Adjusting adhesive depth to keep tiles even.
- Avoiding over-leveling, which can erase the handmade texture and natural movement of the surface.
Industry guidelines suggest that for grout joints under ¼″, acceptable lippage is approximately ¹⁄₈″ (3 mm) plus the tile’s inherent warpage. The goal is a visually smooth surface, not machine-perfect uniformity.
Achieving a Professional Finish
By using the Grid Method and carefully managing adhesive for thickness and flatness variation, you can create a level, professional-quality tile wall or floor. Each variation will be confined within individual grid spaces, leading to a stunningly crafted, one-of-a-kind installation.
Embrace the Variation: Even after expert installation, handmade tiles will showcase subtle differences in plane, thickness, and size. These variations give the surface depth and authenticity, qualities that distinguish handmade tile from factory-made alternatives.

Final Tips & Resources
In summary:
- Use the Grid Method for consistent tile spacing and alignment.
- Order at least 15–20% extra tile to allow for blending, cuts, and future repairs.
- Perform a dry layout or mock-up before installing to preview variation and get client or designer approval.
- Adjust adhesive depth for each tile to account for thickness variations.
- Check substrate flatness before installation.
- Review all tiles upon delivery, and consult with a professional tile installer to plan for the best results based on your unique project.
- Always mix tiles from all boxes to balance variation in color, size, and shape.
-
Expect and embrace minor warping and lippage as part of handmade tile’s natural beauty.
Choosing an Experienced Installer
Because each tile is unique, handmade installations require more adjustment, blending, and time than standard tile. We strongly recommend working with a professional tile installer experienced in artisan or irregular tiles. This ensures proper layout planning, consistent grout lines, and a beautiful, long-lasting finish.
Setting Materials and Moisture
Use a high-quality thin-set mortar rather than mastic, and make sure the tiles are fully supported with proper coverage. Handmade clay tiles can absorb moisture differently, so allow for additional adjustment time during installation.
For more detailed guidance, be sure to check out our Installation Guidelines and explore our Clay Care collection for the best tools and products to maintain your tiles.
Got questions? Contact us! Our tile team is always happy to help you bring your tile vision to life.
Note: Since tile installation directly impacts the final look and longevity of your project, Clay Imports does not offer a warranty once the product has been installed. Please inspect all tile upon receipt and notify us of any quality concerns immediately. This guide is a general resource; always consult your tile installer for project-specific recommendations.
 Share
Share
 Pin it