Embracing "No Trim" in Tile Projects: Creative Ways to Finish Without Trim Pieces
Tile projects often raise questions about how to finish edges cleanly and intentionally. Traditionally, specialized trim pieces like bullnose or metal edging were the go-to solution, but today, many homeowners, designers, and installers are embracing a more flexible approach.
The “no trim” method has become increasingly popular, offering creative, thoughtful ways to finish tile edges without relying on specialty trim pieces. When planned and executed well, these techniques can feel just as polished, and often more architectural, than traditional trim.
While certain tiles may not have traditional trim options like bullnose, the good news is that many clients choose to install tile without trim. The options below are commonly used in professional installs and can take the place of specialized trim pieces while still feeling clean, finished, and intentional.
Whether you're working on a backsplash, shower, flooring project, or feature wall, here are proven ways to finish your tile beautifully, without specialty trim pieces.
- Mitering Tile Edges
- Field Tile Trim
- Using Schluter Edging
- Creating a Caulked or Grouted Edge
- Painting the Tile’s Raw Edge
- Using a Border Tile to Frame the Edges
- Inset or Recessed Tile
- Exposed Edge
- Integrating a Ledge or Shelf for Transitions
- Incorporating Wood Trim for a Custom Look
- Aligning Tile with Adjacent Surfaces
- Embracing the "No-Trim" Approach
Mitering Tile Edges
Our personal favorite, and one of the most seamless ways to finish tile without using trim, is mitering the edges. This technique requires cutting tile edges at a 45-degree angle and joining them together for a smooth, continuous transition. Mitering is especially beneficial for outside corners on walls, niches, and shower enclosures.
This method is commonly used by professional installers and is considered a premium finish. While it requires precision, the result is a high-end, custom look that eliminates the need for extra trim.
Field Tile Trim
Cutting field tile can be a great tool when you’re exploring “no-trim” options, especially because it lets you create a custom finish using the tile you already have. This approach is particularly useful around windows, niches, and borders where tile meets the wall.
By shaping and assembling pieces of the field tile into a return or edge, you can create a refined, cohesive finish that keeps the look continuous and intentional. It does take skill and planning, but in the right hands it can look beautifully custom.
Using Schluter Edging
Schluter Jolly (and other Schluter profiles) are a minimalist alternative to bullnose tiles and are a popular option when a crisp edge is desired but traditional trim isn’t available. If you're looking for a nearly invisible finish, consider a slim-profile edge treatment or a finish that coordinates with nearby fixtures.
You can also choose paintable profiles that can be matched to the wall color for a softer, more blended transition.
Creating a Caulked or Grouted Edge
Grout and caulk are best known for filling joints, but they can also create a clean, finished edge when trim isn’t used. When tile meets drywall or another surface, a simple and commonly used solution is a neat bead of color-matched caulk. This helps create a smooth transition that looks intentional and stays flexible over time.
Grout is typically used where tile meets tile, or within niches and inside corners (depending on the application and your installer’s approach).
This “grout-as-trim” approach is especially popular for Recycled Clay and Desert Fields tiles.
Painting the Tile’s Raw Edge
Another option is painting the tile’s exposed edge to create a finished look without additional trim. Using a high-quality, color-matched paint can help the edge blend into the surrounding wall color while also providing a bit of protection.
This is most commonly used for wall applications (like backsplashes and bathroom walls) rather than high-wear areas.
Using a Border Tile to Frame the Edges
One fun idea is adding a coordinating or contrasting border tile to frame the edges of your installation. This approach works beautifully for feature walls, shower surrounds, and backsplashes and it’s a great way to make the transition feel intentional even without a matching trim line.
You can explore materials like onyx, marble, brass, or a simple pencil trim. The best part: it doesn’t need to be an exact match. A white or neutral border, or even a contrasting glaze, can feel elevated and custom when chosen thoughtfully.
Inset or Recessed Tile
Inset (or recessed) tile installations allow the tile to sit flush within the surrounding material, such as drywall. When planned correctly, the wall finish can build up to the tile thickness so the final surface feels smooth and clean, without requiring trim.
This method requires advance planning and is best discussed early with your installer (it’s easiest during full renovations or new builds).
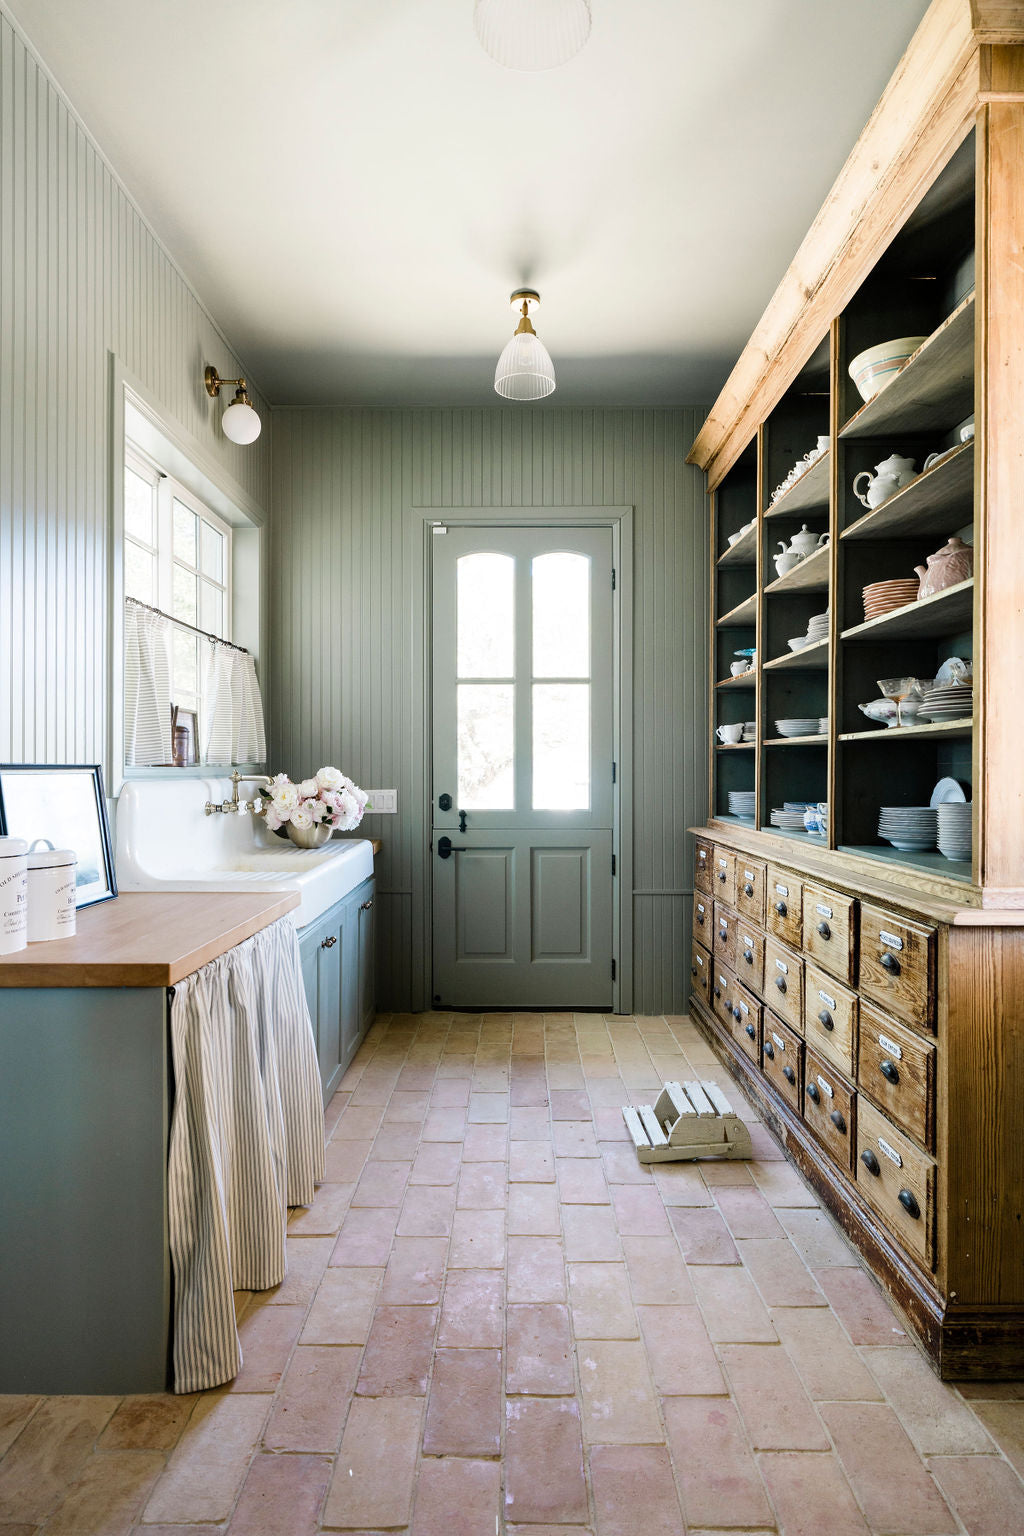
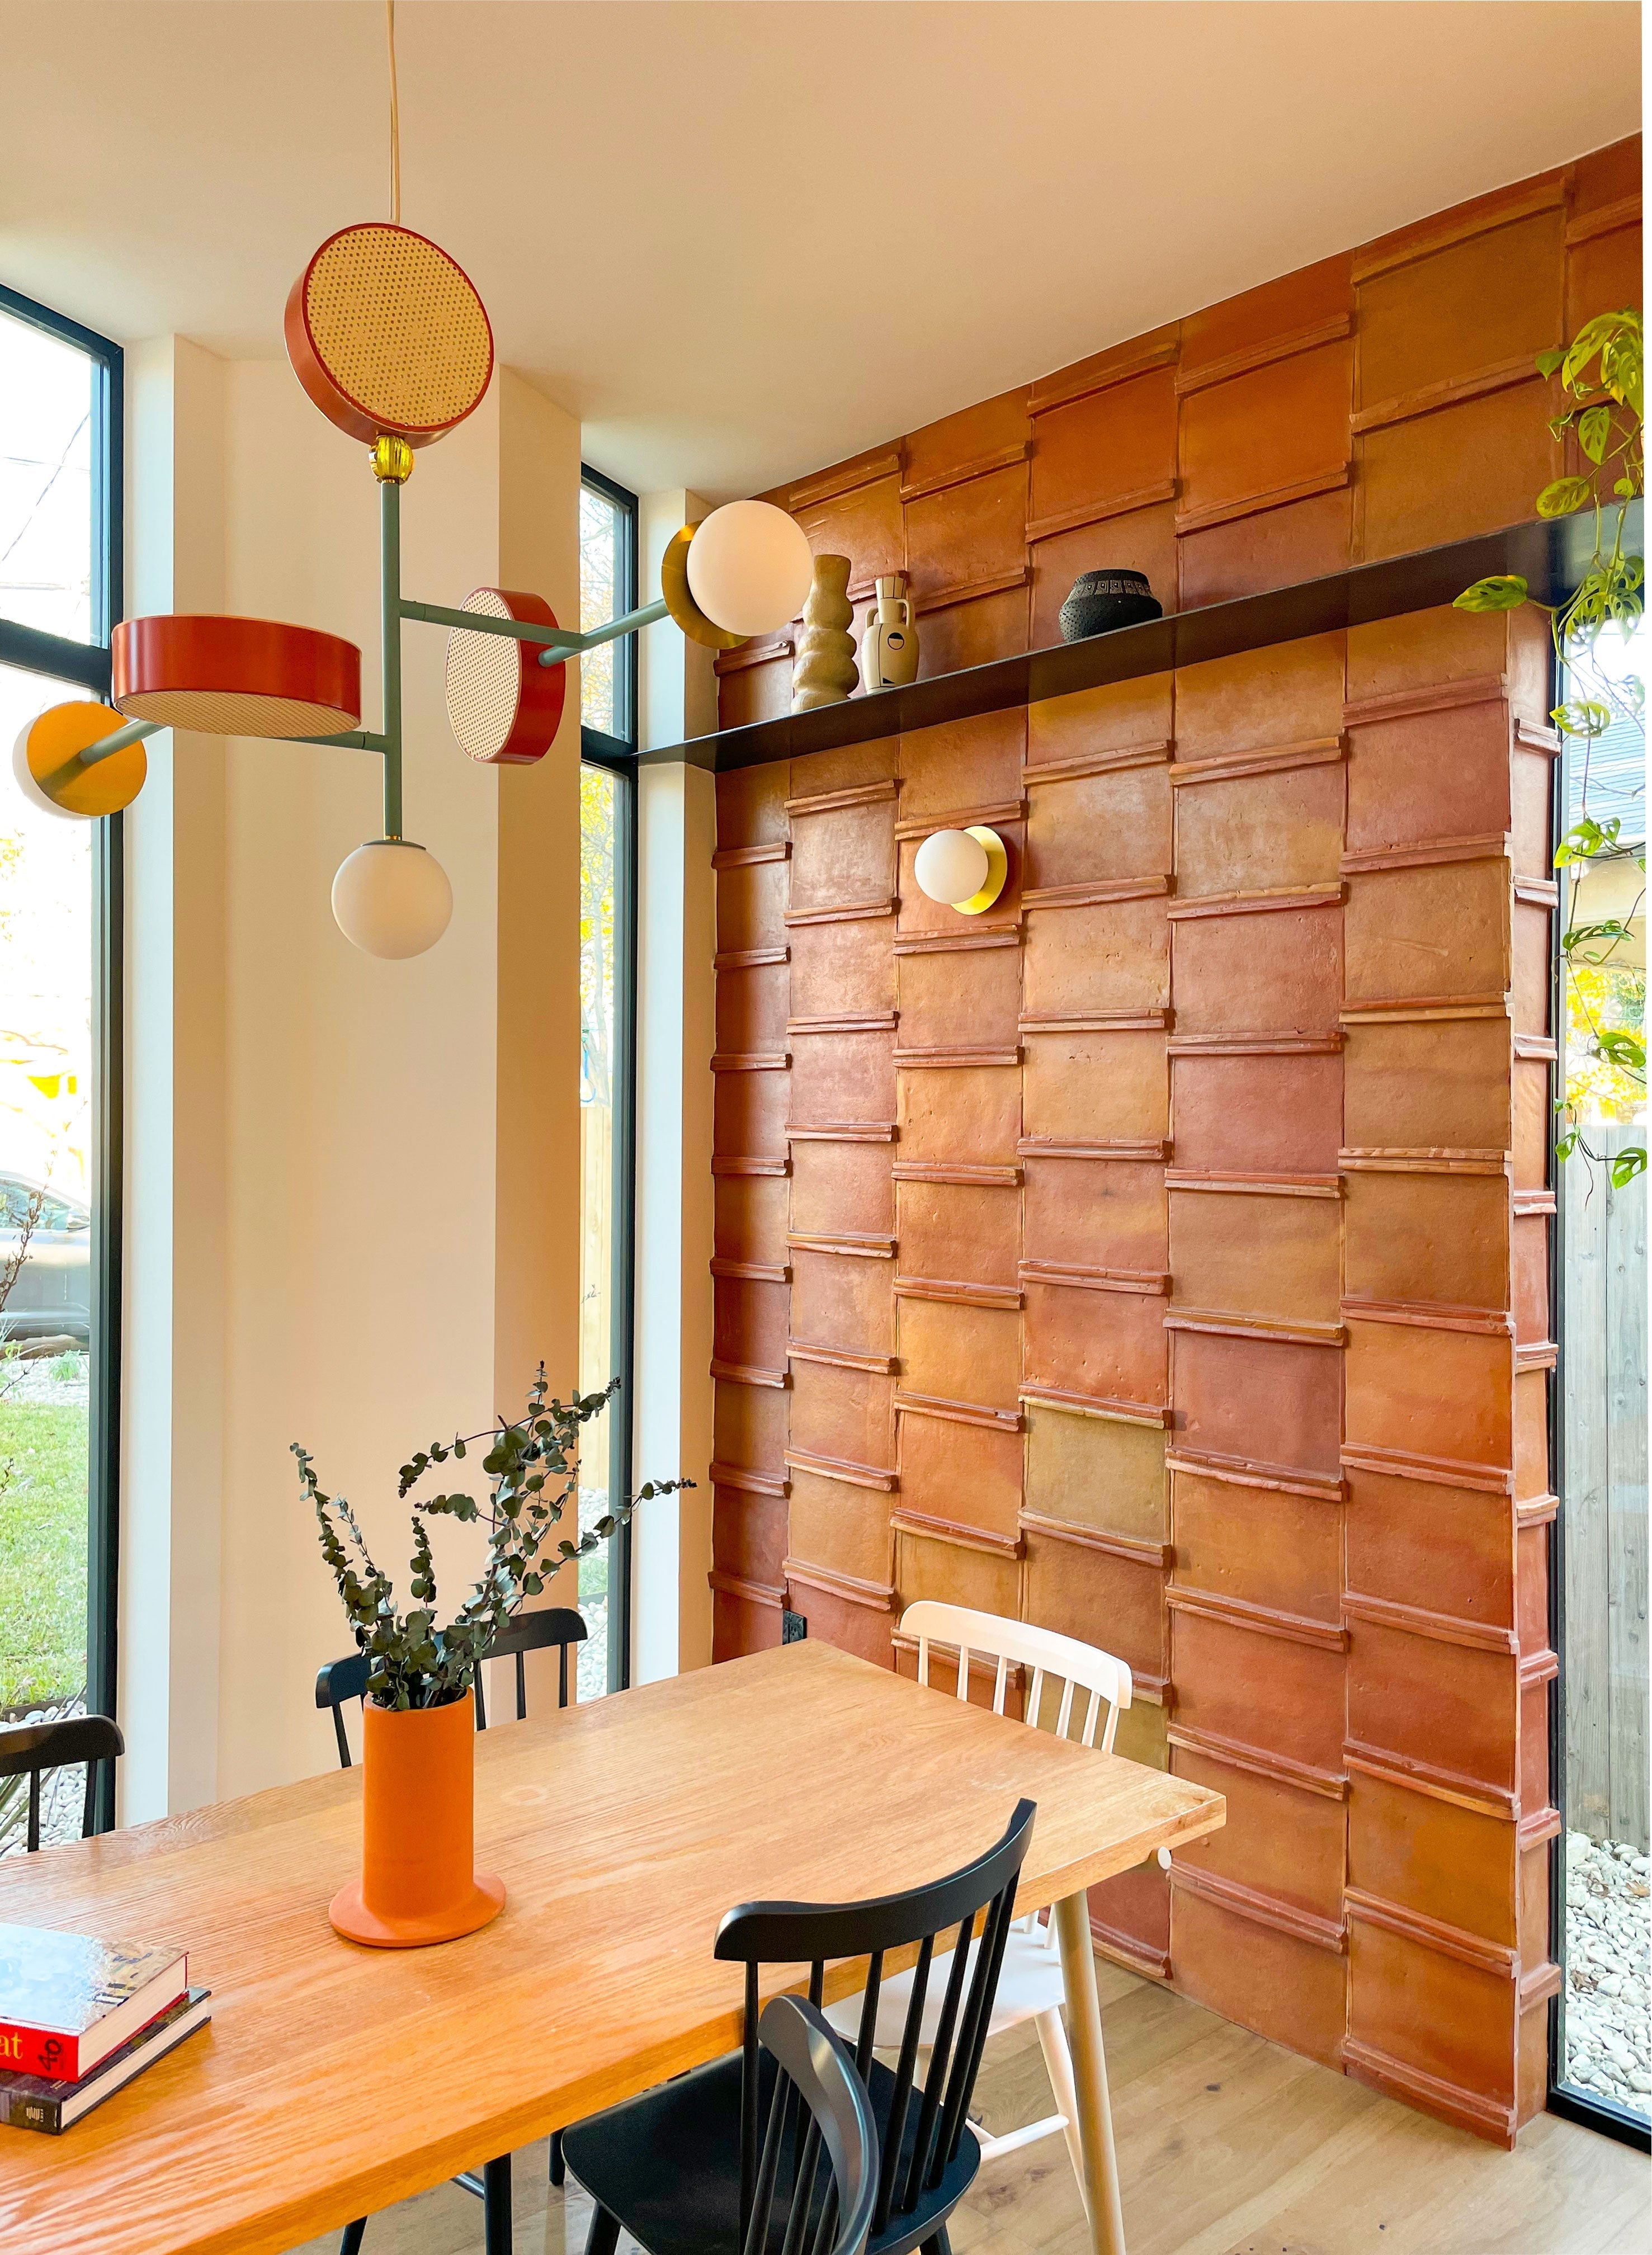
Exposed Edge
Sometimes the simplest approach is leaving the tile edge exposed. This can enhance the natural, handmade look of the material and create an intentionally relaxed finish. Your tile body color and edge quality matter most here, so it’s a good option when the tile’s raw edge is attractive and suits your overall aesthetic.
Integrating a Ledge or Shelf for Transitions
In spaces like shower entries and niches, consider adding a built-in ledge or shelf to create a natural transition point — and skip trim entirely. A granite, quartz, limestone, or honed marble slab can act as a finishing edge on a tiled bench, window sill, or shower curb. It’s stylish, functional, and visually grounding.
Incorporating Wood Trim for a Custom Look
Wood trim, like quarter round, lattice, or a squared profile, can create a warm, intentional edge for tile in dry areas. It works especially well for wainscoting, windows, and flooring transitions, and can be stained or painted to coordinate with your space.
Note: wood trim is typically not recommended for wet areas.
Aligning Tile with Adjacent Surfaces
With thoughtful planning, you can align tile edges with adjacent materials like cabinetry, countertops, or built-ins to create a seamless transition. A bit of layout planning goes a long way here, especially when you want the finish to look crisp without trim.
Embracing the "No-Trim" Approach
Embracing the “no-trim” approach can simplify your project while opening the door to more creative, architectural results. From mitered edges and caulked transitions to stone ledges and wood accents, there are many ways to achieve a clean, finished look without relying on traditional trim pieces.
With thoughtful planning, the right materials, and clear communication with your installer, no-trim installations can feel intentional, elevated, and timeless.
We love seeing how our community finishes tile projects without trim — feel free to share your favorite approaches in the comments, or tag us in your projects for inspiration.
 Share
Share
 Pin it